今天我们来看看SSM中如何将图片转换成二进制,最后传入到自己的数据库中,好了,废话不多说,我们开始今天的学习,我这里用的编辑器是IDEA
1、导入图片上传需要的jar依赖包
 1 <dependency>
 2             <groupId>commons-io</groupId>
 3             <artifactId>commons-io</artifactId>
 4             <version>2.4</version>
 5         </dependency>
 6
 7         <dependency>
 8             <groupId>commons-io</groupId>
 9             <artifactId>commons-io</artifactId>
10             <version>1.4</version>
11         </dependency>
12
13         <dependency>
14             <groupId>commons-fileupload</groupId>
15             <artifactId>commons-fileupload</artifactId>
16             <version>1.3.1</version>
17         </dependency>
2、通过form表单提交到Controller控制层中,但是需要注意一点,图片上传的请求方式必须是POST,否则会出现报错
然后在当前的JSP页面中的头部加入以下代码,防止出现中文乱码
<meta http-equiv="Content-Type" content="multipart/form-data;charset=utf-8" />
3、在自己的form表单后面加入下面这行代码,它的作用是将图片转换成二进制进行传递,但是它也有自身缺点,它会将你所有传递的信息都转换成二进制
enctype="multipart/form-data"
4、一系列工作完事之后,我们来开始写Controller控制层中的代码,图片上传路径切记要写自己的上传路径,
pictureFile这个是我的图片的传递名,这个一定要写自己的图片上传名
<label class="layui-form-label">请选择上传图片:<input type="file" name="pictureFile" class="layui-upload-file"></label>
@RequestMapping("这里写form表单提交的请求路径")
    public String shengadd(HttpServletRequest request, Sheng sheng, MultipartFile pictureFile) throws Exception {
        System.out.println("***");
        //使用UUID给图片重命名,并去掉四个“-”
        String name = UUID.randomUUID().toString().replaceAll("-", "");
        //获取文件扩展名
        String ext = FilenameUtils.getExtension(pictureFile.getOriginalFilename());
        //设置图片上传路径
        String url = request.getSession().getServletContext().getRealPath("/statics/img");
        System.out.println(url);//输出文件名
        //以绝对路径保存重命名后的图片
        pictureFile.transferTo(new File(url + "/" + name + "." + ext));
        //把图片储存路径保存到数据库
        sheng.setImg("statics/img/" + name + "." + ext);
        userService.riyongadd(sheng);
        return "redirect:/redutime.html";
    }
5、最后一项,在springmvc-servlet.xml文件中插入文件上传解析器
<!-- 定义文件上传解析器 -->
    <bean id="multipartResolver" class="org.springframework.web.multipart.commons.CommonsMultipartResolver">
        <!-- 设定默认编码 -->
        <property name="defaultEncoding" value="UTF-8"></property>
        <!-- 设定文件上传的最大值5MB,5*1024*1024 -->
        <property name="maxUploadSize" value="5242880"></property>
    </bean>
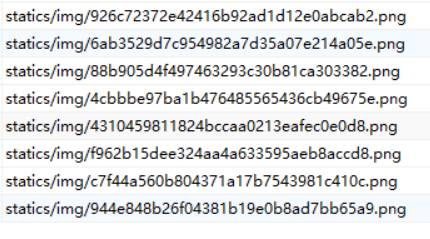
好了,我们开始来测试代码结果:可以看到图片已经上传到自己所需要的路径里面,也保存到了数据库中