场景
Retrofit2
Retrofit 是对 OkHttp 的封装,是主流的网络框架。
适用于Android 和 Java 的类型安全的HTTP客户端,由Square提供的。
Retrofit是一种HTTP客户端框架,使用它,我们可以完成有关HTTP的工作。
Retrofit Github 主页:
https://github.com/square/Retrofit
注:
博客:
https://blog.csdn.net/badao_liumang_qizhi
关注公众号
霸道的程序猿
获取编程相关电子书、教程推送与免费下载。
实现
导入依赖
在build.gradle中添加依赖
    //Retrofit(网络请求框架)
    implementation 'com.squareup.retrofit2:retrofit:2.5.0'
    implementation 'com.squareup.retrofit2:converter-gson:2.5.0'
添加位置

然后点击右上角的Sync now
注意:这里不能导入OkHttp与Gson,Retrofit内部已经包含这两个框架,否则会导致版本冲突。
打卡网络权限
在AndroidManifest中添加网络权限。
<uses-permission android:name="android.permission.INTERNET" />
搭建Http客户端
为了在调用接口时方便我们新建一个单例模式的类WebClient去构造Retrofit的实例
在src下包路径下新建web包,包下新建webclient类
package com.badao.badaoimclient.web;

import android.util.Log;

import retrofit2.Retrofit;
import retrofit2.converter.gson.GsonConverterFactory;

public class WebClient {

    private static ApiService INSTANCE;

    private static final String BASE_URL = "http://你的后台服务的ip:8000/";

    public static ApiService getInstance() {
        if (INSTANCE == null) {
            synchronized (ApiService.class) {
                if (INSTANCE == null) {
                    INSTANCE = new Retrofit.Builder().baseUrl(BASE_URL).addConverterFactory(GsonConverterFactory.create()).build().create(ApiService.class);
                    Log.i("INSTANCE",BASE_URL);
                }
            }
        }
        return INSTANCE;
    }

}
这里指定的BASE_RUL就是你后台服务地址的ip+端口号,最后要带一个斜杠。
然后客户端需要返回一个接口类ApiService,这个接口类是自定义的。
新建接口类ApiService
package com.badao.badaoimclient.web;

import com.badao.badaoimclient.bean.ImUserBean;
import com.badao.badaoimclient.bean.UploadBean;
import okhttp3.MultipartBody;
import retrofit2.Call;
import retrofit2.http.GET;
import retrofit2.http.Multipart;
import retrofit2.http.POST;
import retrofit2.http.Part;

public interface ApiService {

    /*无参GET请求 */
    //没有数据就填 '.' 或者 '/'
    //获取通讯录接口
    @GET("system/imuser/listForApp")
    Call<ImUserBean> getImUserList();

    //文件上传接口
    @Multipart
    @POST("/common/upload")
    Call<UploadBean> upload(@Part MultipartBody.Part file);

}
这里接口类中有两个方法,一个是get方法请求数据,一个是post方法上传文件。
先看这里的get请求的接口,接口的返回值ImUserBean是根据服务接口返回的Json数据生成的bean。

怎样根据Json数据生成实体Bean参考如下:
https://blog.csdn.net/BADAO_LIUMANG_QIZHI/article/details/110426851
生成的实体ImUserBean如下
package com.badao.badaoimclient.bean;

import com.google.gson.annotations.SerializedName;

import java.util.List;

public class ImUserBean {

    private int total;
    private int code;
    private Object msg;
    private List<RowsBean> rows;

    public int getTotal() {
        return total;
    }

    public void setTotal(int total) {
        this.total = total;
    }

    public int getCode() {
        return code;
    }

    public void setCode(int code) {
        this.code = code;
    }

    public Object getMsg() {
        return msg;
    }

    public void setMsg(Object msg) {
        this.msg = msg;
    }

    public List<RowsBean> getRows() {
        return rows;
    }

    public void setRows(List<RowsBean> rows) {
        this.rows = rows;
    }

    public static class RowsBean {

        @SerializedName("id")
        private int idX;
        @SerializedName("imNum")
        private String imNumX;
        @SerializedName("canOnline")
        private int canOnlineX;

        public int getIdX() {
            return idX;
        }

        public void setIdX(int idX) {
            this.idX = idX;
        }

        public String getImNumX() {
            return imNumX;
        }

        public void setImNumX(String imNumX) {
            this.imNumX = imNumX;
        }

        public int getCanOnlineX() {
            return canOnlineX;
        }

        public void setCanOnlineX(int canOnlineX) {
            this.canOnlineX = canOnlineX;
        }
    }
}
然后真正调用的接口的url就是
上面配置的BASE_URL加上你的接口方法中配置的url
Get接口调用
在需要调用get接口请求数据的地方
        //异步请求通讯录
        WebClient.getInstance().getImUserList().enqueue(new Callback<ImUserBean>() {
            @Override
            public void onResponse(Call<ImUserBean> call, Response<ImUserBean> response) {
                Log.i("response",response.toString());
                if(response.code()==200) {
                    //获取请求的数据并进行后续操作
                    ImUserBean userBean = response.body();
                    rowsBeanList = userBean.getRows();
                    myAdapter = new MyAdapter(rowsBeanList);
                    listView.setAdapter(myAdapter);
                }
            }
            @Override
            public void onFailure(Call<ImUserBean> call, Throwable t) {
                Log.i("onFailure",t.toString());
            }
        });
    }
通过它的回调方法来获取响应码和响应体。
此后台接口是用SpringBoot写成,后台get接口部分实现
    @GetMapping("/listForApp")
    @ResponseBody
    public TableDataInfo listGet(ImUser imUser)
    {
        startPage();
        List<ImUser> list = imUserService.selectImUserList(imUser);
        return getDataTable(list);
    }
其中在getDataTable中最终返回
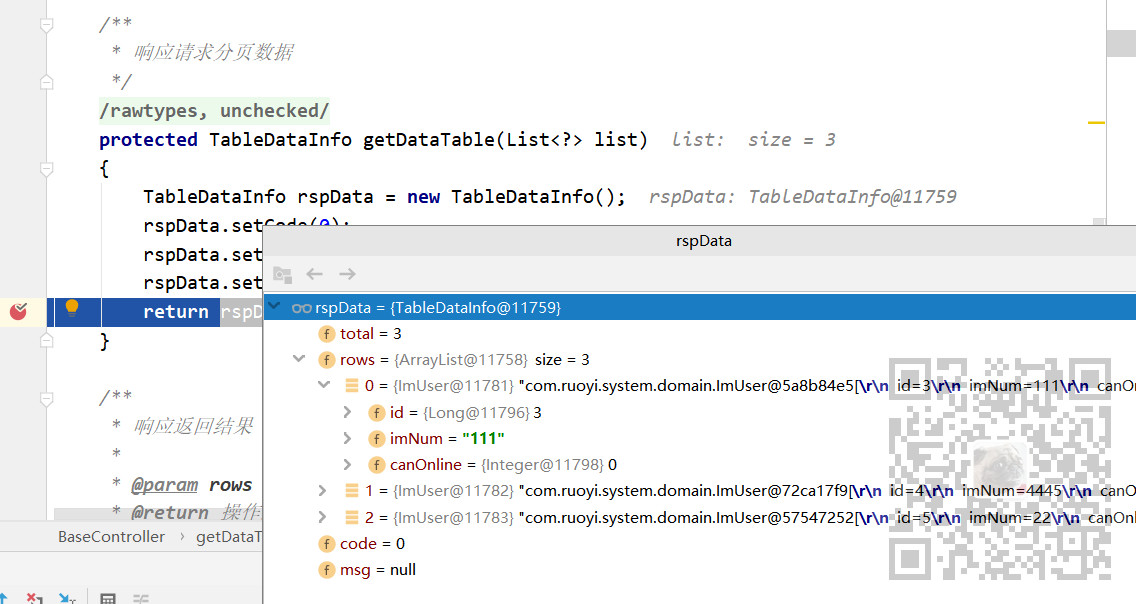
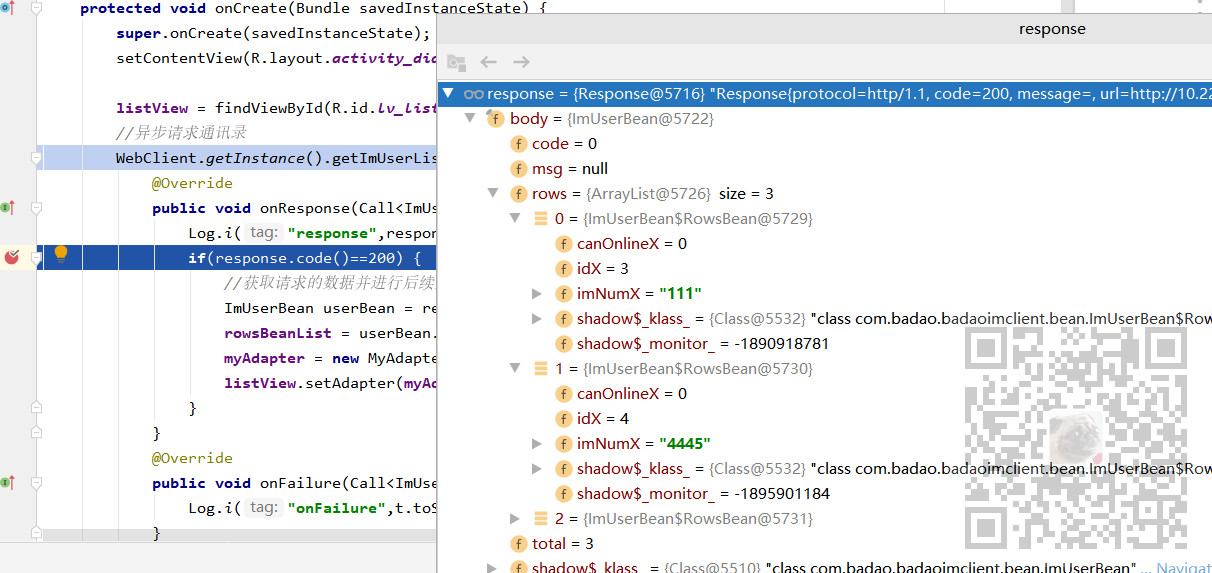
调用一下此接口可以看到其响应码为200

响应体就是上面的json数据
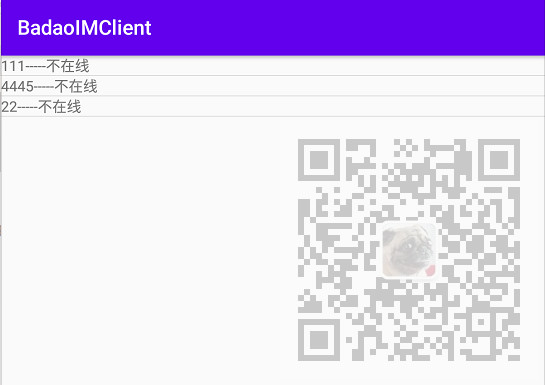
然后可以将get请求的数据通过适配器显示在ListView上
关于适配器的使用参照如下:
https://blog.csdn.net/BADAO_LIUMANG_QIZHI/article/details/111240545
POST请求上传文件
首先在ApiService中添加接口声明
    //文件上传接口
    @Multipart
    @POST("/common/upload")
    Call<UploadBean> upload(@Part MultipartBody.Part file);
然后在需要用到进行文件上传的地方
                //上传语音文件到服务器
                RequestBody requestBody = RequestBody.create(MediaType.parse("multipart/form-data"), file);
                MultipartBody.Part part = MultipartBody.Part.createFormData("file", file.getName(), requestBody);
                WebClient.getInstance().upload(part).enqueue(new Callback<UploadBean>() {
                    @Override
                    public void onResponse(Call<UploadBean> call, Response<UploadBean> response) {
                        if(response.code()==200)
                        {
                            //对服务器地址进行赋值
                            chatItem.setRemoteContent(response.body().getFileName());

                        }
                        else {
                            Toast.makeText(App.context,"服务器返回"+response.code(),Toast.LENGTH_SHORT).show();
                            return;
                        }
                    }

                    @Override
                    public void onFailure(Call<UploadBean> call, Throwable t) {
                        Toast.makeText(App.context,t.toString(),Toast.LENGTH_SHORT).show();
                    }
                });
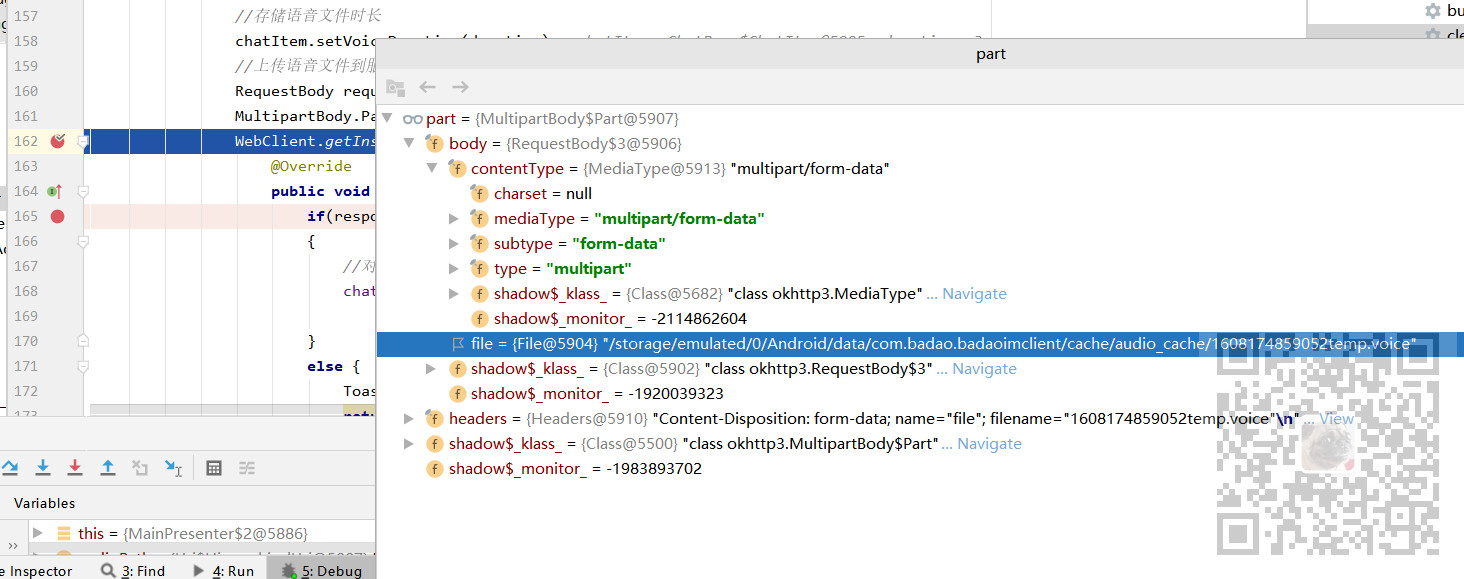
其中file就是需要进行上传的文件,需要构造出一个part对象,然后下面是两个回调方法
触发post方法后,构造part对象成功
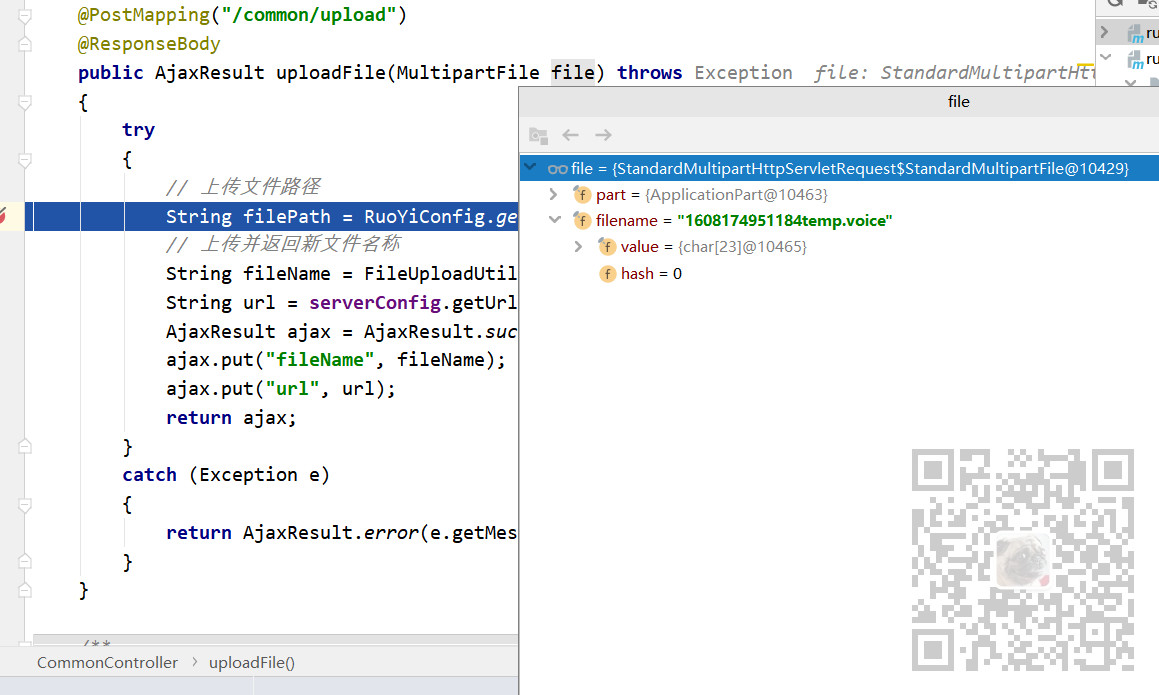
后台使用sprinboot写的post接口
   /**
     * 通用上传请求
     */
    @PostMapping("/common/upload")
    @ResponseBody
    public AjaxResult uploadFile(MultipartFile file) throws Exception
    {
        try
        {
            // 上传文件路径
            String filePath = RuoYiConfig.getUploadPath();
            // 上传并返回新文件名称
            String fileName = FileUploadUtils.upload(filePath, file);
            String url = serverConfig.getUrl() + fileName;
            AjaxResult ajax = AjaxResult.success();
            ajax.put("fileName", fileName);
            ajax.put("url", url);
            return ajax;
        }
        catch (Exception e)
        {
            return AjaxResult.error(e.getMessage());
        }
    }
后台接收到请求后
后台返回给Android后
