场景
点击拍照按钮调用系统摄像机进行拍照,并将拍的照片显示在ImageView中。
注:
博客:
https://blog.csdn.net/badao_liumang_qizhi
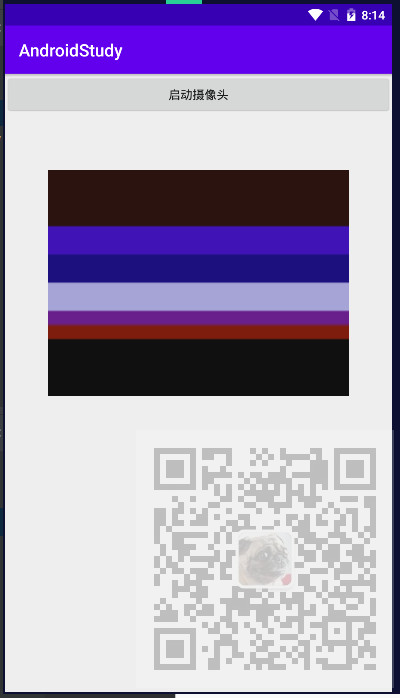
关注公众号
霸道的程序猿
获取编程相关电子书、教程推送与免费下载。
实现
新建一个Activity,设计其布局如下

布局xml文件为
<?xml version="1.0" encoding="utf-8"?>
<LinearLayout xmlns:android="http://schemas.android.com/apk/res/android"
    xmlns:app="http://schemas.android.com/apk/res-auto"
    xmlns:tools="http://schemas.android.com/tools"
    android:layout_width="match_parent"
    android:layout_height="match_parent"
    android:orientation="vertical"
    tools:context=".CameraActivity">

    <Button
        android:id="@+id/button"
        android:layout_width="match_parent"
        android:layout_height="wrap_content"
        android:text="启动摄像头" />

    <ImageView
        android:id="@+id/iv_camera"
        android:layout_width="350dp"
        android:layout_height="350dp"
        android:layout_gravity="center"
        android:layout_marginTop="20dp" />

</LinearLayout>
然后在对应的Activity中,通过指定Action的Intent来调用系统摄像头,并采用带返回结果的方式启动Activity,
然后在重写的获取Activity返回结果的方法中,判断请求码与上面自定义的常量一致并且请求结果为OK
那么通过将data强转为Bitmap并给ImageView设置数据源进行显示
package com.badao.androidstudy;

import androidx.annotation.Nullable;
import androidx.appcompat.app.AppCompatActivity;

import android.content.Intent;
import android.graphics.Bitmap;
import android.os.Bundle;
import android.provider.MediaStore;
import android.view.View;
import android.widget.Button;
import android.widget.ImageView;

public class CameraActivity extends AppCompatActivity {


    private Button btnCamera;
    private ImageView imageView;
    private final int CAMERA_REQUEST = 10;

    @Override
    protected void onCreate(Bundle savedInstanceState) {
        super.onCreate(savedInstanceState);
        setContentView(R.layout.activity_camera);
        initView();
    }


    @Override
    protected void onActivityResult(int requestCode, int resultCode, @Nullable Intent data) {
        super.onActivityResult(requestCode, resultCode, data);
        switch (requestCode) {
            case CAMERA_REQUEST:
                if (resultCode == RESULT_OK) {
                    Bitmap bitmap = (Bitmap) data.getExtras().get("data");
                    imageView.setImageBitmap(bitmap);
                }
                break;
        }
    }

    public void initView(){
        imageView = findViewById(R.id.iv_camera);
        btnCamera = findViewById(R.id.button);
        btnCamera.setOnClickListener(new View.OnClickListener() {
            @Override
            public void onClick(View v) {
                Intent intent = new Intent(MediaStore.ACTION_IMAGE_CAPTURE);
                startActivityForResult(intent,CAMERA_REQUEST);
            }
        });
    }
}
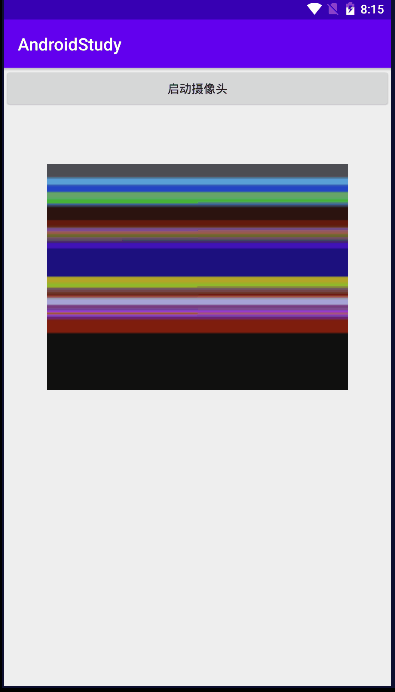
示例效果