一、xray的安装和配置
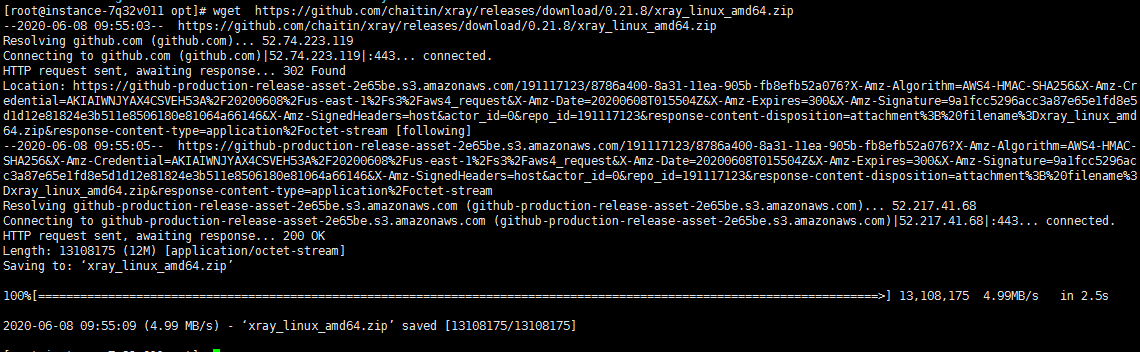
1.下载linux下的xray可执行文件
[root@instance-7q32v011 opt]#
2.解压文件
[root@instance-7q32v011 opt]# unzip xray_linux_amd64.zip

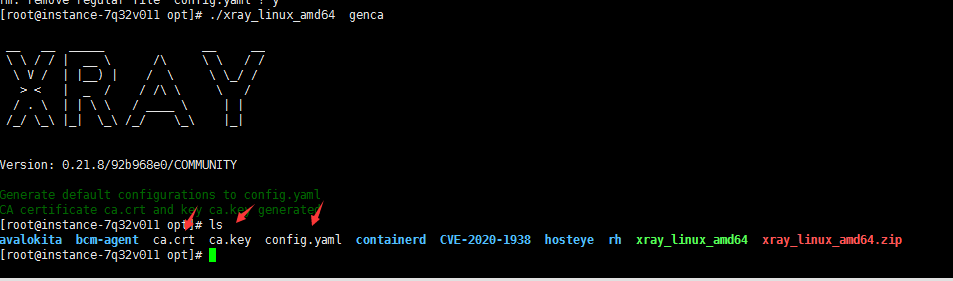
3.运行xray可执行文件生成证书和配置文件
[root@instance-7q32v011 opt]# ./xray_linux_amd64 genca
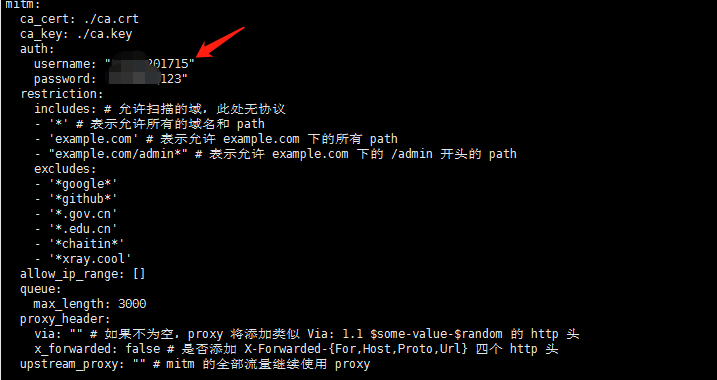
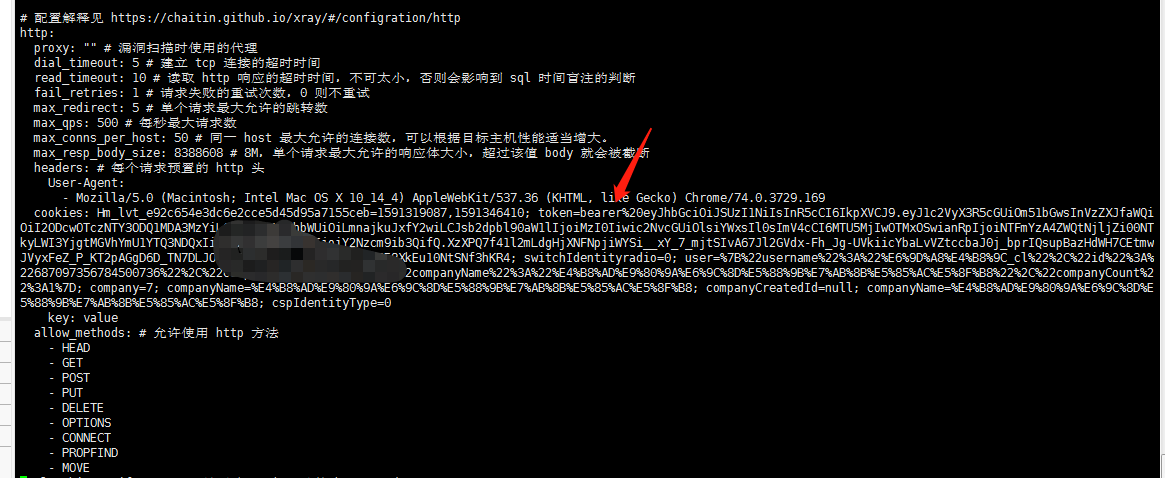
4.配置config.yaml
[root@instance-7q32v011 crawlergo-to-xray]# vi config.yaml
这里主要配置认证登录的username以及password和cookie值,针对登录系统爬虫。
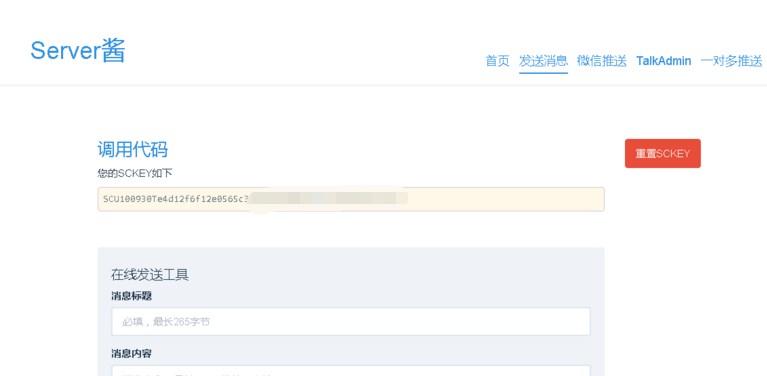
二、Server酱的配置
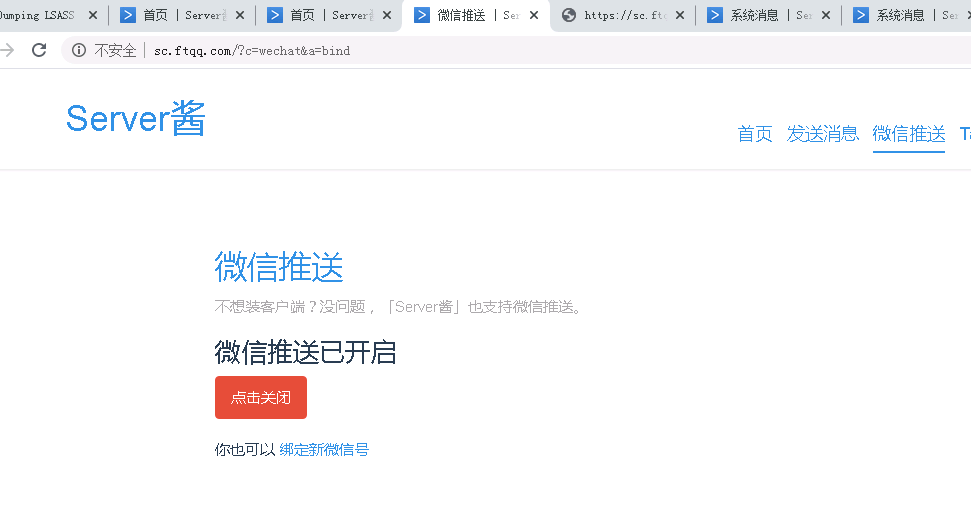
2.绑定:点击「微信推送」,扫码关注同时即可完成绑定
如生成这样的get请求:
https://sc.ftqq.com/SCU100930Te4d1xxxxxxxxxxxxxxxxx5e1fc35edd9f5bac3e2.send(记下这个地址,后面需要)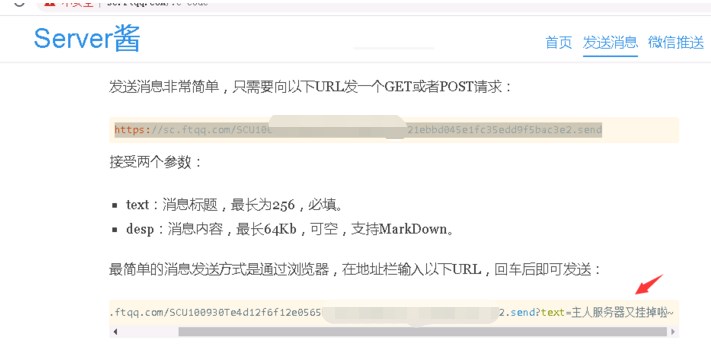
三、启动webhook和修改配置
[root@instance-7q32v011 opt]# git clone https://github.com/undefinedsec/crawlergo-to-xray.git

[root@instance-7q32v011 opt]# cd crawlergo-to-xray/
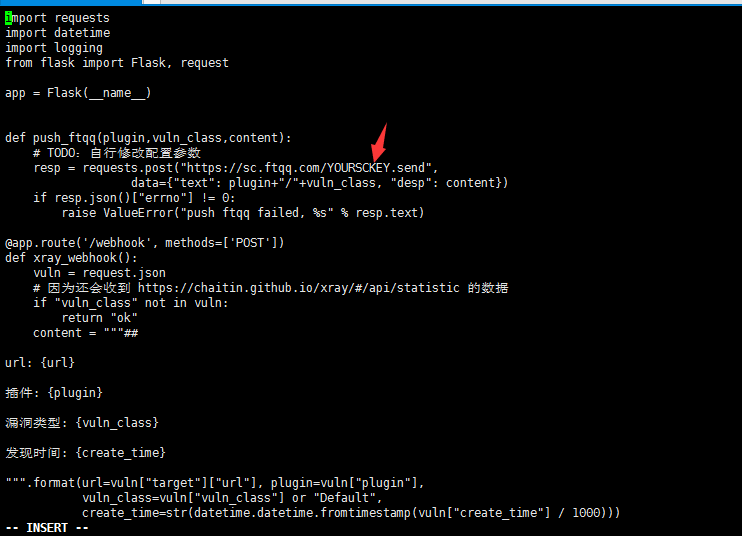
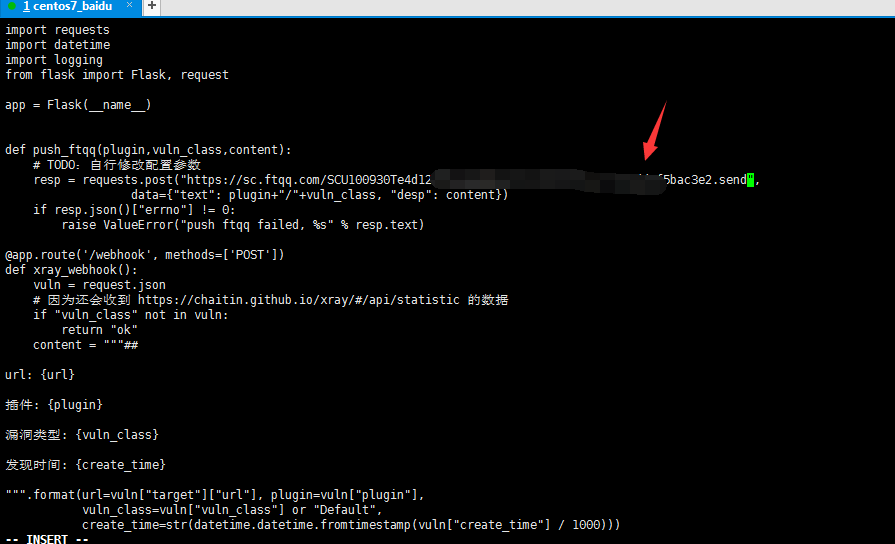
[root@instance-7q32v011 crawlergo-to-xray]# vi webhook.py
下面主要对其requests.post中参数值进行修改,修改为上面得到的get请求值。
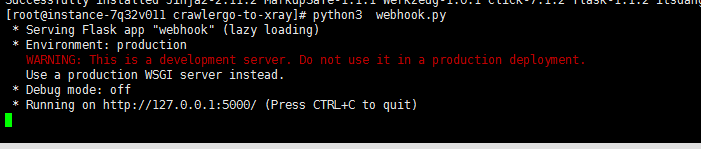
[root@instance-7q32v011 crawlergo-to-xray]# python3 webhook.py
[root@instance-7q32v011 crawlergo-to-xray]# nohup python3 webhook.py > webhook.log 2>&1 &
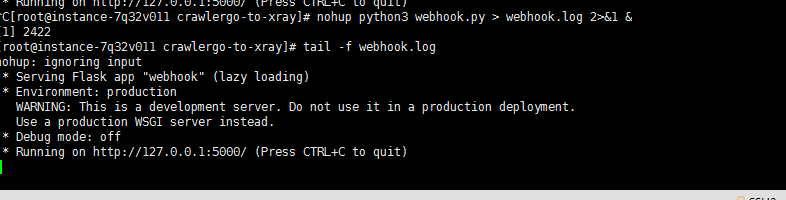
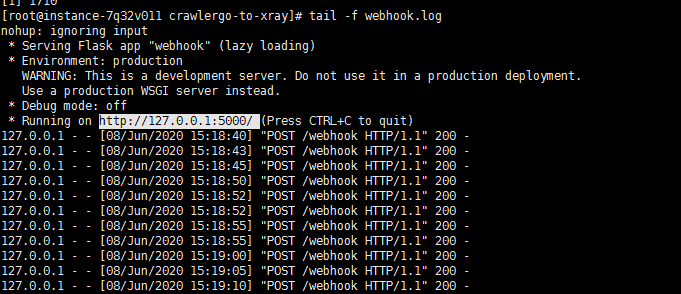
[root@instance-7q32v011 crawlergo-to-xray]# tail -f webhook.log
四、启动xray和修改配置
启动xray并查看日志(需要自行修改xray的配置文件以及命令行中的的配置,建议在xray里面配置username和password,以及[xray_port和webhook_port端口)
1.nohup ./xray_linux_amd64 webscan --listen 127.0.0.1:7777 --webhook-output http://127.0.0.1:5000/webhook --html-output xray.html > xray.log 2>&1 &

2.查看xray日志
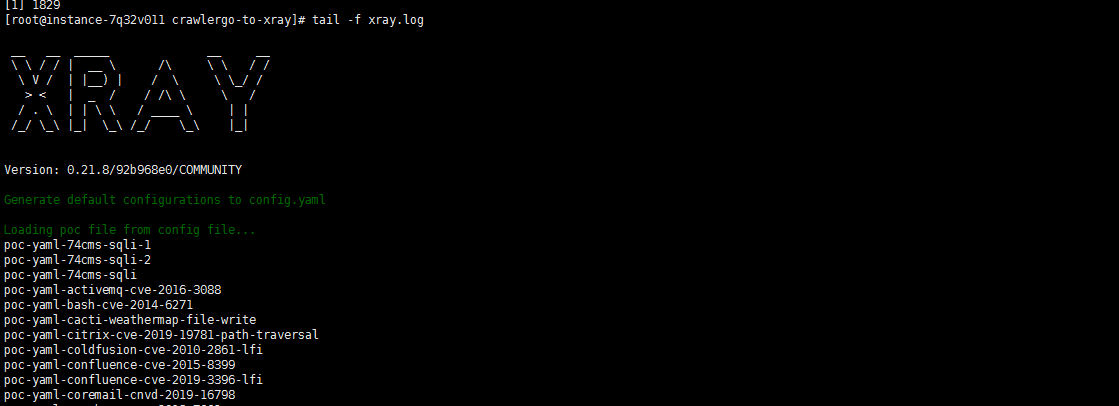
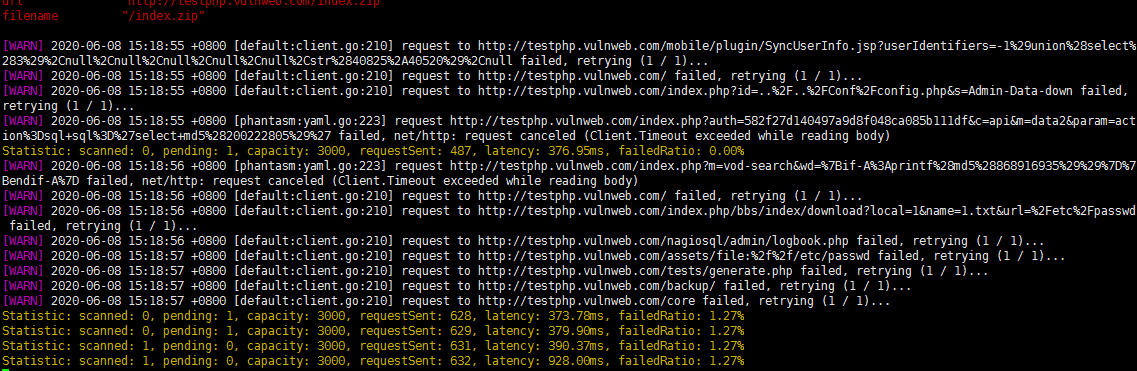
[root@instance-7q32v011 crawlergo-to-xray]# tail -f xray.log
五、下载和安装linux版本的chrome
1.[root@instance-7q32v011 ~]
[root@instance-7q32v011 ~] rpm -ivh google-chrome-stable_current_x86_64.rpm --nodeps --force
[root@instance-7q32v011 ~] whice google-chrome-stable

六、启动crawlergo和修改配置
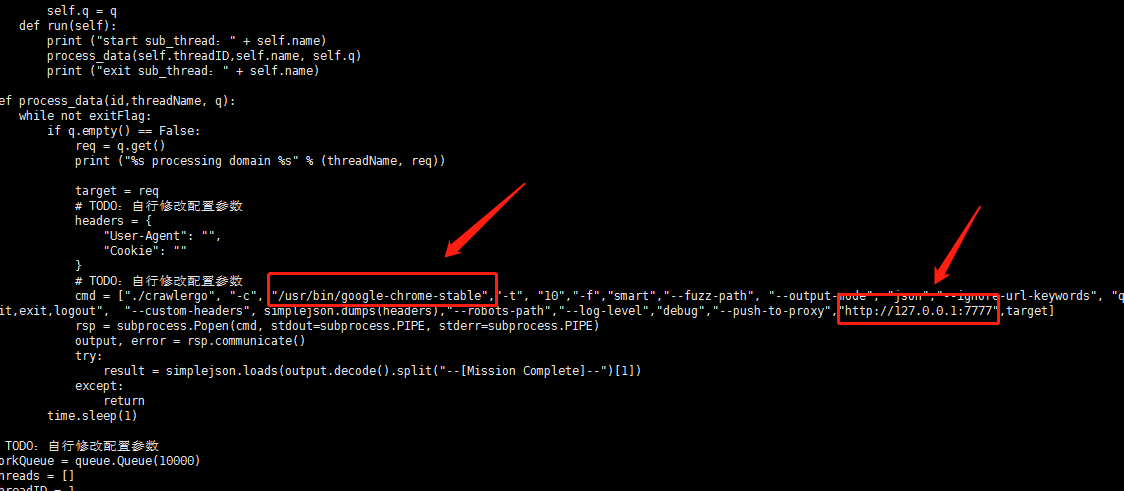
[root@instance-7q32v011 crawlergo-to-xray]# vi crawlergo.py
一般修改chorme的路径地址以及代理IP地址
如果需要更准确的爬虫,需要设置cookie和user-agent信息以及加上代理的ip和用户名和密码,cookieh和user-agent值可以通过登录系统后,xyay的代理IP和用户名和密码,可以根据前面设置的xray的配置获得。
抓包获取
./crawlergo", "-c", "/usr/bin/google-chrome","-t", "10","-f","smart","--fuzz-path", "--output-mode", "json","--ignore-url-keywords", "quit,exit,logout", "--custom-headers", simplejson.dumps(headers),"--robots-path","--log-level","debug","--push-to-proxy","http://xray_username:xray_password@xray_ip:xray_port",target
以及
headers = {
"User-Agent": "",
"Cookie": ""
}
[root@instance-7q32v011 crawlergo-to-xray]# vi targets.txt

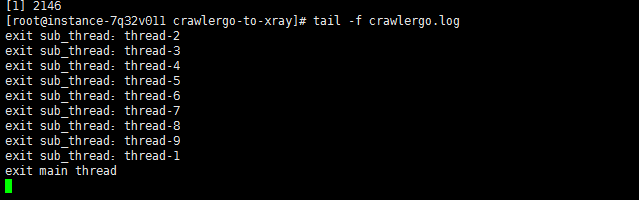
[root@instance-7q32v011 crawlergo-to-xray]# nohup python3 crawlergo.py > crawlergo.log 2>&1 &

[root@instance-7q32v011 crawlergo-to-xray]# tail -f crawlergo.log
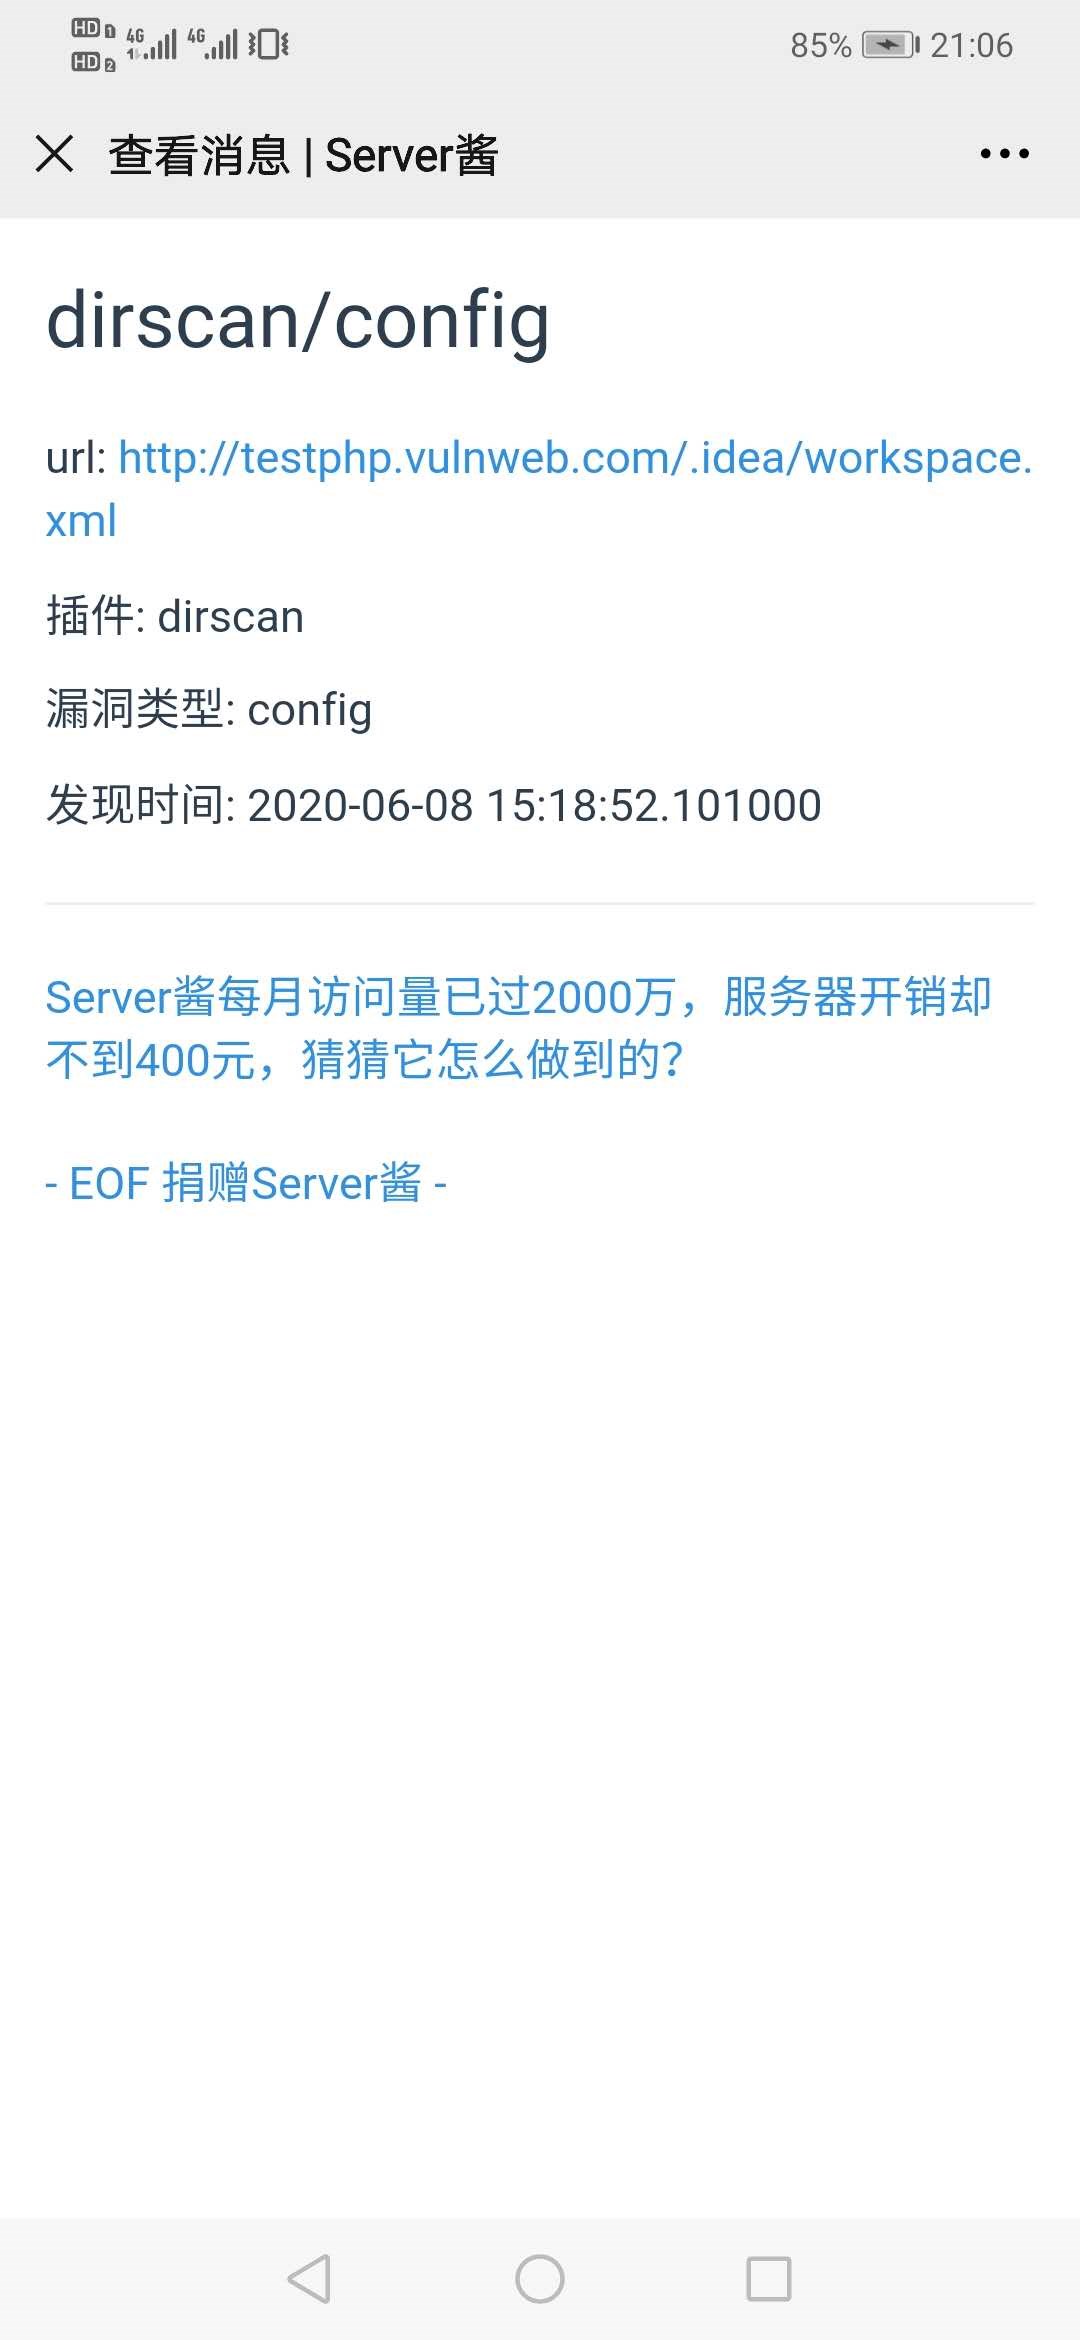
七,最终可以在微信端查看到漏洞情况