老规矩,首先附上官方教程:http://caffe.berkeleyvision.org/gathered/examples/mnist.html
注:关于caffe的安装教程请看我的上一篇文章
1、必要软件
因为Caffe中使用的是Linux才能运行的shell脚本,因此首先的安装 wget(将wget放入C:windowssystem32)和 Git 方能运行。
2、而后按照官方教程,首先进入caffe路径的根目录,而后打开cmd输入命令:
./data/mnist/get_mnist.sh
这个命令是通过打开/data/mnist目录下的get_mnist.sh脚本来下载mnist的数据,若cmd出现错误可以直接进入打开get_mnist.sh脚本效果是一样的,运行完成后会出现如下4个数据文件:

而后继续输入以下命令,或者进入路径打开也一样
./examples/mnist/create_mnist.sh
若不存在该文件可以自己创建一个create_mnist.sh,具体的代码如下(注:第九行BUILD可能老版本的路径会不一样,根据自己路径来修改):
#!/usr/bin/env sh

# This script converts the mnist data into lmdb/leveldb format,
# depending on the value assigned to $BACKEND.
set -e

EXAMPLE=.
DATA=../../data/mnist
BUILD=../../scripts/build/examples/mnist/Release

BACKEND="lmdb"

echo "Creating ${BACKEND}..."

rm -rf $EXAMPLE/mnist_train_${BACKEND}
rm -rf $EXAMPLE/mnist_test_${BACKEND}

$BUILD/convert_mnist_data.exe $DATA/train-images-idx3-ubyte
  $DATA/train-labels-idx1-ubyte $EXAMPLE/mnist_train_${BACKEND} --backend=${BACKEND}
$BUILD/convert_mnist_data.exe $DATA/t10k-images-idx3-ubyte
  $DATA/t10k-labels-idx1-ubyte $EXAMPLE/mnist_test_${BACKEND} --backend=${BACKEND}

echo "Done."

read -p "回车继续..."
运行完成后会出现mnist_test_lmdb和mnist_train_lmdb两个文件夹:

cmd显示:

3、打开路径/scripts/build/examples/mnist/Release下的lenet_solver.prototxt(不同版本的caffe的路径不一样,有些老版本的caffe的路径为:/Build/x64/Release),根据自己的情况修改参数:
第二行:若lenet_train_test.prototxt和lenet_solver.prototxt不在同一路径下,则需要在其之前写上lenet_train_test.prototxt所在的路径
第23行:snapshot_prefix:生成的model为产生的训练模型,可根据自己来修改路径
最后一行为选择安装的caffe是CPU还是GPU,我这里安装的是GPU版本
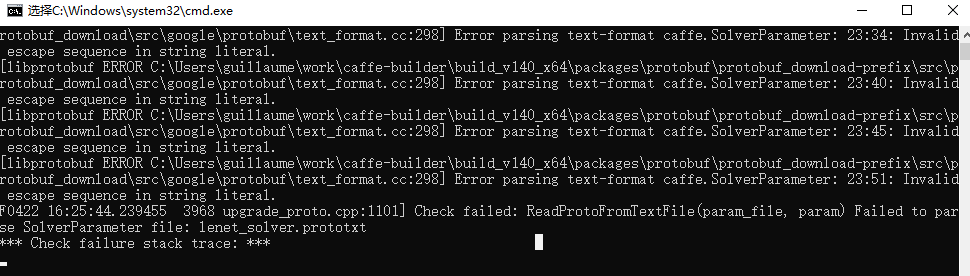
注意:不要直接将文件路径复制过去,因为在这里面路径分隔符是/ ,而不是\,如果使用\后面运行时会出现以下错误(下面几步同样如此,如果不确定就照着我的写):
修改参数后的结果:
# The train/test net protocol buffer definition
net: "lenet_train_test.prototxt"
# test_iter specifies how many forward passes the test should carry out.
# In the case of MNIST, we have test batch size 100 and 100 test iterations,
# covering the full 10,000 testing images.
test_iter: 100
# Carry out testing every 500 training iterations.
test_interval: 500
# The base learning rate, momentum and the weight decay of the network.
base_lr: 0.01
momentum: 0.9
weight_decay: 0.0005
# The learning rate policy
lr_policy: "inv"
gamma: 0.0001
power: 0.75
# Display every 100 iterations
display: 100
# The maximum number of iterations
max_iter: 10000
# snapshot intermediate results
snapshot: 5000
snapshot_prefix: "E:/CaffeSource/caffe/data/mnist/model"
# solver mode: CPU or GPU
solver_mode: GPU
4、打开lenet_train_test.prototxt(上面第二行那个文件)
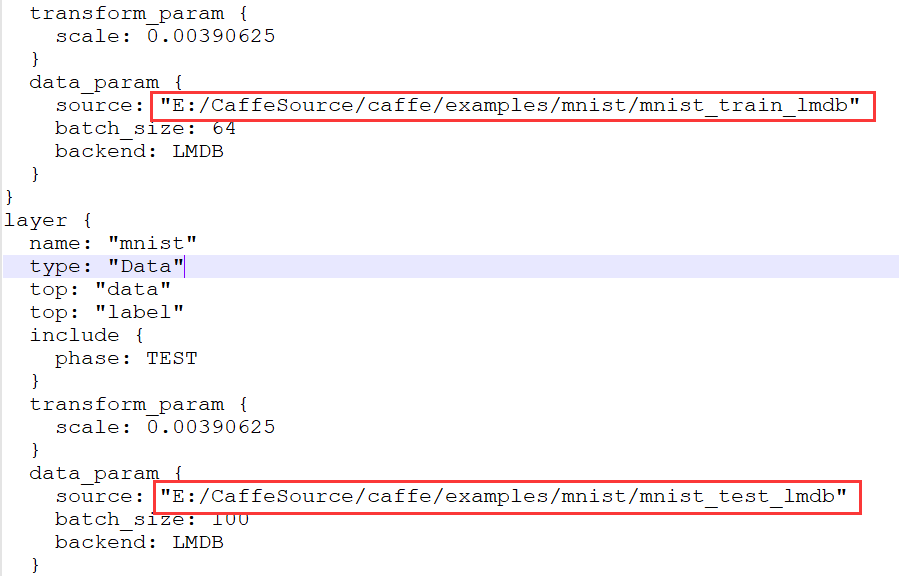
而后更改上图路径,这两个文件是执行./data/mnist/get_mnist.sh命令时下载的文件,将其路径添加进去
5、在目录examplesmnist下新建一个train_lenet.txt文档,添加下面一段,然后改后缀名为.bat
....Buildx64Releasecaffe.exe train --solver="lenet_solver.prototxt" --gpu 0
pause
或者在该目录下修改train_lenet.sh文件:
#!/usr/bin/env sh
set -e
BUILD=../../Build/x64/Release/
echo "Training lenet_solver.prototxt..."

$BUILD/caffe.exe train --solver=lenet_solver.prototxt $@
echo "Done."

read -p "回车继续..."
6、运行该文件,大概运行几分钟后结果如下:
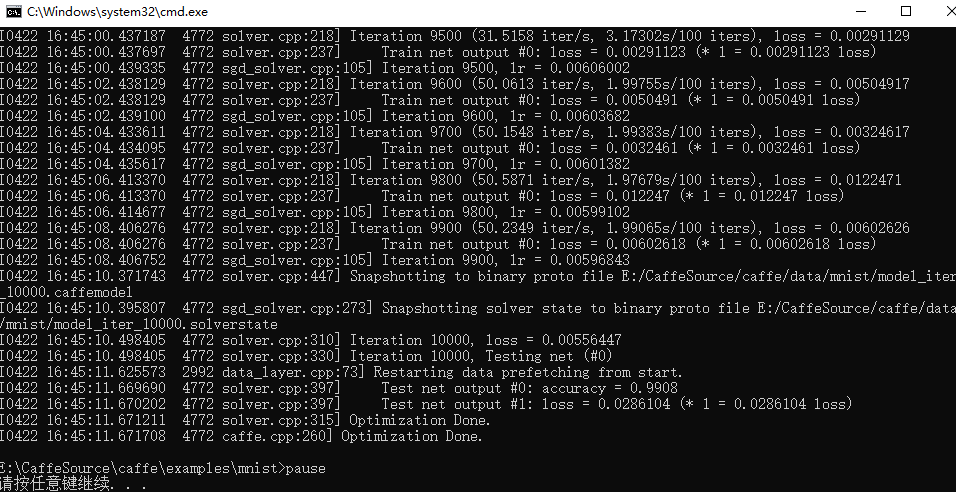
若没有报错,则测试就算大功告成啦!
可以看出准确度为99%,训练好的模型保存在 lenet_iter_10000.caffemodel, 训练状态保存在lenet_iter_10000.solverstate里,结果如下:
