WinForm界面使用IrisSkin,可以说做到了一键美化,当然美化的效果仁者见仁智者见智,可以挑选自己喜欢的。
1、IrisSkin下载地址:https://www.cr173.com/soft/69061.html
2、将下载的文件放到Debug下面。
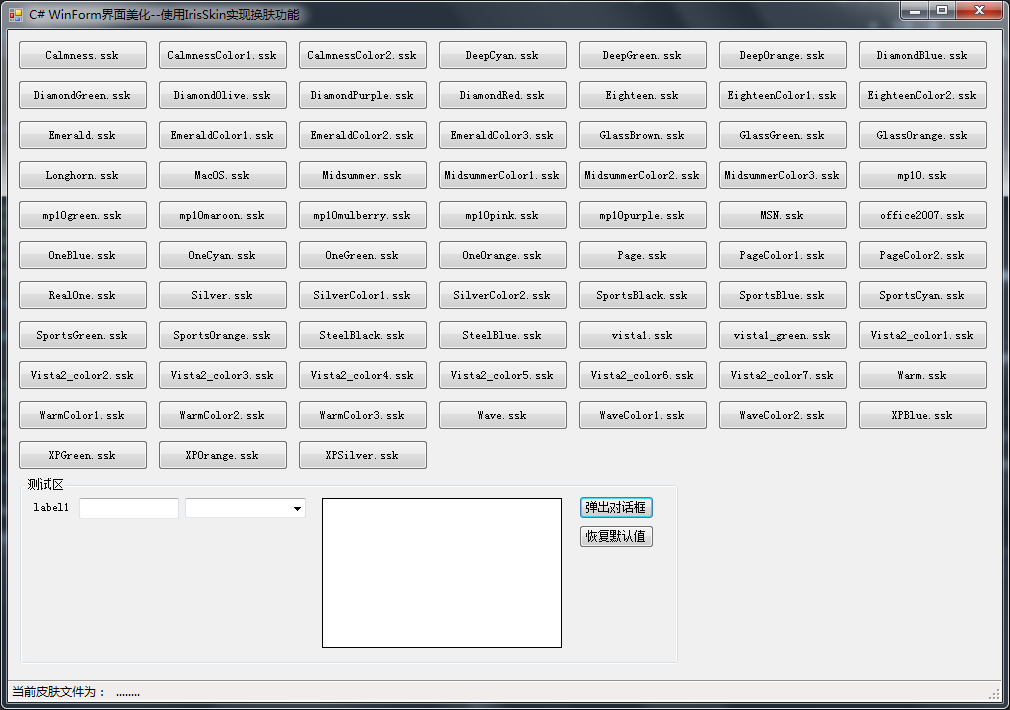
3、新建一个WinForm窗体,命名为Main:

4、Main代码实现如下:
        SkinEngine skinEngine = new SkinEngine();

        public Main()
        {
            InitializeComponent();

            #region 生成皮肤样式按钮
            string[] files = Directory.GetFiles(Path.Combine(Application.StartupPath, @"IrisSkin4Skins"), "*.ssk", SearchOption.AllDirectories);
            if (files != null && files.Length > 0)
            {
                //变量
                int index = 0;      //按钮序号
                int space = 10;     //按钮间隔
                int btnWidth = 130; //按钮宽度
                int btnHeight = 30; //按钮高度
                int btnCount = 7;   //每行按钮个数

                //每行显示7个按钮
                for (int rows = 0; rows < (files.Length % btnCount == 0 ? files.Length / btnCount : (files.Length / btnCount) + 1); rows++)
                {
                    //最后一行的按钮个数
                    int lastCout = files.Length % btnCount;
                    //生成按钮
                    if (index < (files.Length / btnCount) * btnCount)
                    {
                        for (int cols = 0; cols < btnCount; cols++)
                        {
                            Button btn = new Button
                            {
                                Location = new Point(cols * btnWidth + (cols + 1) * space, rows * btnHeight + (rows + 1) * space),
                                Width = btnWidth,
                                Height = btnHeight
                            };
                            string path = files[index];
                            string btnName = path.Substring(files[index].LastIndexOf(@"") + 1);
                            btn.Text = btnName;
                            btn.Click += (object sender, EventArgs e) => { skinEngine.Active = true; skinEngine.SkinAllForm = true; skinEngine.SkinFile = path; tsslSkinFile.Text = Path.Combine(Application.StartupPath, btnName); };
                            Controls.Add(btn);
                            index++;
                        }
                    }
                    else
                    {
                        for (int cols = 0; cols < lastCout; cols++)
                        {
                            Button btn = new Button
                            {
                                Location = new Point(cols * btnWidth + (cols + 1) * space, rows * btnHeight + (rows + 1) * space),
                                Width = btnWidth,
                                Height = btnHeight
                            };
                            string path = files[index];
                            string btnName = path.Substring(files[index].LastIndexOf(@"") + 1);
                            btn.Text = btnName;
                            btn.Click += (object sender, EventArgs e) => { skinEngine.Active = true; skinEngine.SkinAllForm = true; skinEngine.SkinFile = path; tsslSkinFile.Text = Path.Combine(Application.StartupPath, btnName); };
                            this.Controls.Add(btn);
                            index++;
                        }
                    }
                }
            }
            #endregion


        }

        /// <summary>
        /// 弹出对话框
        /// </summary>
        /// <param name="sender"></param>
        /// <param name="e"></param>
        private void button1_Click(object sender, EventArgs e)
        {
            MessageBox.Show("Hello World.", "提示", MessageBoxButtons.OK, MessageBoxIcon.Information);
        }

        /// <summary>
        /// 恢复默认值
        /// </summary>
        /// <param name="sender"></param>
        /// <param name="e"></param>
        private void button2_Click(object sender, EventArgs e)
        {
            skinEngine.Active = false;
        }
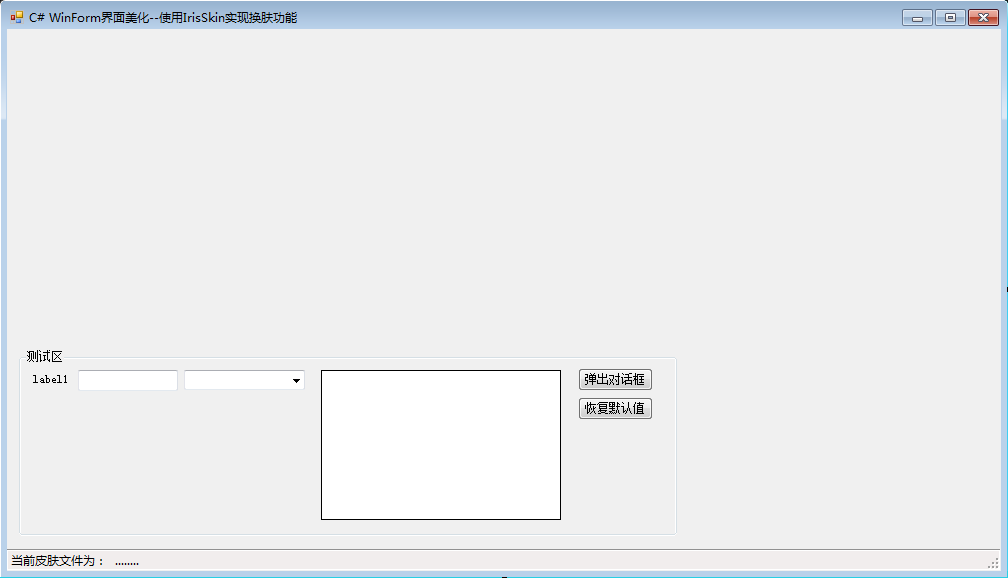
5、换肤渲染前效果:

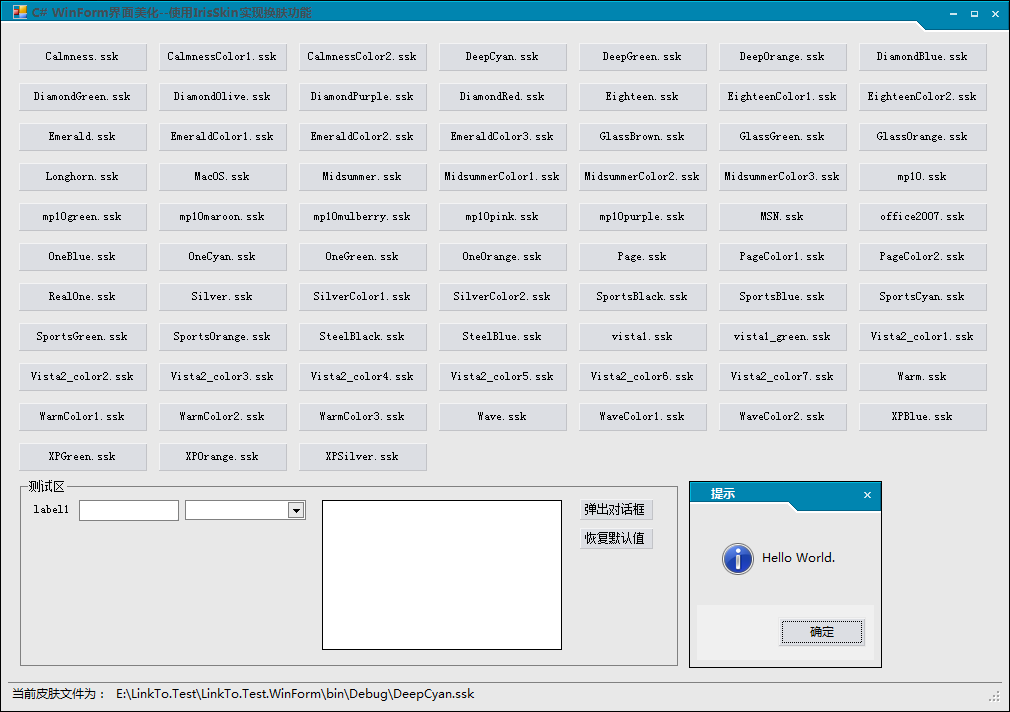
6、换肤如选DeepCyan.ssk,渲染的效果如下:

注:不想被渲染的控件,可以设其Tag属性值为9999,如测试区的DataGridView就设了此项。
好了,分享就到此结束了,希望对有此需要的人有一些帮助。