环境准备
机器信息
| 主机名 | 操作系统 | IP地址 |
|---|---|---|
| K8sm-218 | Centos 7.5-x86_64 | 172.17.0.218 |
| k8s-219 | Centos 7.5-x86_64 | 172.17.0.219 |
| k8s-220 | Centos 7.5-x86_64 | 172.17.0.220 |
关闭防火墙及selinux
# systemctl stop firewalld
# systemctl disable firewalld
# setenforce 0
修改hosts
172.17.0.218 k8sm-218
172.17.0.219 k8s-219
172.17.0.220 k8s-220
增加网络转发
# cat <<EOF >  /etc/sysctl.d/k8s.conf
net.bridge.bridge-nf-call-ip6tables = 1
net.bridge.bridge-nf-call-iptables = 1
EOF
# sysctl --system //使配置生效
安装docker
# wget -O /etc/yum.repos.d/docker-ce.repo https://mirrors.aliyun.com/docker-ce/linux/centos/docker-ce.repo
# yum install docker-ce-18.06.1.ce-3.el7 -y
# systemctl start docker
# systemctl enable docker
安装kubelet kubeadm kubectl
# cat <<EOF > /etc/yum.repos.d/kubernetes.repo
[kubernetes]
name=Kubernetes
baseurl=https://mirrors.aliyun.com/kubernetes/yum/repos/kubernetes-el7-x86_64
enabled=1
gpgcheck=1
repo_gpgcheck=1
gpgkey=https://mirrors.aliyun.com/kubernetes/yum/doc/yum-key.gpg https://mirrors.aliyun.com/kubernetes/yum/doc/rpm-package-key.gpg
EOF
# yum install  kubelet-1.13.3 -y
# yum install kubeadm-1.13.3 -y
# yum install kubectl-1.13.3 -y
# systemctl enable kubelet
初始化master
操作均在master中执行。
# kubeadm init --kubernetes-version=v1.13.3 --apiserver-advertise-address=172.17.0.218 --image-repository registry.aliyuncs.com/google_containers --pod-network-cidr=10.244.0.0/16 --service-cidr=10.96.0.0/12
--kubernetes-version:指定kubeadm版本;
--pod-network-cidr:指定pod所属网络
--image-repository 指定下载源
--service-cidr:指定service网段,负载均衡ip
--ignore-preflight-errors=Swap/all:忽略 swap/所有 报错
初始化成功:
 Your Kubernetes master has initialized successfully!

To start using your cluster, you need to run the following as a regular user:

  mkdir -p $HOME/.kube
  sudo cp -i /etc/kubernetes/admin.conf $HOME/.kube/config
  sudo chown $(id -u):$(id -g) $HOME/.kube/config

You should now deploy a pod network to the cluster.
Run "kubectl apply -f [podnetwork].yaml" with one of the options listed at:
  https://kubernetes.io/docs/concepts/cluster-administration/addons/

You can now join any number of machines by running the following on each node
as root:

  kubeadm join 172.17.0.218:6443 --token ai3bxc.zgq33i1sbdybhnci --discovery-token-ca-cert-hash sha256:20cb9ccc07e2612bc3b31bd7b5e8909bdbd3d293e7c7f4c18dbee6f62ea94788
增加kubectl权限访问:
# mkdir -p $HOME/.kube
# sudo cp -i /etc/kubernetes/admin.conf $HOME/.kube/config
# sudo chown $(id -u):$(id -g) $HOME/.kube/config
安装pod网络组件
# kubectl apply -f https://raw.githubusercontent.com/coreos/flannel/master/Documentation/kube-flannel.yml
查看镜像状态
# kubectl get pods -n kube-system
NAME                               READY   STATUS    RESTARTS   AGE
coredns-78d4cf999f-5hcjm           1/1     Running   0          29m
coredns-78d4cf999f-6mlql           1/1     Running   0          29m
etcd-k8sm-218                      1/1     Running   0          29m
kube-apiserver-k8sm-218            1/1     Running   0          28m
kube-controller-manager-k8sm-218   1/1     Running   0          29m
kube-flannel-ds-amd64-6kfhg        1/1     Running   0          22m
kube-proxy-b4txb                   1/1     Running   0          29m
kube-scheduler-k8sm-218            1/1     Running   0          28m
查看node状态
# kubectl get node
NAME       STATUS   ROLES    AGE   VERSION
k8sm-218   Ready    master   32m   v1.13.3
# kubectl get cs
NAME                 STATUS    MESSAGE              ERROR
controller-manager   Healthy   ok
scheduler            Healthy   ok
etcd-0               Healthy   {"health": "true"}
增加node到集群里
操作在node中执行。
// master初始化后的命令
# kubeadm join 172.17.0.218:6443 --token ai3bxc.zgq33i1sbdybhnci --discovery-token-ca-cert-hash sha256:20cb9ccc07e2612bc3b31bd7b5e8909bdbd3d293e7c7f4c18dbee6f62ea94788
master节点查看node状态
# kubectl get node
NAME       STATUS   ROLES    AGE    VERSION
k8s-219    Ready    <none>   112m   v1.13.3
k8s-220    Ready    <none>   113m   v1.13.3
k8sm-218   Ready    master   162m   v1.13.3
测试集群是否正常
# kubectl create deployment nginx --image=nginx
deployment.apps/nginx created
# 创建service
# kubectl expose deployment nginx --port=80 --type=NodePort
service/nginx exposed
# kubectl get pods,svc
NAME                       READY   STATUS    RESTARTS   AGE
pod/nginx-5c7588df-hrhfh   1/1     Running   0          2m16s

NAME                 TYPE        CLUSTER-IP     EXTERNAL-IP   PORT(S)        AGE
service/kubernetes   ClusterIP   10.96.0.1      <none>        443/TCP        3h6m
service/nginx        NodePort    10.97.240.92   <none>        80:30054/TCP   23s
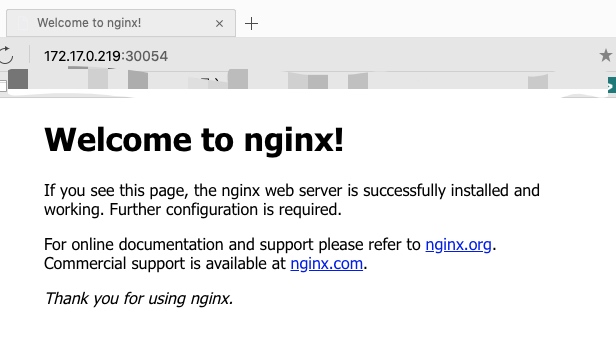
测试nginx
通过任意一个nodeip+端口 ,既可以访问到nginx页面

部署webui dashboard
下载官方的yaml文件
# wget https://raw.githubusercontent.com/kubernetes/dashboard/v1.10.1/src/deploy/recommended/kubernetes-dashboard.yaml
修改两个地方
第一个是修改镜像,kubernetes-dashboard.yaml配置文件112行
 90 # ------------------- Dashboard Deployment ------------------- #
 91
 92 kind: Deployment
 93 apiVersion: apps/v1
 94 metadata:
 95   labels:
 96     k8s-app: kubernetes-dashboard
 97   name: kubernetes-dashboard
 98   namespace: kube-system
 99 spec:
100   replicas: 1
101   revisionHistoryLimit: 10
102   selector:
103     matchLabels:
104       k8s-app: kubernetes-dashboard
105   template:
106     metadata:
107       labels:
108         k8s-app: kubernetes-dashboard
109     spec:
110       containers:
111       - name: kubernetes-dashboard
112         #image: k8s.gcr.io/kubernetes-dashboard-amd64:v1.10.1
113         image: mirrorgooglecontainers/kubernetes-dashboard-amd64:v1.10.0
114         ports:
115         - containerPort: 8443
116           protocol: TCP
第二个是添加一个type,指定端口类型为 NodePort,这样外界可以通过地址 nodeIP:nodePort 访问 dashboard,kubernetes-dashboard.yaml配置文件158行
148 # ------------------- Dashboard Service ------------------- #
149
150 kind: Service
151 apiVersion: v1
152 metadata:
153   labels:
154     k8s-app: kubernetes-dashboard
155   name: kubernetes-dashboard
156   namespace: kube-system
157 spec:
158   type: NodePort
159   ports:
160     - port: 443
161       targetPort: 8443
162   selector:
163     k8s-app: kubernetes-dashboard
部署到k8s集群
# kubectl apply -f kubernetes-dashboard.yaml
# kubectl get pods -n kube-system |grep dashboard
kubernetes-dashboard-6685cb584f-xlk2h   1/1     Running   0          98s
# kubectl get pods,svc -n kube-system
NAME                                        READY   STATUS    RESTARTS   AGE
pod/coredns-78d4cf999f-5hcjm                1/1     Running   0          3h21m
pod/coredns-78d4cf999f-6mlql                1/1     Running   0          3h21m
pod/etcd-k8sm-218                           1/1     Running   0          3h20m
pod/kube-apiserver-k8sm-218                 1/1     Running   0          3h19m
pod/kube-controller-manager-k8sm-218        1/1     Running   0          3h20m
pod/kube-flannel-ds-amd64-6kfhg             1/1     Running   0          3h13m
pod/kube-flannel-ds-amd64-c4fr4             1/1     Running   0          152m
pod/kube-flannel-ds-amd64-qhc2w             1/1     Running   0          151m
pod/kube-proxy-7hntq                        1/1     Running   0          151m
pod/kube-proxy-b4txb                        1/1     Running   0          3h21m
pod/kube-proxy-bz529                        1/1     Running   0          152m
pod/kube-scheduler-k8sm-218                 1/1     Running   0          3h20m
pod/kubernetes-dashboard-6685cb584f-xlk2h   1/1     Running   0          3m5s

NAME                           TYPE        CLUSTER-IP    EXTERNAL-IP   PORT(S)         AGE
service/kube-dns               ClusterIP   10.96.0.10    <none>        53/UDP,53/TCP   3h21m
service/kubernetes-dashboard   NodePort    10.104.4.26   <none>        443:31667/TCP   3m5s
通过https访问ui
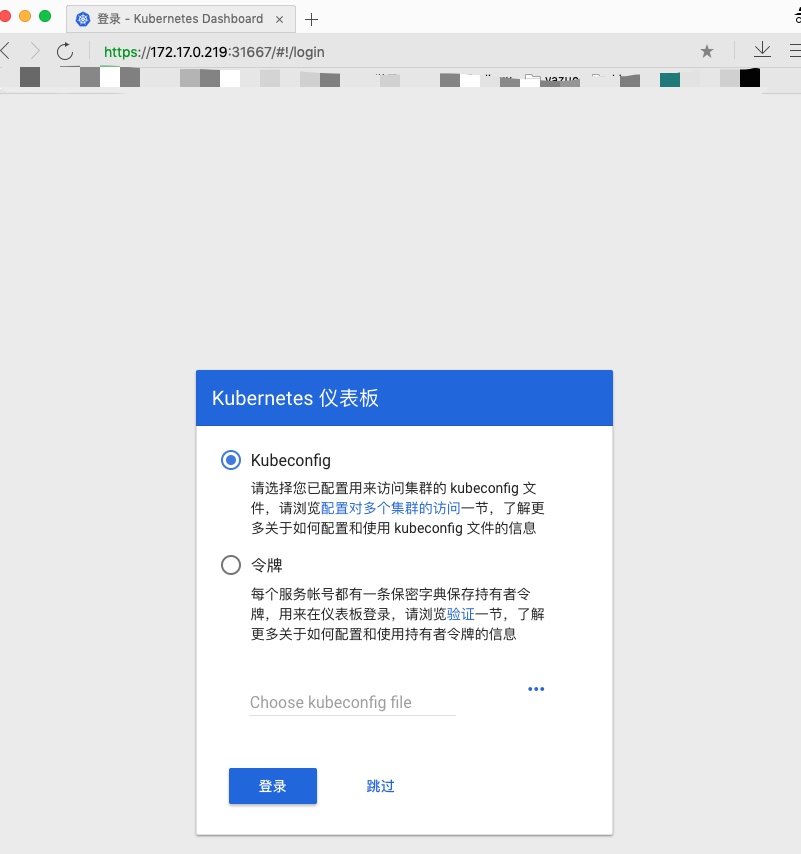 

Token (令牌) 认证方式
此操作在master中执行。
1.授权 (所有 namespace )
#创建serviceaccount
[root@master ~]# kubectl create serviceaccount dashboard-serviceaccount -n kube-system
#创建clusterrolebinding
# kubectl create clusterrolebinding dashboard-cluster-admin --clusterrole=cluster-admin --serviceaccount=kube-system:dashboard-serviceaccount
2.获取令牌(用于网页登录)
#查看口令列表
# kubectl get secret -n kube-system |grep dashboard-serviceaccount-token
dashboard-serviceaccount-token-f45wg             kubernetes.io/service-account-token   3      22s
#获取口令
# kubectl describe secret dashboard-serviceaccount-token-f45wg -n kube-system
将获取到的token放在令牌里
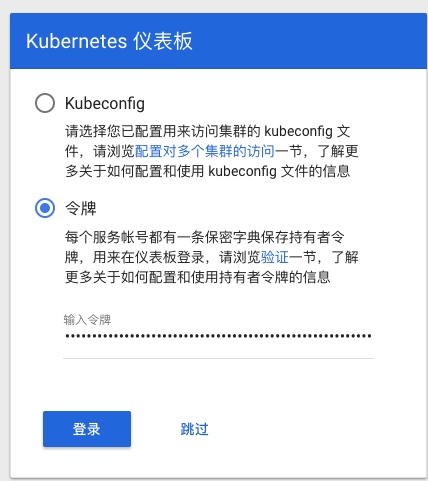 

登录成功
 

至此,K8S集群+Dashboard搭建成功!