Making a performant watch face
Posted by Hoi Lam, Developer Advocate, Android Wear
What’s a better holiday gift than great performance? You’ve got a great watch face idea -- now, you want to make sure the face you’re presenting to the world is one of care and attention to detail.
At the core of the watch face's process is an onDraw method for canvas operations. This allows maximum flexibility for your design, but also comes with a few performance caveats. In this blog post, we will mainly focus on performance using the real life journey of how we optimised the Santa Tracker watch face, more than doubling the number of fps (from 18 fps to 42 fps) and making the animation sub-pixel smooth.
Starting point - 18 fps
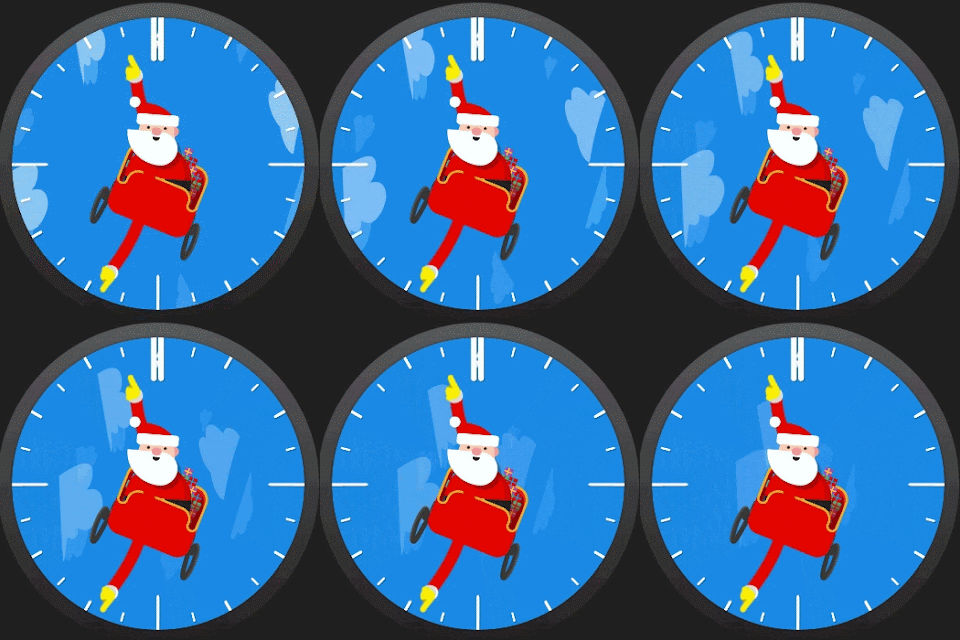
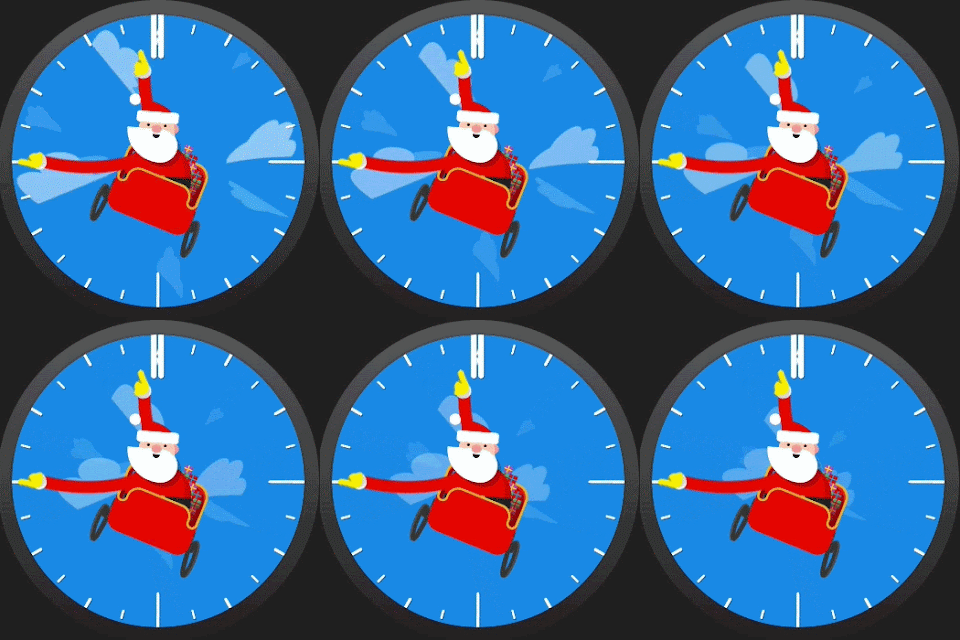
Our Santa watch face contains a number of overlapping bitmaps that are used to achieve our final image. Here's a list of them from bottom to top:
- Background (static)
- Clouds which move to the middle
- Tick marks (static)
- Santa figure and sledge (static)
- Santa’s hands - hours and minutes
- Santa’s head (static)
The journey begins with these images...
Large images kill performance (+14 fps)
Image size is critical to performance in a Wear application, especially if the images will be scaled and rotated. Wasted pixel space (like Santa’s arm here) is a common asset mistake:
| Before: 584 x 584 = 341,056 pixels | After: 48*226 = 10,848 (97% reduction) |
 |
 |
It's tempting to use bitmaps from the original mock up that have the exact location of watch arms and components in absolute space. Sadly, this creates problems, like in Santa's arm here. While the arm is in the correct position, even transparent pixels increase the size of the image, which can cause performance problems due to memory fetch. You'll want to work with your design team to extract padding and rotational information from the images, and rely on the system to apply the transformations on our behalf.
Since the original image covers the entire screen, even though the bitmap is mostly transparent, the system still needs to check every pixel to see if they have been impacted. Cutting down the area results in significant gains in performance. After correcting both of the arms, the Santa watch face frame rate increased by 10 fps to 28 fps (fps up 56%). We saved another 4 fps (fps up 22%) by cropping Santa’s face and figure layer. 14 fps gained, not bad!
Combine Bitmaps (+7 fps)
Although it would be ideal to have the watch tick marks on top of our clouds, it actually does not make much difference visually as the clouds themselves are transparent. Therefore there is an opportunity to combine the background with the ticks.
 +
+ 
When we combined these two views together, it meant that the watch needed to spend less time doing alpha blending operations between them, saving precious CPU time. So, consider collapsing alpha blended resources wherever we can in order to increase performance. By combining two full screen bitmaps, we were able to gain another 7 fps (fps up 39%).
Anti-alias vs FilterBitmap flags - what should you use? (+2 fps)
Android Wear watches come in all shapes and sizes. As a result, it is sometimes necessary to resize a bitmap before drawing on the screen. However, it is not always clear what options developers should select to make sure that the bitmap comes out smoothly. With canvas.drawBitmap, developers need to feed in a Paint object. There are two important options to set - they are anti-alias and FilterBitmap. Here’s our advice:
- Anti-alias does not do anything for bitmaps with transparent edges. We often switch on the anti-alias option by default as developers when we are creating a Paint object. However, this option only really makes sense for vector objects. For bitmaps, this is used to blend the rectangular edges if it is rotated or skewed and it has no impact if the edge pixels are transparent (as we would imagine most watch face arms would be). The hand on the left below has anti-alias switched on, the one on the right has it switched off. So turn off anti-aliasing for bitmaps to gain performance back. For our watch face, we gained another 2 fps (fps up 11%) by switching this option off.


- Switch on FilterBitmap for all bitmap objects which are on top of other objects - this option smooths the edges when drawBitmap is called. This should not be confused with the filter option on Bitmap.createScaledBitmap for resizing bitmaps. We need both to be turned on. The bitmaps below are the magnified view of Santa’s hand. The one on the left has FilterBitmap switched off and the one on the right has FilterBitmap switched on.


Eliminate expensive calls in the onDraw loop (+3 fps)
onDraw is the most critical function call in watch faces. It's called for every drawable frame, and the actual painting process cannot move forward until it's finished. As such, our onDraw method should be as light and as performant as possible. Here's some common problems that developers run into that can be avoided:
- Do move heavy and common code to a precompute function - e.g. if we commonly grab R.array.cloudDegrees, try doing that in onCreate, and just referencing it in the onDraw loop.
- Don’t repeat the same image transform in onDraw - it’s common to resize bitmaps at runtime to fit the screen size but this is not available in onCreate. To avoid resizing the bitmap over and over again in onDraw, overrideonSurfaceChanged where width and height information are available and resize images there.
- Don't allocate objects in onDraw - this leads to high memory churn which will force garbage collection events to kick off, killing frame rates.
- Do analyze the CPU performance by using a tool such as the Android Device Monitor. It’s important that the onDraw execution time is short and occurs in a regular period.
Following these simple rules will improve rendering performance drastically.
In the first version, the Santa onDraw routine has a rogue line:
int[] cloudDegrees =
    getResources().getIntArray(R.array.cloudDegrees);
This loads the int array on every call from resources which is expensive. By eliminating this, we gained another 3 fps (fps up 17%).
Sub-pixel smooth animation (-2 fps)
For those keeping count, we should be 44 fps, so why is the end product 42 fps? The reason is a limitation with canvas.drawBitmap. Although this command takes left and top positioning settings as a float, the API actually only deals with integers if it is purely translational for backwards compatibility reasons. As a result, the cloud can only move in increments of a whole pixel resulting in janky animations. In order to be sub-pixel smooth, we actually need to draw and then rotate rather than having pre-rotate clouds which moves towards Santa. This additional rotation costs us 2 fps. However, the effect is worthwhile as the animation is now sub-pixel smooth.
Before - fast but janky and wobbly
for (int i = 0; i < mCloudBitmaps.length; i++) {
    float r = centerX - (timeElapsed / mCloudSpeeds[i]) % centerX;
    float x = centerX +
        -1 * (r * (float) Math.cos(Math.toRadians(cloudDegrees[i] + 90)));
    float y = centerY -
        r * (float) Math.sin(Math.toRadians(cloudDegrees[i] + 90));
    mCloudFilterPaints[i].setAlpha((int) (r/centerX * 255));
    Bitmap cloud = mCloudBitmaps[i];
    canvas.drawBitmap(cloud,
        x - cloud.getWidth() / 2,
        y - cloud.getHeight() / 2,
        mCloudFilterPaints[i]);
}
After - slightly slower but sub-pixel smooth
for (int i = 0; i < mCloudBitmaps.length; i++) {
    canvas.save();
    canvas.rotate(mCloudDegrees[i], centerX, centerY);
    float r = centerX - (timeElapsed / (mCloudSpeeds[i])) % centerX;
    mCloudFilterPaints[i].setAlpha((int) (r / centerX * 255));
    canvas.drawBitmap(mCloudBitmaps[i], centerX, centerY - r,
        mCloudFilterPaints[i]);
    canvas.restore();
}


Before: Integer translation values create janky, wobbly animation. After: smooth sailing!
Quality on every wrist
The watch face is the most prominent UI element in Android Wear. As craftspeople, it is our responsibility to make it shine. Let’s put quality on every wrist!