1 说明
- 前文Centos7搭建Harbor私有仓库(一)中成功搭建了Harbor,但,是以http方式搭建的,这里我们修改为https方式
- 以下基于镜像CentOS-7-x86_64-Minimal-1804进行搭建
- 均已
root用户进行操作
2 生成自签名证书
这里我们使用https://github.com/Fishdrowned/ssl提供的shell脚本生成ssl证书,在命令行中输入以下命名:
git clone https://github.com/Fishdrowned/ssl.git #将项目下载到本地
项目的目录结构如下:
.
├── LICENSE
├── README.md
├── ca.cnf
├── docs
│   ├── chrome-certs-details.png
│   ├── chrome-certs-ok.png
│   ├── chrome-settings-certs-imported.png
│   ├── chrome-settings-certs.png
│   ├── chrome-trust.md
│   └── output.png
├── flush.sh
├── gen.cert.sh
└── gen.root.sh
如果需要修改CA、证书相关信息,可以编辑ca.cnf和gen.cert.sh替换对应的内容。接下来,输入以下命令生成ssl证书,
./gen.cert.sh registry.anxminise.cc #生成registry.anxminise.cc域名的证书

目录中,会生成一个out目录,里面的registry.anxminise.cc目录存放了生成的证书,内容如下:
.
├── 20181011-0710
│   ├── registry.anxminise.cc.bundle.crt
│   ├── registry.anxminise.cc.crt
│   └── registry.anxminise.cc.csr.pem
├── registry.anxminise.cc.bundle.crt -> ./20181011-0710/registry.anxminise.cc.bundle.crt
├── registry.anxminise.cc.crt -> ./20181011-0710/registry.anxminise.cc.crt
├── registry.anxminise.cc.key.pem -> ../cert.key.pem
└── root.crt -> ../root.crt
其中,registry.anxminise.cc.crt是我们需要的证书,registry.anxminise.cc.key.pem是秘钥存储文件,将这两个文件上传到Harbor服务器,这里是192.168.1.112服务器。
3 Harbor服务器配置
3.1 配置Harbor的https证书
Harbor服务器上执行以下命令
mkdir -p /data/cert创建证书存放目录
mv registry.anxminise.cc.crt /data/cert/server.crt #将证书放到Harbor配置目录下
mv registry.anxminise.cc.key.pem /data/cert/server.key #将秘钥放到Harbor配置目录下
ll /data/cert #查看目录内容

3.2 配置Harbor以https启动
cd /opt/harbor #进入到harbor目录
vim harbor.cfg #编辑harbor的配置文件
编辑以下内容:
hostname = registry.anxminise.cc #配置harbor服务器的域名
ui_url_protocol = https #配置https方式启动
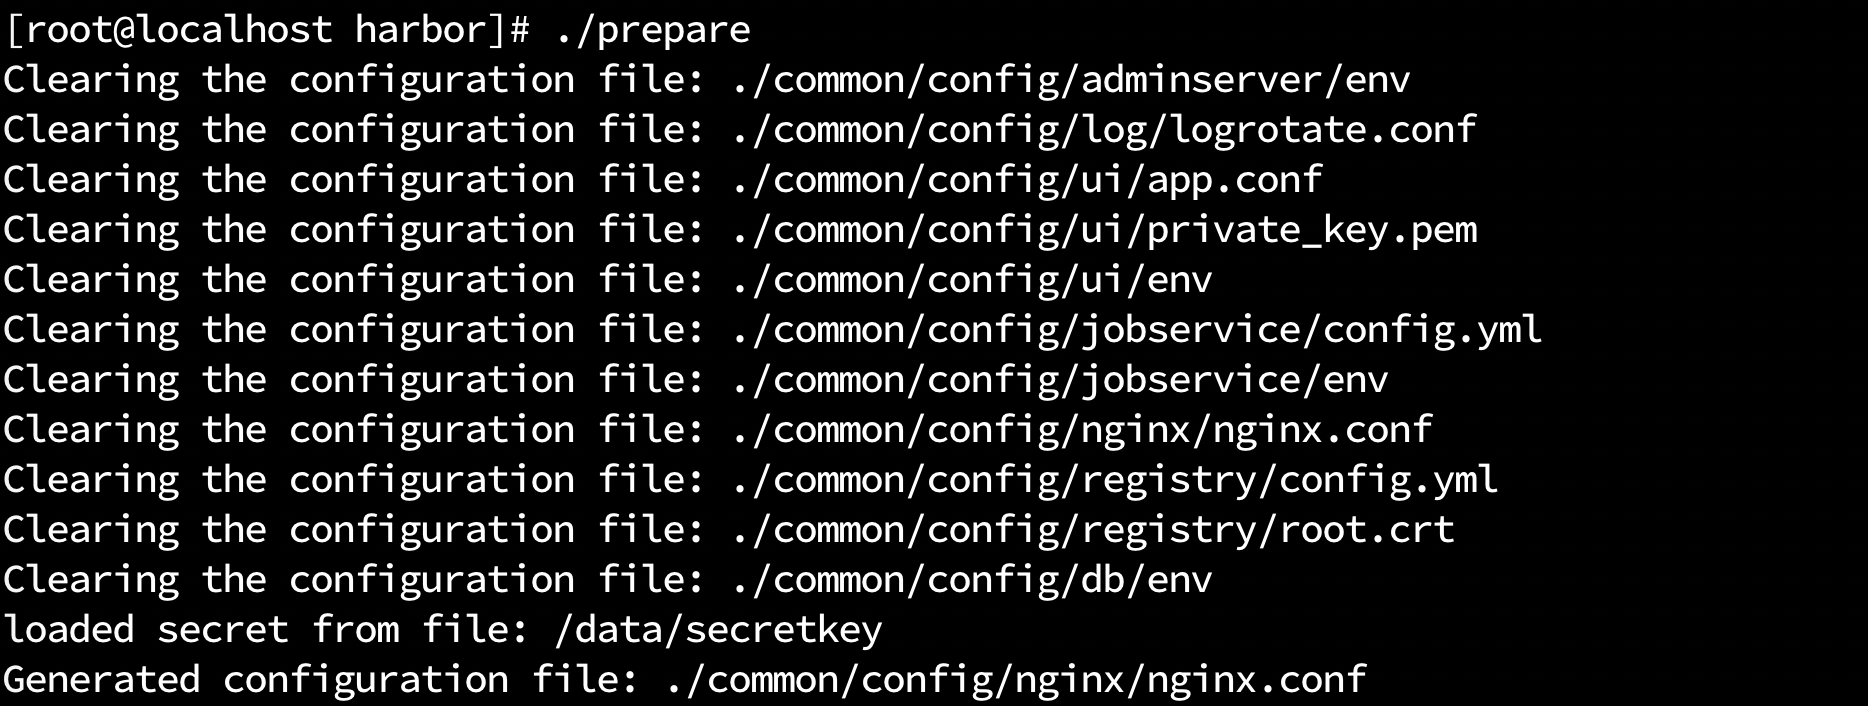
3.3 重新配置启动Harbor
./prepare #重新配置Harbor
./install.sh #重新执行Harbor安装,注:此处可能有更好的方式重启
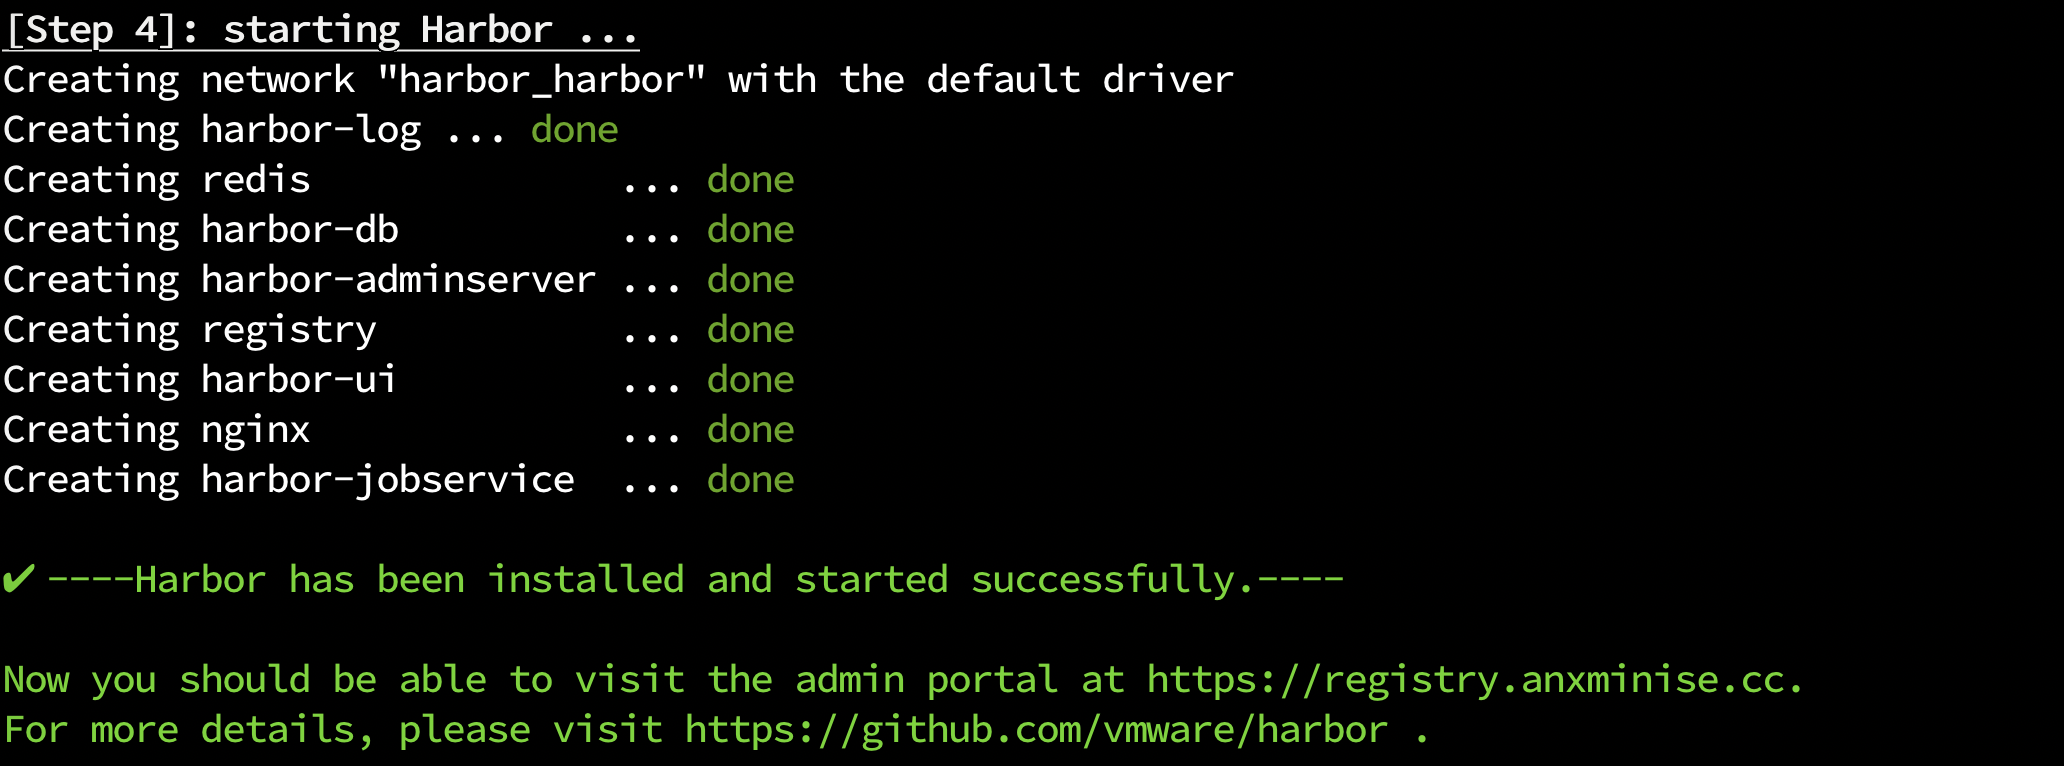
4 https访问Harbor
4.1 编辑hosts文件
编辑本地的/etc/hosts文件,加入registry.anxminise.cc域名,如下:
vim /etc/hosts #编辑hosts文件
文件最后添加如下内容:
192.168.1.112 registry.anxminise.cc
保存并退出
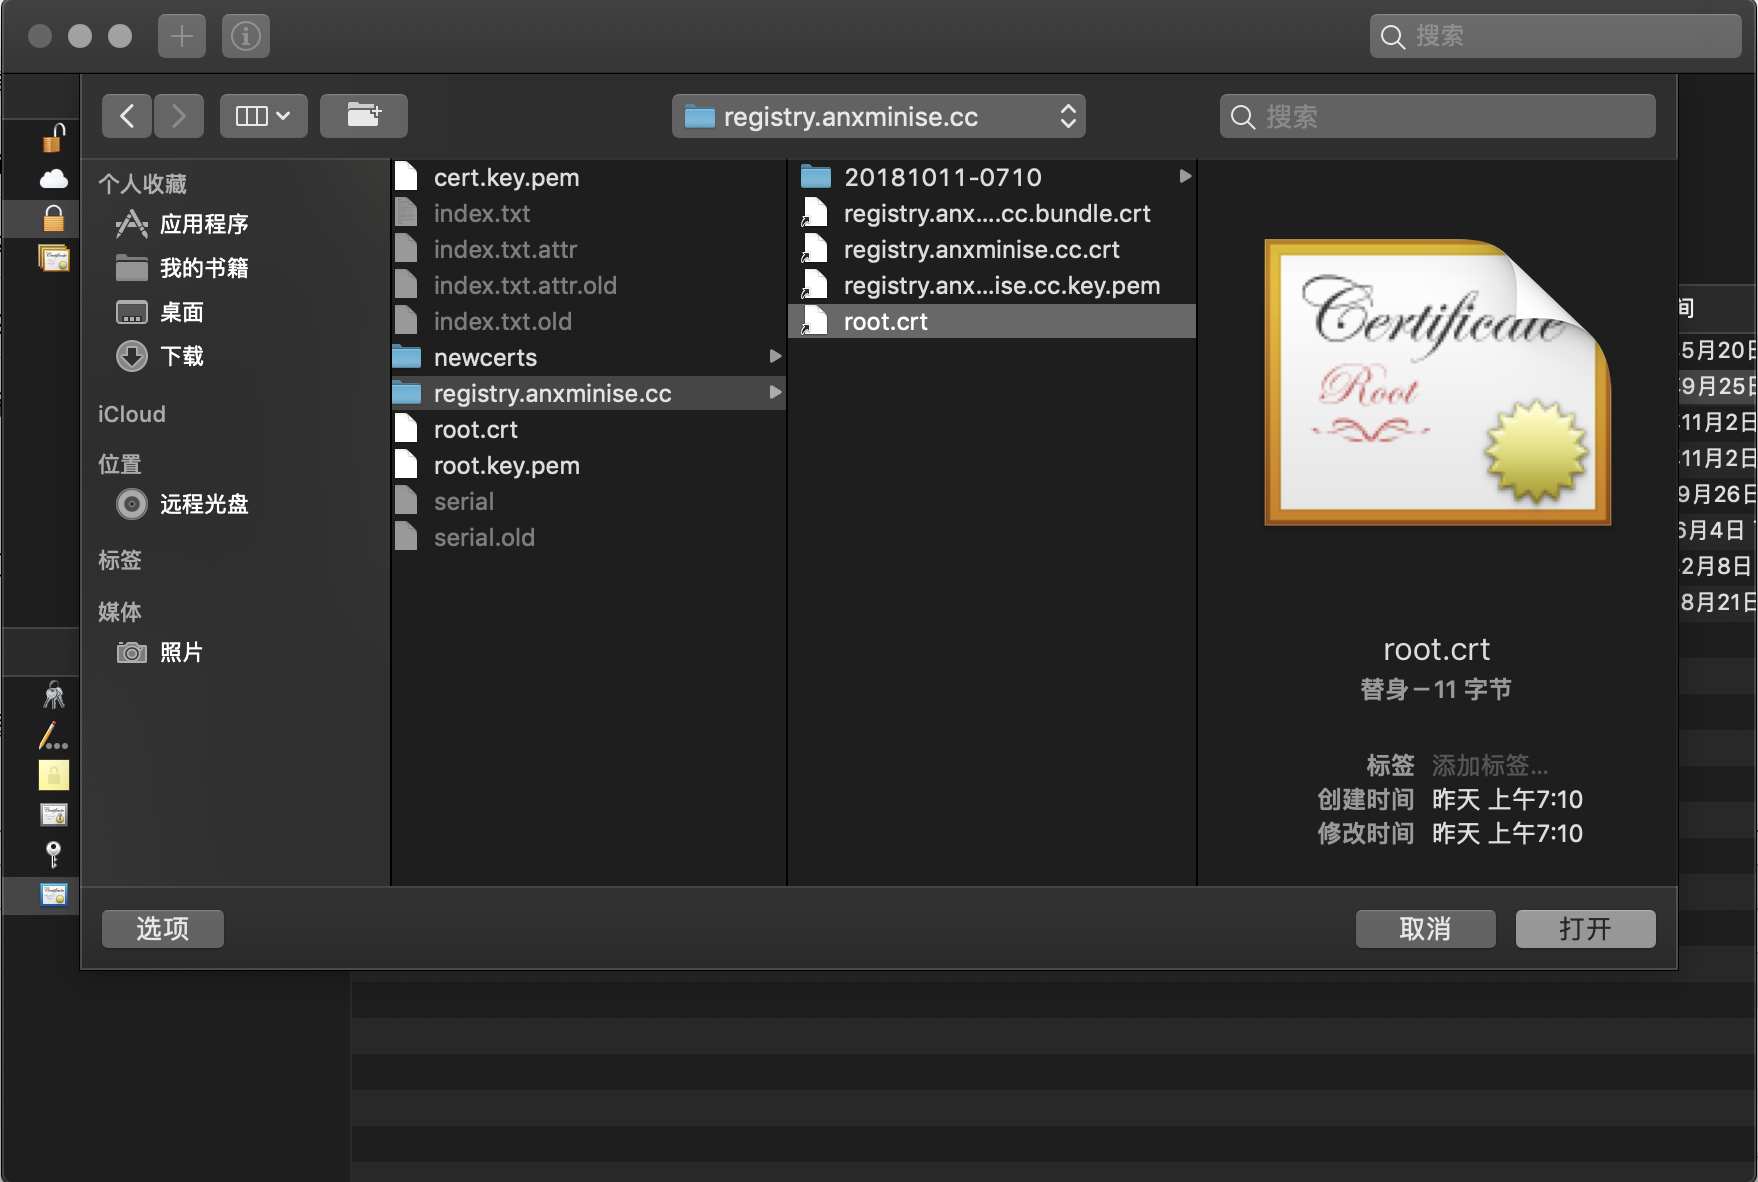
4.2 添加并信任根证书
4.2.1 Mac系统
打开钥匙串访问应用,添加生成的根证书,如下:
并设置证书为始终信任,如下:

4.2.2 Windows系统
待补充
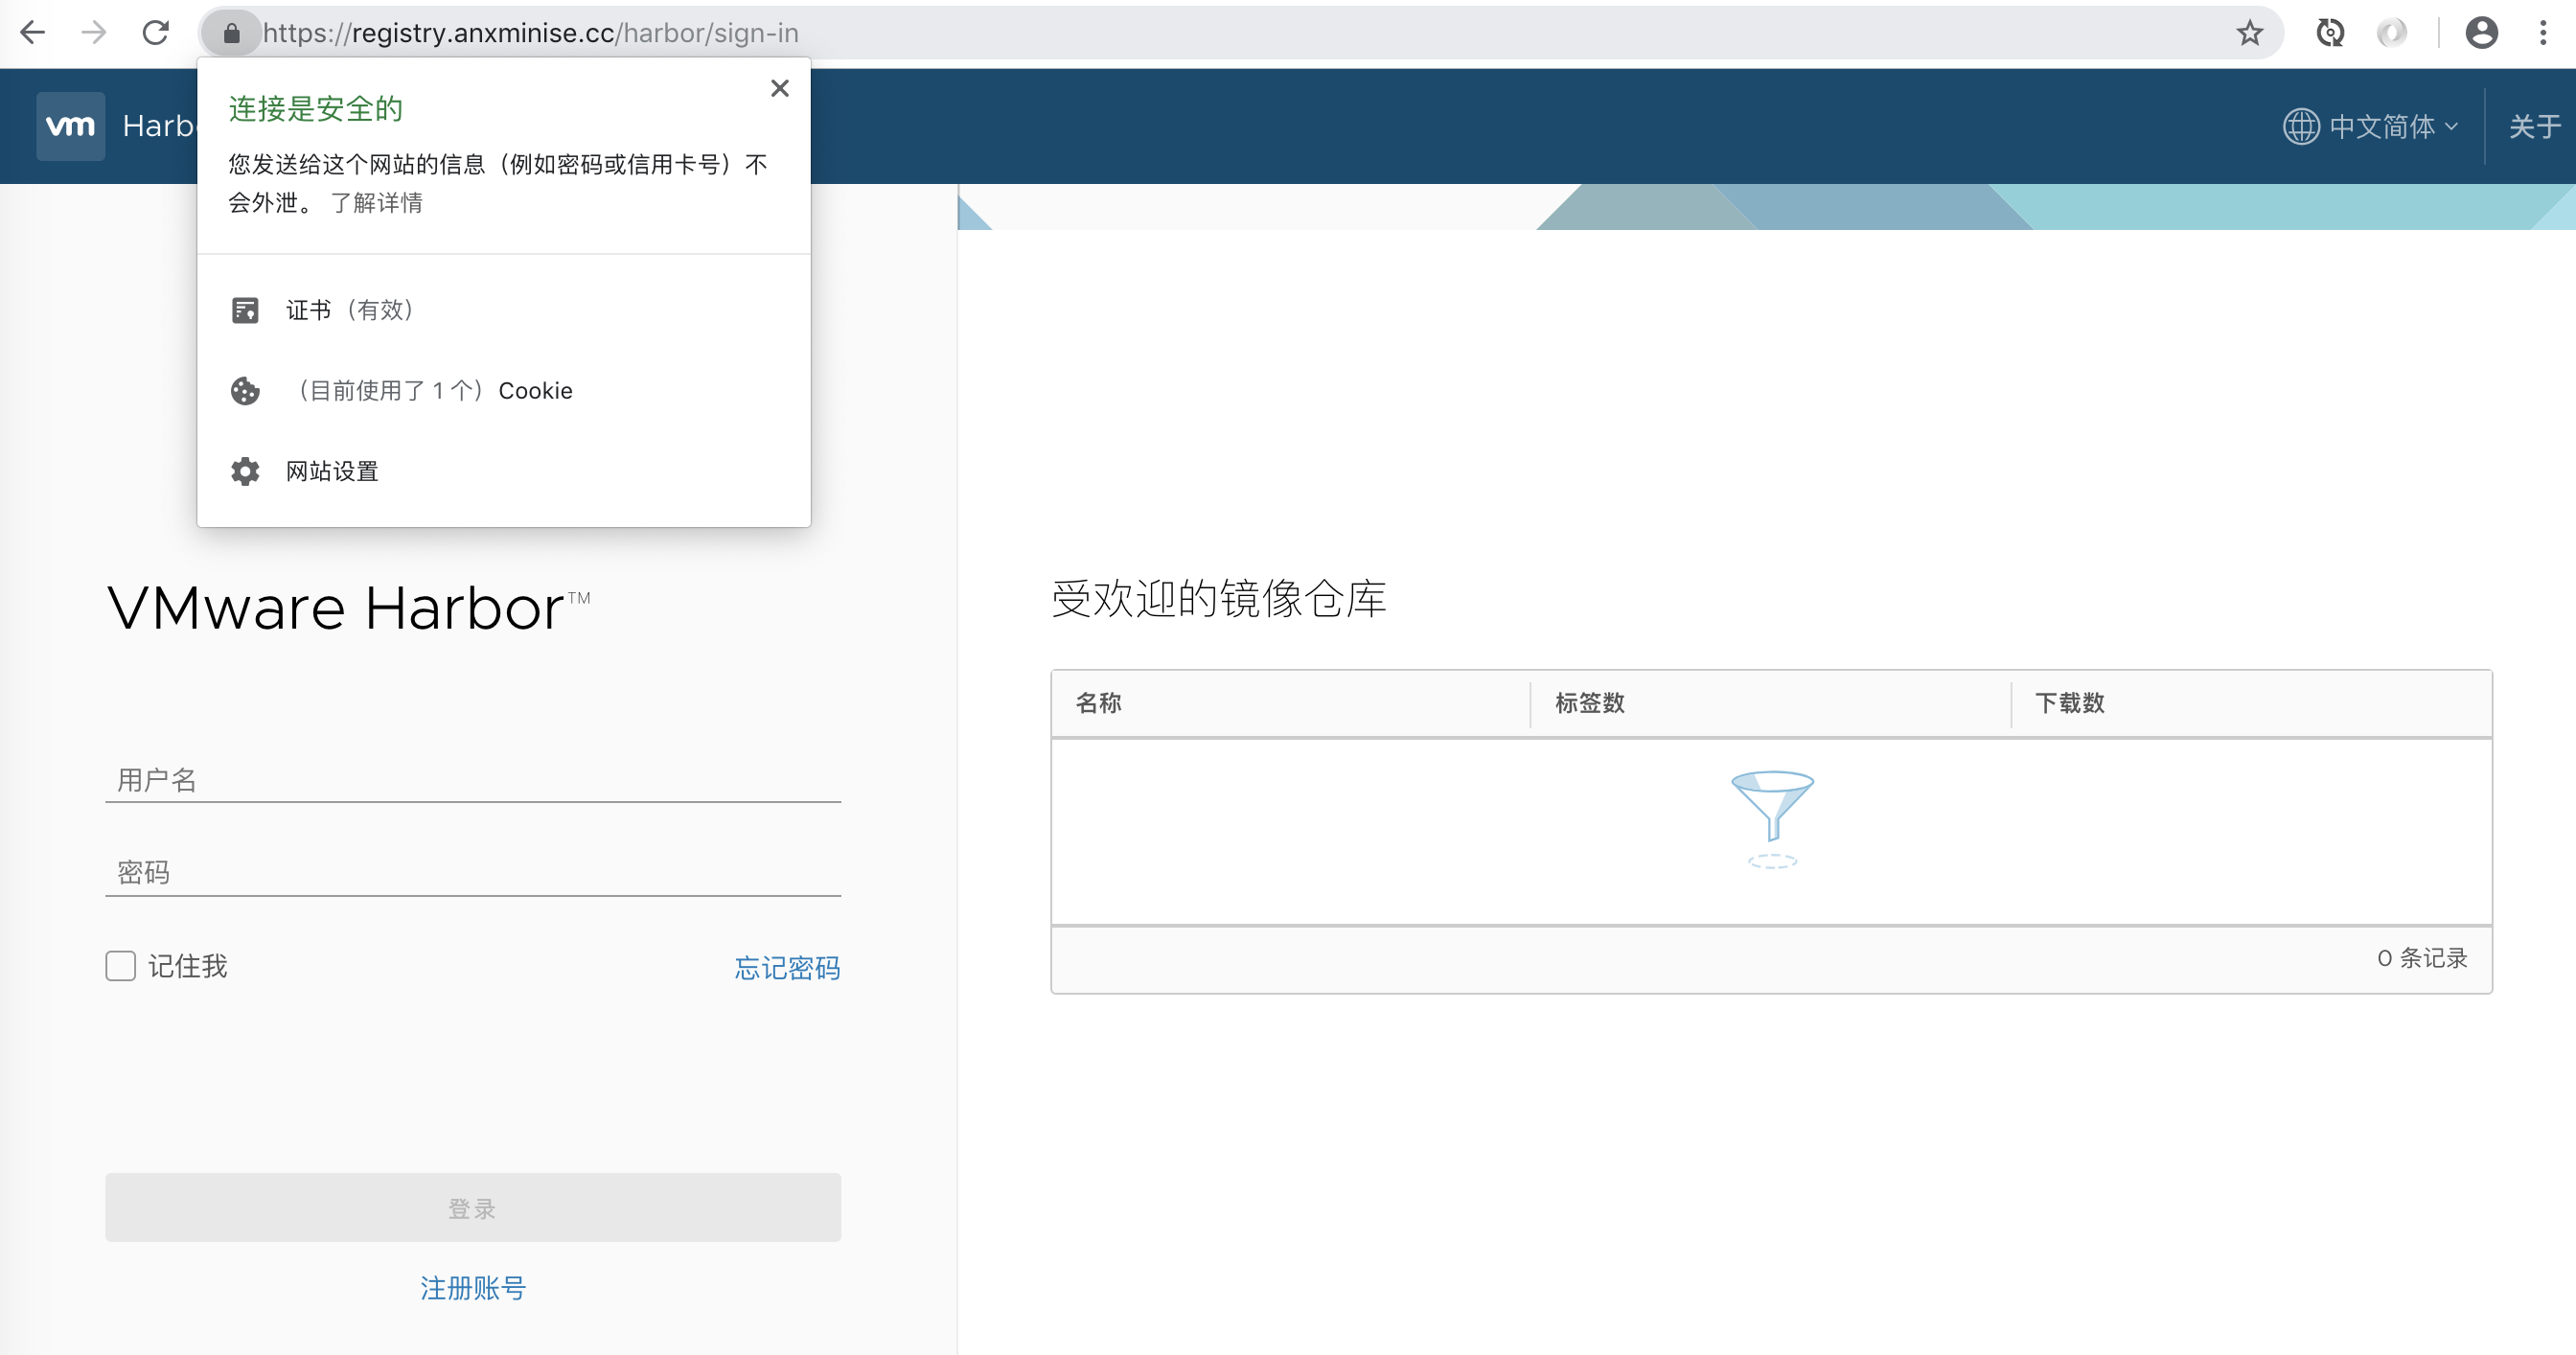
4.3 浏览器访问
浏览器中输入https://registry.anxminise.cc,如下: