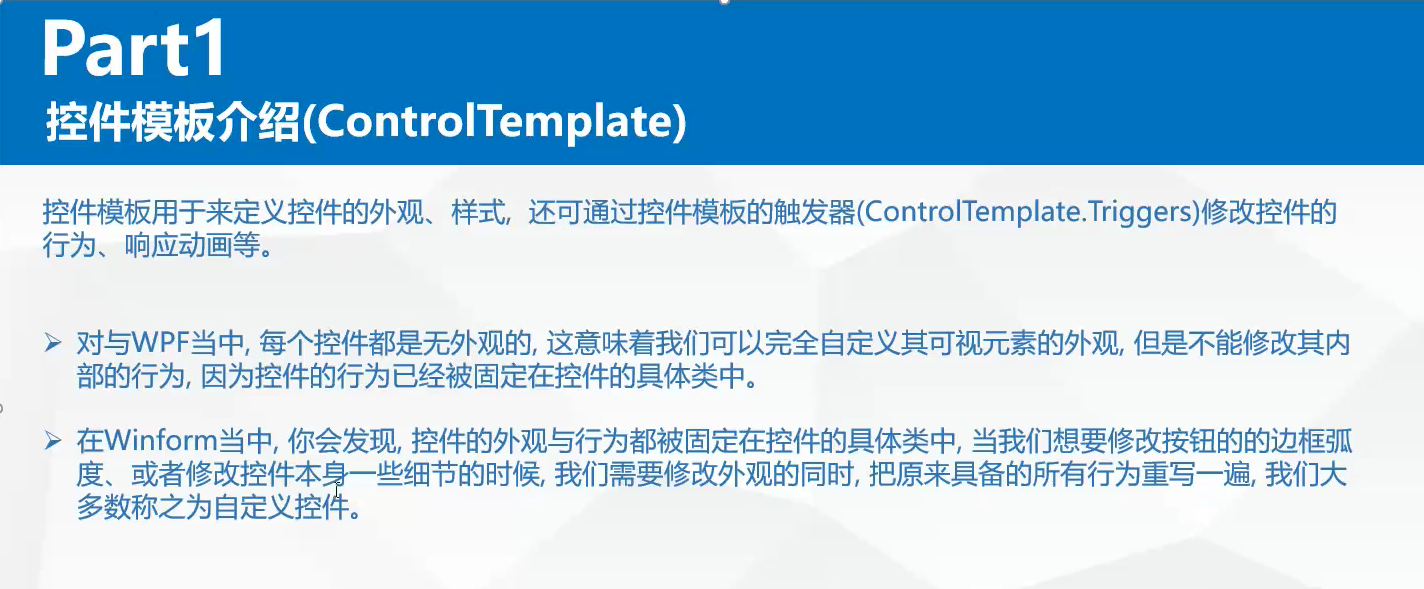
下面我们创建一个button控件
<UserControl x:Class="MyWpf.ControlTemplateTest"
             xmlns="http://schemas.microsoft.com/winfx/2006/xaml/presentation"
             xmlns:x="http://schemas.microsoft.com/winfx/2006/xaml"
             xmlns:mc="http://schemas.openxmlformats.org/markup-compatibility/2006"
             xmlns:d="http://schemas.microsoft.com/expression/blend/2008"
             xmlns:local="clr-namespace:MyWpf"
             mc:Ignorable="d"
             d:DesignHeight="450" d:DesignWidth="800">
    <UserControl.Resources>
        <Style x:Key="ButtonStyle1" TargetType="{x:Type Button}">
            <Setter Property="Template">
                <Setter.Value>
                    <ControlTemplate TargetType="{x:Type Button}">
                        <Border  x:Name="border" CornerRadius="15" BorderBrush="{TemplateBinding BorderBrush}"
  BorderThickness="{TemplateBinding BorderThickness}" Background="{TemplateBinding Background}" SnapsToDevicePixels="true">
                            <ContentPresenter Content="测试" x:Name="contentPresenter" Focusable="False"
HorizontalAlignment="{TemplateBinding HorizontalContentAlignment}" Margin="{TemplateBinding Padding}" RecognizesAccessKey="True"

 SnapsToDevicePixels="{TemplateBinding SnapsToDevicePixels}" VerticalAlignment="{TemplateBinding VerticalContentAlignment}"/>
                        </Border>
                    </ControlTemplate>
                </Setter.Value>
            </Setter>
        </Style>
    </UserControl.Resources>
    <Grid>
        <Button Width="100"  Height="50" Style="{DynamicResource ButtonStyle1}"></Button>
    </Grid>
</UserControl>
界面:

可以在Border标签中设置button的样式,当然也可以不在style标签中写也可以按照下面方式写:
<UserControl x:Class="MyWpf.ControlTemplateTest"
             xmlns="http://schemas.microsoft.com/winfx/2006/xaml/presentation"
             xmlns:x="http://schemas.microsoft.com/winfx/2006/xaml"
             xmlns:mc="http://schemas.openxmlformats.org/markup-compatibility/2006"
             xmlns:d="http://schemas.microsoft.com/expression/blend/2008"
             xmlns:local="clr-namespace:MyWpf"
             mc:Ignorable="d"
             d:DesignHeight="450" d:DesignWidth="800">
    <UserControl.Resources>
        <ControlTemplate x:Key="buttonTemplate" TargetType="Button">
                <Border  x:Name="border" CornerRadius="15" BorderBrush="{TemplateBinding BorderBrush}"
BorderThickness="{TemplateBinding BorderThickness}" Background="{TemplateBinding Background}" SnapsToDevicePixels="true">
                    <ContentPresenter Content="测试" x:Name="contentPresenter" Focusable="False"
HorizontalAlignment="{TemplateBinding HorizontalContentAlignment}" Margin="{TemplateBinding Padding}"
RecognizesAccessKey="True" SnapsToDevicePixels="{TemplateBinding SnapsToDevicePixels}"
VerticalAlignment="{TemplateBinding VerticalContentAlignment}"/>
                </Border>
            </ControlTemplate>
    </UserControl.Resources>
    <Grid>
        <Button Width="100"  Template="{StaticResource buttonTemplate}" Height="50" ></Button>
    </Grid>
</UserControl>
其它优秀博客:https://www.cnblogs.com/dingli/archive/2011/07/20/2112150.html,https://www.cnblogs.com/minhost/p/7600551.html