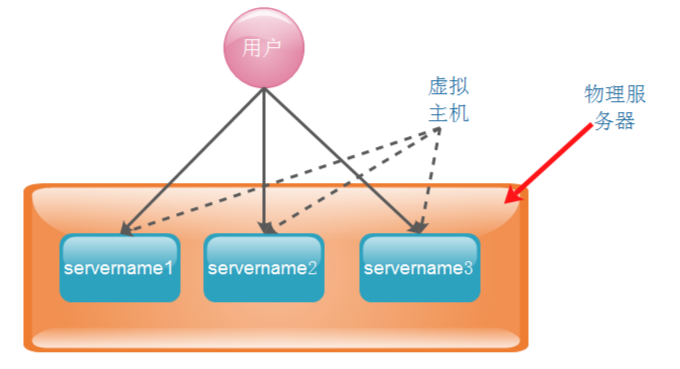
什么是虚拟主机:
虚拟主机是一种特殊的软硬件技术,它可以将网络上的每一台计算机分成多个虚拟主机,每个虚拟主机可以独立对外提供www服务,这样就可以实现一台主机对外提供多个web服务,每个虚拟主机之间是独立的,互不影响。
nginx可以实现虚拟主机的配置,nginx支持三种类型的虚拟主机配置。
1、基于域名的虚拟主机 (server_name来区分虚拟主机——应用:外部网站)
2、基于ip的虚拟主机, (一块主机绑定多个ip地址)
3、基于端口的虚拟主机 (端口来区分虚拟主机——应用:公司内部网站,外部网站的管理后台)
范例:
一、 基于域名的虚拟主机
1、配置通过域名区分的虚拟机
[root@mysql03 nginx]# cat conf/nginx.conf
worker_processes 1;
events {
worker_connections 1024;
}
http {
include mime.types;
default_type application/octet-stream;
server {
listen 80;
server_name www.nginx01.com;
location / {
root html;
index index.html index.htm;
}
}
server {
listen 80;
server_name www.nginx02.com;
location / {
root /root/html;
index index.html index.htm;
}
}
}
2、 为 域名为 www.nginx02.com 的虚拟机,创建 index 文件
[root@mysql03 ~]# mkdir -p /root/html
[root@mysql03 ~]# cd /root/html/
[root@mysql03 html]# vi index.html
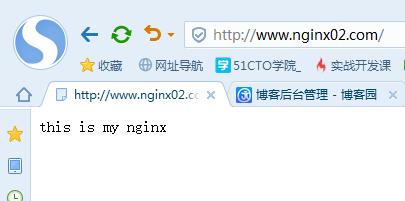
[root@mysql03 html]# cat index.html
<html>
<p>
this is my nginx
</p>
</html>
3、重新加载配置文件
[root@mysql03 nginx]# ./sbin/nginx -s reload
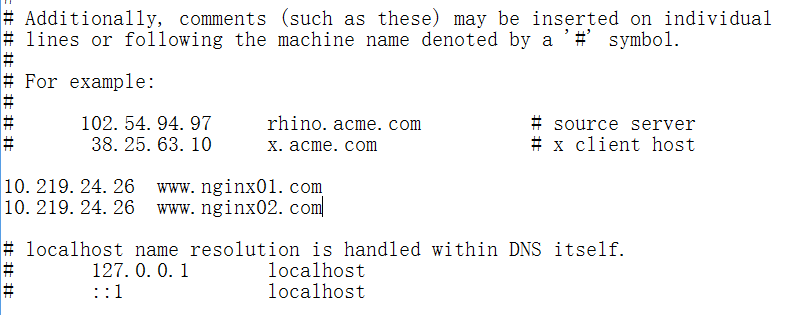
4、客户端配置路由映射
在 C:WindowsSystem32driversetchosts 文件中添加两行
10.219.24.26 www.nginx01.com
10.219.24.26 www.nginx02.com
如图:
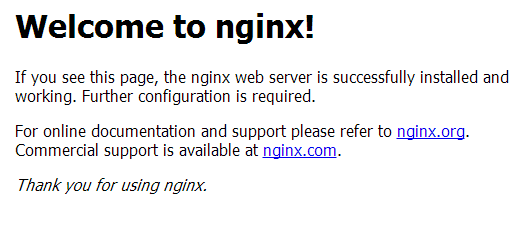
5、 测试访问
浏览器输入:http://www.nginx01.com/
浏览器输入:http://www.nginx02.com/
 >成功!
>成功!
补充:如果配置不能正常访问, 试参考 http://blog.csdn.NET/zhang123456456/article/details/73252148
二、 基于ip的虚拟主机
1. 一块网卡绑定多个ip
[root@mysql03 nginx]# ifconfig eth0:1 10.219.24.27
[root@mysql03 nginx]# ifconfig
eth0 Link encap:Ethernet HWaddr 00:0C:29:79:F4:02
inet addr:10.219.24.26 Bcast:10.255.255.255 Mask:255.0.0.0
...
eth0:1 Link encap:Ethernet HWaddr 00:0C:29:79:F4:02
inet addr:10.219.24.27 Bcast:10.255.255.255 Mask:255.0.0.0
UP BROADCAST RUNNING MULTICAST MTU:1500 Metric:1
2. 配置通过ip区分的虚拟机
[root@mysql03 nginx]# cat conf/nginx.conf
user root root; #说明:这里的user根据 自己的nginx.conf文件所在的目录的属主属性而定
worker_processes 1;
events {
worker_connections 1024;
}
http {
include mime.types;
default_type application/octet-stream;
server {
listen 10.219.24.26:80;
server_name www.nginx01.com;
location / {
root html;
index index.html index.htm;
}
}
server {
listen 10.219.24.27:80;
server_name www.nginx01.com;
location / {
root /root/html;
index index.html index.htm;
}
}
}
3. reopen nginx
[root@mysql03 nginx]# ./sbin/nginx -s reopen
补充:
-- 删除绑定的vip
ifconfig eth0:1 10.219.24.27 down
三、 基于端口的虚拟主机
配置通过端口区分的虚拟机
[root@mysql03 nginx]# cat conf/nginx.conf
user root root; #说明:这里的user根据 自己的nginx.conf文件所在的目录的属主属性而定
worker_processes 1;
events {
worker_connections 1024;
}
http {
include mime.types;
default_type application/octet-stream;
server {
listen 80;
server_name www.nginx01.com;
location / {
root html;
index index.html index.htm;
}
}
server {
listen 8080;
server_name www.nginx01.com;
location / {
root /root/html;
index index.html index.htm;
}
}
}