这篇文章已经过时了,新的主要配置一个就行了,请参照:http://www.cnblogs.com/alunchen/p/7397396.html
Swagger是非常流行用于编辑api给前端同事用、或者测试api的工具。
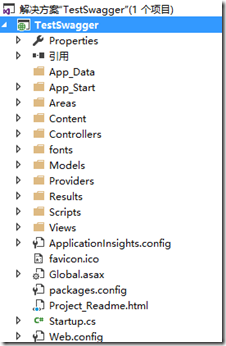
1. 首先,创建webpapi类型的项目 TestSwagger
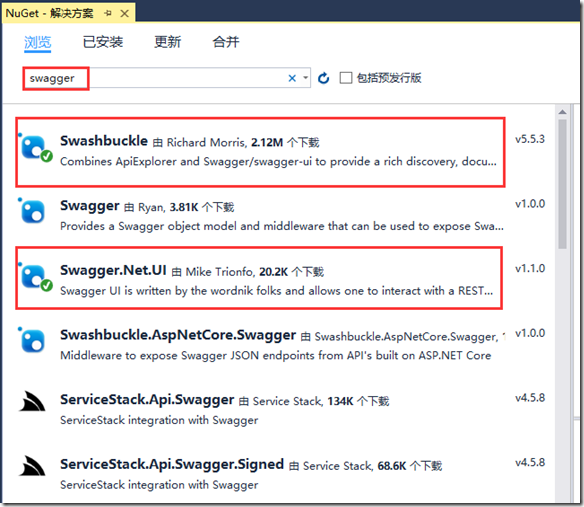
2. 安装swagger+swagger ui包
打开nuget界面,搜索swagger,并安装下面两个
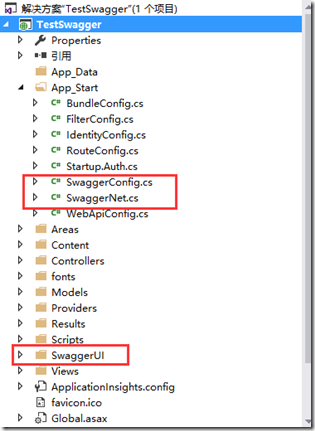
安装完成之后,可以看到这些类与文件都是安装完成时swagger添加的
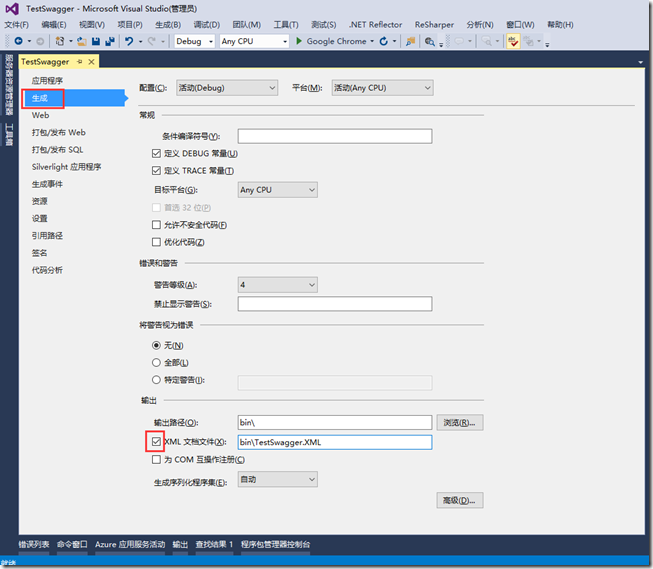
3. 打开xml文档文件
右键项目属性—>生成—>勾选XML文档文件
4. 运行
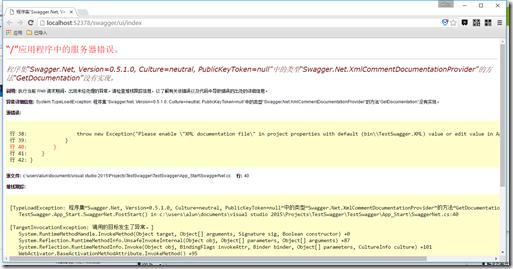
做好上述步骤后,运行,我发现我报错了
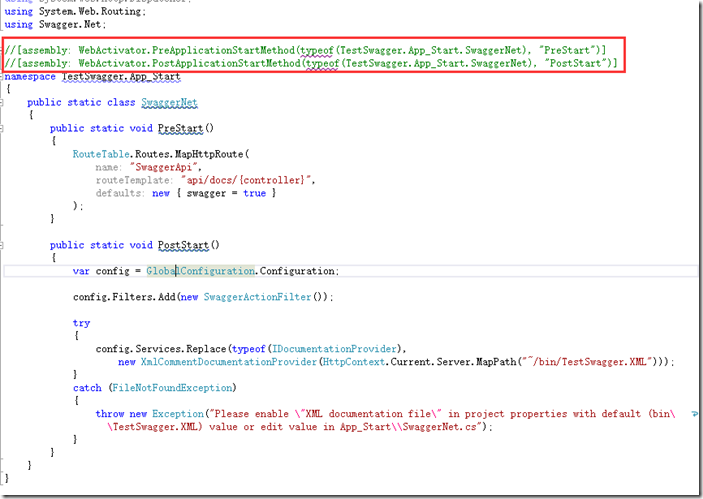
发生上述错误,请在,SwaggerNet类中,注释类上面的两行,就会运行成功
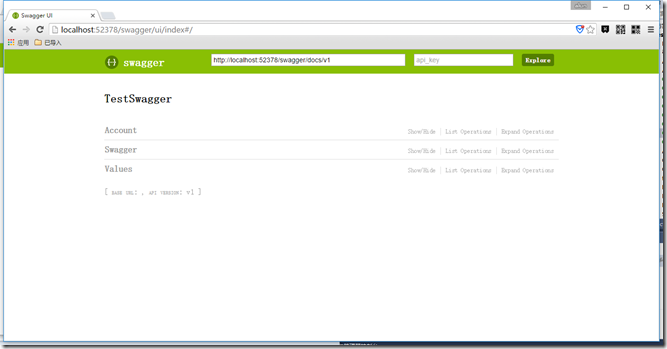
这时,运行成功
5. 添加注释
我们发现,安装完成后,写注释并没有在swagger页面上面增加,所以我们现在开开启注释
在SwaggerConfig类中,EnableSwagger的时候添加下面XML解析
c.IncludeXmlComments(GetXmlCommentsPath());
using System.Web.Http;
using WebActivatorEx;
using TestSwagger;
using Swashbuckle.Application;

[assembly: PreApplicationStartMethod(typeof(SwaggerConfig), "Register")]
namespace TestSwagger
{
    public class SwaggerConfig
    {
        public static void Register()
        {
            var thisAssembly = typeof(SwaggerConfig).Assembly;

            GlobalConfiguration.Configuration
                .EnableSwagger(c =>
                    {

                        c.SingleApiVersion("v1", "TestSwagger");
                        //添加XML解析
                        c.IncludeXmlComments(GetXmlCommentsPath());

                    })
                .EnableSwaggerUi(c =>
                    {

                    });
        }
        //添加XML解析
        private static string GetXmlCommentsPath()
        {
            return string.Format("{0}/bin/TestSwagger.XML", System.AppDomain.CurrentDomain.BaseDirectory);
        }
    }
}
注意修改相应的XML名字。
