config-server
1. File-->new spring project: config-server
2.add dependency
<parent>
        <groupId>org.springframework.boot</groupId>
        <artifactId>spring-boot-starter-parent</artifactId>
        <version>2.1.5.RELEASE</version>
        <relativePath/> <!-- lookup parent from repository -->
    </parent>
        <dependency>
            <groupId>org.springframework.cloud</groupId>
            <artifactId>spring-cloud-config-server</artifactId>
        </dependency>
3.Edit application.yml
server:
  port: 8000
spring:
  application:
    name: config-server
  cloud:
    config:
      server:
        git:
          uri: http://localhost:3380/root/smile.git
          search-paths: config-repo
          username: root
          password: root123456
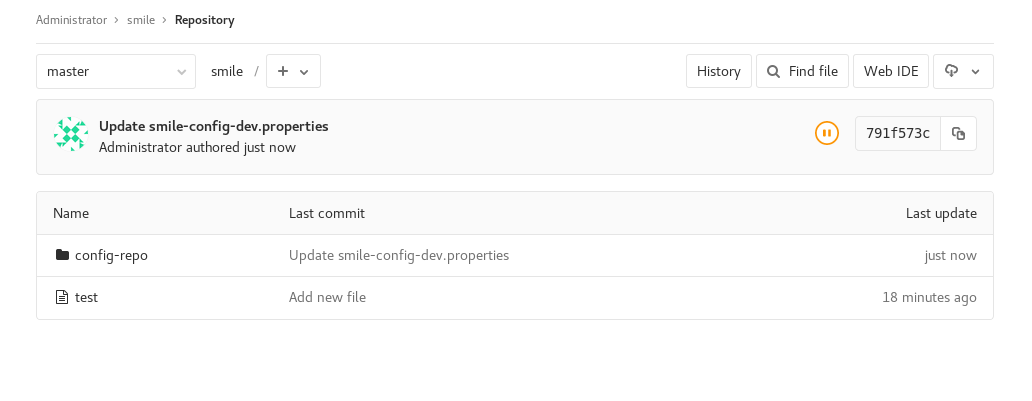
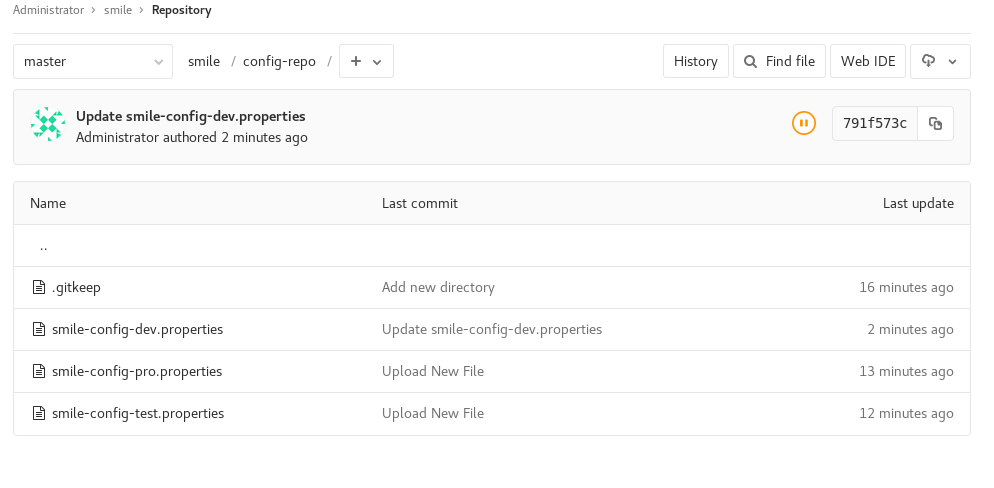
gitlab 上建立文件夹config-repo,上传配置文件

4.program
ConfigServerApplication添加注解@EnableConfigServer
package com.smile;

import org.springframework.boot.SpringApplication;
import org.springframework.boot.autoconfigure.SpringBootApplication;
import org.springframework.cloud.config.server.EnableConfigServer;

@SpringBootApplication
@EnableConfigServer
public class ConfigServerApplication {

    public static void main(String[] args) {
        SpringApplication.run(ConfigServerApplication.class, args);
    }

}
5.Run : http://localhost:8000/smile/config-dev

修改 smile-config-test.properties

访问 http://localhost:8000/smile/config-test
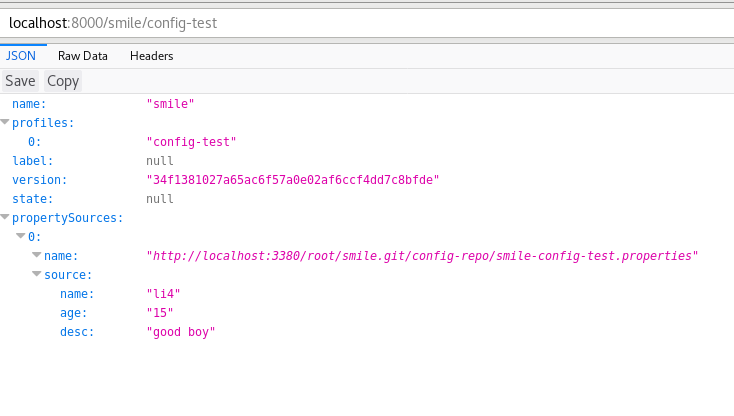
上述的返回的信息包含了配置文件的位置、版本、配置文件的名称以及配置文件中的具体内容,说明server端已经成功获取了git仓库的配置信息。
如果直接查看配置文件中的配置信息可访问:http://localhost:8000/smile-config-dev.properties,返回:age: 29 name: smile
修改配置文件smile-config-dev.properties中配置信息为:name=smile age=29 desc=big boy
,再次在浏览器访问http://localhost:8000/,返回:age: 29 desc: big boy name: smilesmile-config-dev.properties
。说明server端会自动读取最新提交的内容
仓库中的配置文件会被转换成web接口,访问可以参照以下的规则:
- /{application}/{profile}[/{label}]
- /{application}-{profile}.yml
- /{label}/{application}-{profile}.yml
- /{application}-{profile}.properties
- /{label}/{application}-{profile}.properties
以neo-config-dev.properties为例子,它的application是neo-config,profile是dev。client会根据填写的参数来选择读取对应的配置。
config-client
1. File-->new spring project: config-client
2.add dependency
<parent>
        <groupId>org.springframework.boot</groupId>
        <artifactId>spring-boot-starter-parent</artifactId>
        <version>2.1.5.RELEASE</version>
        <relativePath/> <!-- lookup parent from repository -->
    </parent>
    <dependencies>
        <dependency>
            <groupId>org.springframework.cloud</groupId>
            <artifactId>spring-cloud-starter-config</artifactId>
        </dependency>
        <dependency>
            <groupId>org.springframework.boot</groupId>
            <artifactId>spring-boot-starter-web</artifactId>
        </dependency>
3.Edit application.yml
server:
  port: 8002

spring:
  application:
    name: config-client
  cloud:
    config:
      uri: http://localhost:8000/
      name: smile
      profile: config-dev
      # dev 开发环境配置文件 |  test 测试环境  |  pro 正式环境   smile-config-dev.properties {name}-{profile}.properties
- spring.application.name:对应{application}部分
- spring.cloud.config.profile:对应{profile}部分
- spring.cloud.config.label:对应git的分支。如果配置中心使用的是本地存储,则该参数无用
- spring.cloud.config.uri:配置中心的具体地址
- spring.cloud.config.discovery.service-id:指定配置中心的service-id,便于扩展为高可用配置集群。
特别注意:上面这些与spring-cloud相关的属性必须配置在bootstrap.properties中,config部分内容才能被正确加载。因为config的相关配置会先于application.properties,而bootstrap.properties的加载也是先于application.properties。
4.program
package com.smile.controller;

import org.springframework.beans.factory.annotation.Value;
import org.springframework.web.bind.annotation.RequestMapping;
import org.springframework.web.bind.annotation.RestController;

@RestController
public class ConfigClientController {

    @Value("${name}")
    String name;
    @Value("${age}")
    String age;

    @RequestMapping("/hello")
    public String hello() {
        return "name"+name+",age"+age;
    }
}
5.Run
访问 http://localhost:8002/hello
