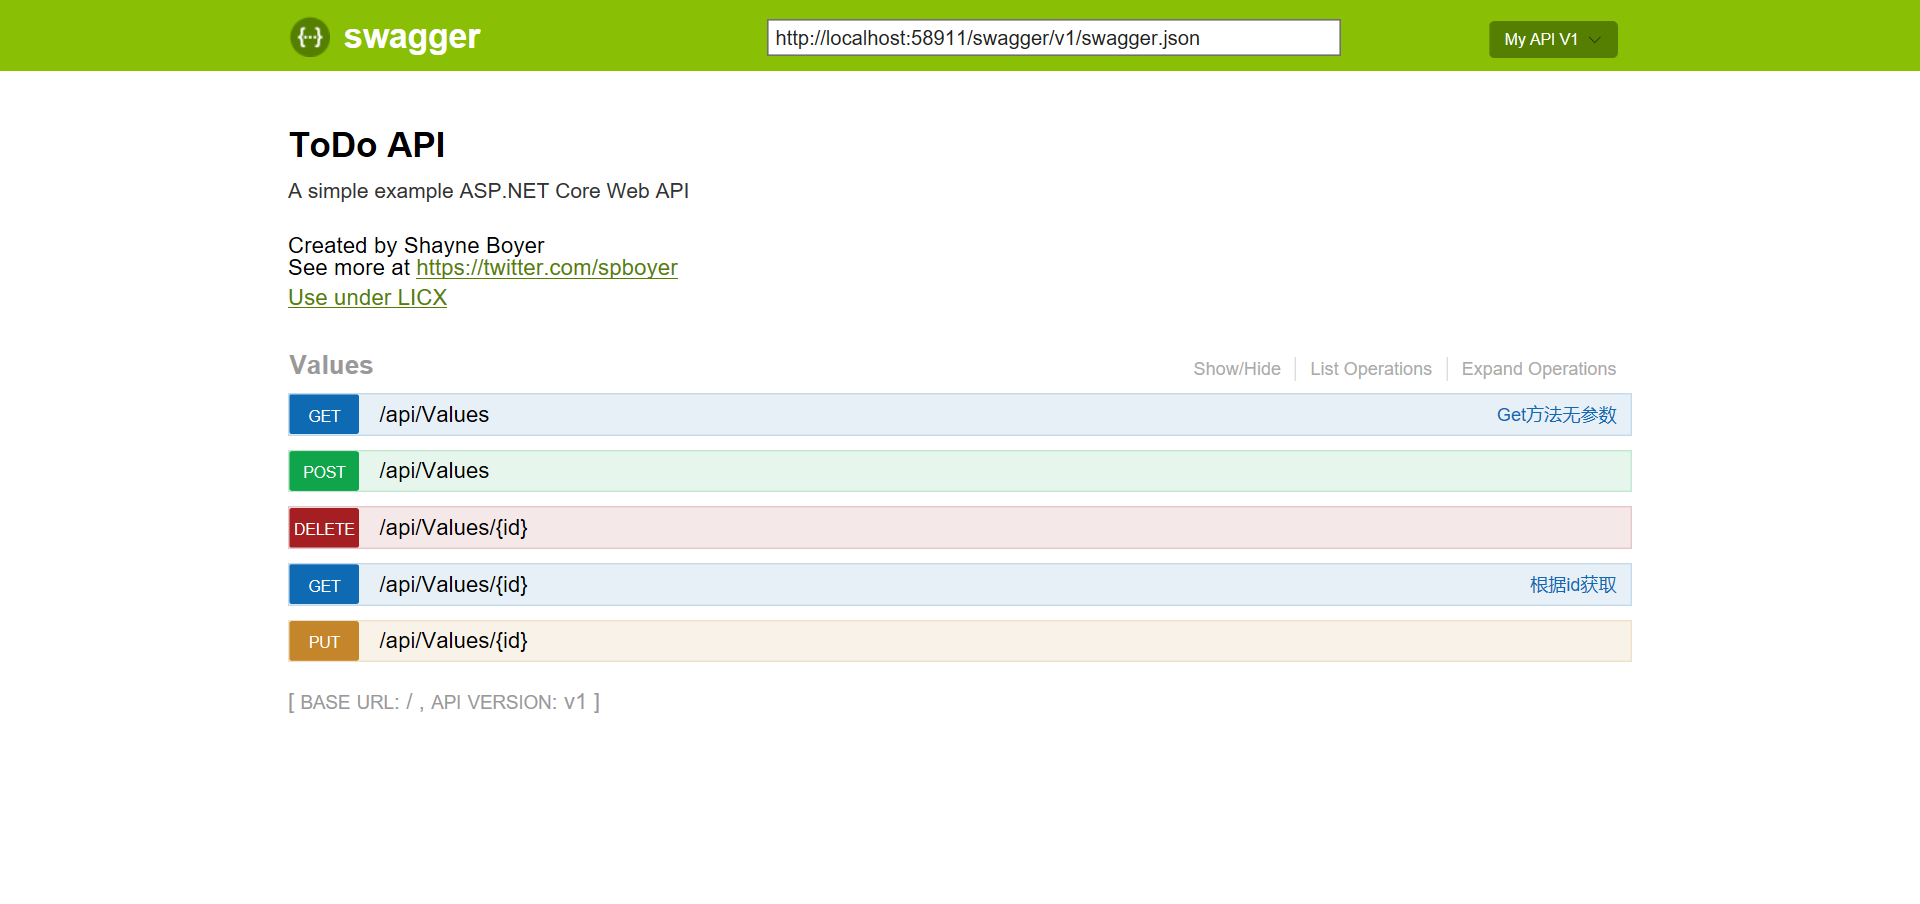
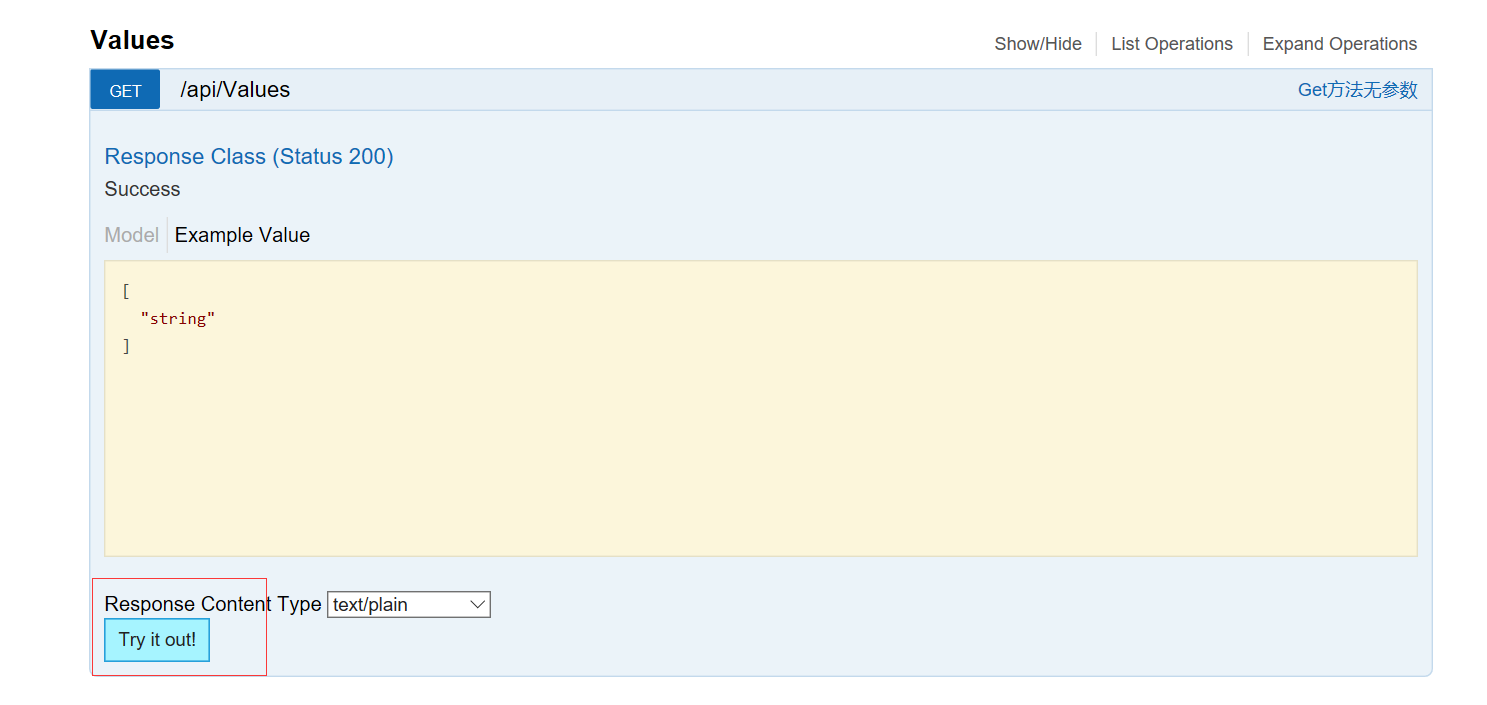
Swaggerui 可以为我们的webapi提供美观的在线文档,如下图:

实现步骤:
- NuGet Packages Install-Package Swashbuckle.AspNetCore
- 在startup文件中配置swagger
 View Code
            // Register the Swagger generator, defining one or more Swagger documents
            services.AddSwaggerGen(c =>
            {
                c.SwaggerDoc("v1", new Info
                {
                    Version = "v1",
                    Title = "ToDo API",
                    Description = "A simple example ASP.NET Core Web API",
                    TermsOfService = "None",
                    Contact = new Contact { Name = "Shayne Boyer", Email = "", Url = "https://twitter.com/spboyer" },
                    License = new License { Name = "Use under LICX", Url = "https://example.com/license" }
                });

                //Set the comments path for the swagger json and ui.
                var basePath = PlatformServices.Default.Application.ApplicationBasePath;
                var xmlPath = Path.Combine(basePath, "MyWebApiCore.xml");
                c.IncludeXmlComments(xmlPath);
            });
        }

        // This method gets called by the runtime. Use this method to configure the HTTP request pipeline.
        public void Configure(IApplicationBuilder app, IHostingEnvironment env, ILoggerFactory loggerFactory)
        {
            loggerFactory.AddConsole(Configuration.GetSection("Logging"));
            loggerFactory.AddDebug();

            app.UseMvc();
            app.UseSwagger();
            app.UseSwaggerUI(c =>
            {
                c.SwaggerEndpoint("/swagger/v1/swagger.json", "My API V1");
            });
        }
- XML Comments,点击项目属性=》生成=》XML文档文件打勾,然后在你的action上添加注释

 View Code
  /// <summary>
        /// Get方法无参数
        /// </summary>
        /// <returns>string[]数组</returns>
        [HttpGet]
        public IEnumerable<string> Get()
        {
            return new string[] { "value1", "value2" };
        }

        /// <summary>
        /// 根据id获取
        /// </summary>
        /// <param name="id"></param>
        /// <returns></returns>
        /// <remarks>
        /// Note that the id is an integer.
        /// </remarks>
        [HttpGet("{id}")]
        public string Get(int id)
        {
            return "value";
        }
- 运行项目,输入文档地址http://localhost:58911/swagger/

你可以选择方法进行在线测试

参考文档:https://docs.microsoft.com/zh-cn/aspnet/core/tutorials/web-api-help-pages-using-swagger
