Confluence安装与部署
下载安装包及破解包
安装包下载地址:https://www.atlassian.com/software/confluence/download-archives
破解包下载地址:http://down.51cto.com/data/2236416
atlassian-confluence-6.1.3-x64.bin
confluence5.6.6-crack.zip
安装
chmod +x atlassian-confluence-6.1.3-x64.bin

./atlassian-confluence-6.1.3-x64.bin
需要交互确认
Unpacking JRE ...
Starting Installer ...
五月 17, 2017 2:43:16 下午 java.util.prefs.FileSystemPreferences$1 run
信息: Created user preferences directory.

This will install Confluence 6.1.3 on your computer.
OK [o, Enter], Cancel [c]

Choose the appropriate installation or upgrade option.
Please choose one of the following:
Express Install (uses default settings) [1],
Custom Install (recommended for advanced users) [2, Enter],
Upgrade an existing Confluence installation [3]
1
See where Confluence will be installed and the settings that will be used.
Installation Directory: /opt/atlassian/confluence
Home Directory: /var/atlassian/application-data/confluence
HTTP Port: 8090
RMI Port: 8000
Install as service: Yes
Install [i, Enter], Exit [e]
i
Extracting files ...


Please wait a few moments while we configure Confluence.
Installation of Confluence 6.1.3 is complete
Start Confluence now?
Yes [y, Enter], No [n]
y

Please wait a few moments while Confluence starts up.
Launching Confluence ...
Installation of Confluence 6.1.3 is complete
Your installation of Confluence 6.1.3 is now ready and can be accessed via
your browser.
Confluence 6.1.3 can be accessed at http://localhost:8090
Finishing installation ...
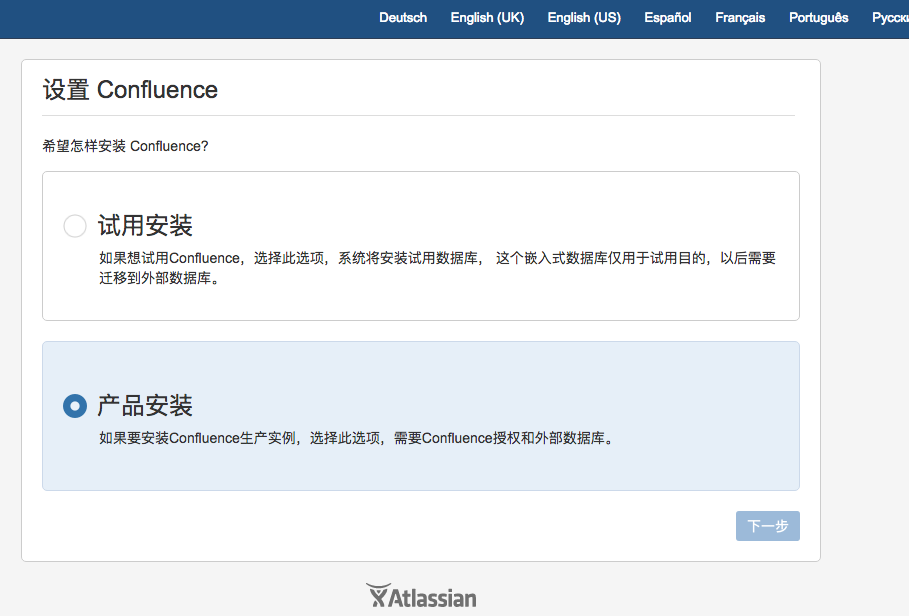
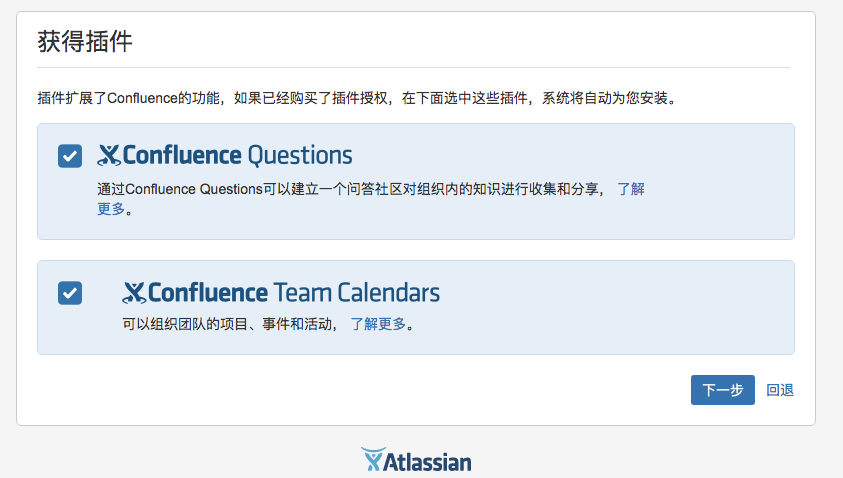
安装完成后,就可以通过ip:8090访问配置页面:
接下来需要授权码:
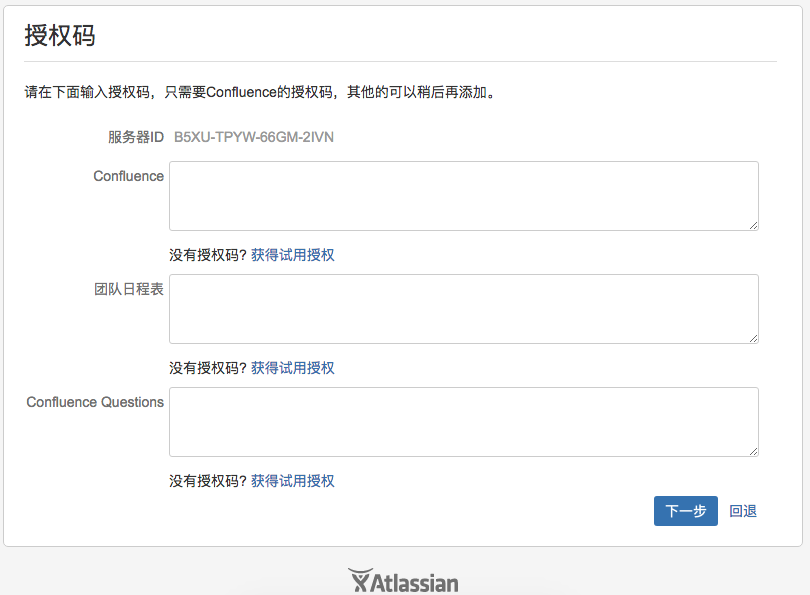
破解:
1、如上图,保存获取到的服务器ID,关闭confluence:
/etc/init.d/confluence stop
2、解压破解包,将confluence_keygen.jar 拷贝到windows。从/opt/atlassian/confluence/confluence/WEB-INF/lib中,拷贝atlassian-extras-decoder-v2- 3.2.jar到windows,并重命名为atlassian-extras-2.4.jar。
3、在windows下,生成License Key。
cmd 中执行:
java -jar confluence_keygen.jar
然后把上面保存的Server ID(服务器ID)粘贴进去,然后点击“.gen!”,保存生成的key。
4、打补丁。点击“.patch!”,选择第2步中重命名的atlassian-extras-2.4.jar,会生成新的atlassian-extras-2.4.jar,旧的jar包会被改为.bak。
5、上传新的atlassian-extras-2.4.jar和破解包下的Confluence-5.6.6-language-pack-zh_CN.jar、mysql-connector-java-5.1.39-bin.jar到/opt/atlassian/confluence/confluence/WEB-INF/lib,并且删除atlassian-extras-decoder-v2-3.2.jar。
6、启动confluence
/etc/init.d/confluence start
7、把生成的key复制粘贴到License Key框中,点击“Next”,如果顺利进入选择数据库页面,说明破解成功
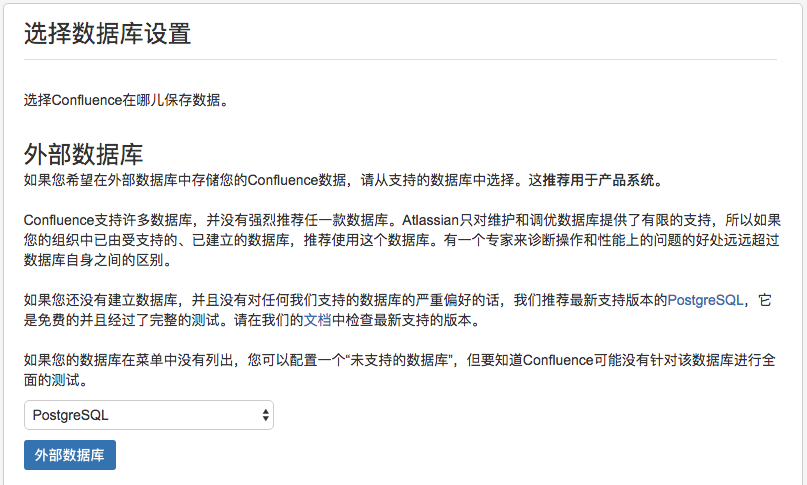
后面就是设置连接数据库了。。。
注意,连接mysql的时候,confluence默认连接confluence库,需要提前创建好。
最终页面是这个样子:
邮件服务器配置(这里主要介绍腾讯企业邮箱的配置):
Confluence自带的邮件服务配置不支持企鹅邮箱,因此我们需要使用JNDI方式:
1、页面配置项:
发信地址、主题、内容等需要填写。
选择下面的JNDI,配置如下:
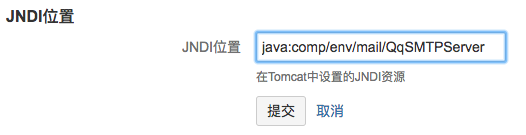
2、准备mail包和配置文件:
将${HOME}/confluence/confluence/WEB-INF/lib/mail-1.4.5.jar 转移到${HOME}/confluence/lib/目录下:
mv /data/local/atlassian/confluence/confluence/WEB-INF/lib/mail-1.4.5.jar /data/local/atlassian/confluence/lib/
修改conf/server.xml文件,在</Context>上一行添加邮箱配置(以下粗体部分):
<Context path="" docBase="../confluence" debug="0" reloadable="false" useHttpOnly="true">
                    <!-- Logger is deprecated in Tomcat 5.5. Logging configuration for Confluence is specified in confluence/WEB-INF/classes/log4j.properties -->
                    <Manager pathname="" />
                    <Valve className="org.apache.catalina.valves.StuckThreadDetectionValve" threshold="60" />
                    <Resource name="mail/QqSMTPServer"
                        auth="Container"
                        type="javax.mail.Session"
                        mail.smtp.host="smtp.exmail.qq.com"
                        mail.smtp.port="465"
                        mail.smtp.auth="true"
                        mail.smtp.user="ahaii@mail.com"
                        password="123456"
                        mail.smtp.starttls.enable="true"
                        mail.smtp.socketFactory.class="javax.net.ssl.SSLSocketFactory"
                        />
                </Context>
以上配置完毕后,重启confluence即可。