1、准备zabbix依赖环境:LNMP
依赖包安装参考http://www.osyunwei.com/archives/10057.html。
cmake安装mysql:
cmake . -DCMAKE_INSTALL_PREFIX=/data/local/mysql -DMYSQL_DATADIR=/data/local/mysql_data -DWITH_INNOBASE_STORAGE_ENGINE=1
初始化:
./scripts/mysql_install_db --user=mysql --basedir=/data/local/mysql --datadir=/data/local/mysql_data
修改配置:
cp support-files/mysql.server /etc/init.d/mysqld
cp support-files/my-default.cnf /etc/my.cnf
chmod +x /etc/init.d/mysqld
chkconfig --add mysqld
chkconfig mysqld on
chown -R mysql:mysql mysql
chown -R mysql:mysql mysql_data/
添加全局变量:
vim /etc/profile

export MySQL_HOME=/date/local/mysql/bin
export PATH=$PATH:$MySQL_HOME
以上配置完毕后,即可启动mysql。
php主要编译配置:
./configure --prefix=/data/local/php --with-config-file-path=/data/local/php/etc --with-mysql=/data/local/mysql/ --with-mysqli=/data/local/mysql/bin/mysql_config --with-mysql-sock=/tmp/mysql.sock --with-pdo-mysql=/data/local/mysql --with-gd --with-png-dir=/usr/local/libpng --with-jpeg-dir=/usr/local/jpeg --with-freetype-dir=/usr/local/freetype --with-xpm-dir=/usr/lib64 --with-zlib-dir=/usr/local/zlib --with-iconv --enable-libxml --enable-xml --enable-bcmath --enable-shmop --enable-sysvsem --enable-inline-optimization --enable-opcache --enable-mbregex --enable-fpm --enable-mbstring --enable-ftp --enable-gd-native-ttf --with-openssl --enable-pcntl --enable-sockets --with-xmlrpc --enable-zip --enable-soap --without-pear --with-gettext --enable-session --with-mcrypt --with-curl --enable-ctype
LNMP环境准备完毕后,安装zabbix:
先安装依赖包,再解压zabbix.tar.gz,安装:
yum install net-snmp-devel libxml2-devel libcurl-devel

./configure --prefix=/date/local/zabbix --enable-server --enable-agent --with-mysql --with-net-snmp --with-libcurl --with-libxml2

make && make install
创建zabbix数据库用户及zabbix数据库
导入数据库文件:
>use zabbix
>source schema.sql;
>source data.sql;
>source images.sql;
准备zabbixweb页面:
cp /data/package/zabbix-3.0.9/frontends/php/* /data/app/zabbix
设置nginx.conf:
server {
        listen       80;
        server_name  localhost;
        root   /data/app/zabbix;
...
修改php.ini
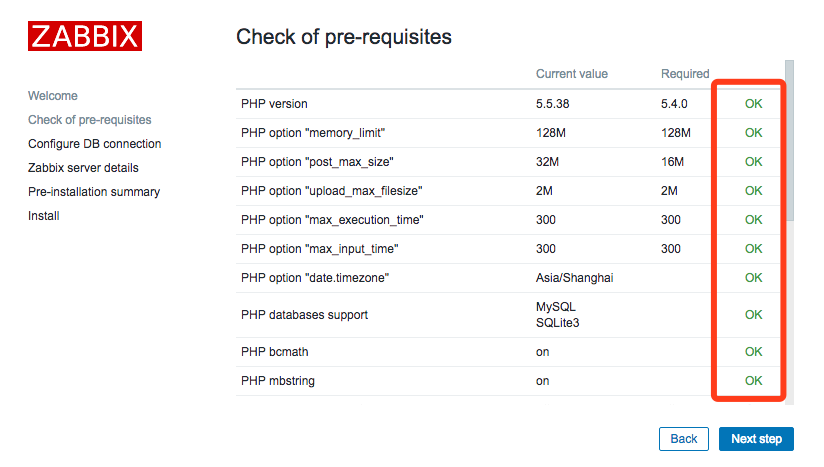
max_execution_time = 300
max_input_time = 300
memory_limit = 128M
post_max_size = 32M
date.timezone = Asia/Shanghai
mbstring.func_overload=off
修改完毕后,重启php-fpm和nignx。然后就可以通过页面做最后的配置:


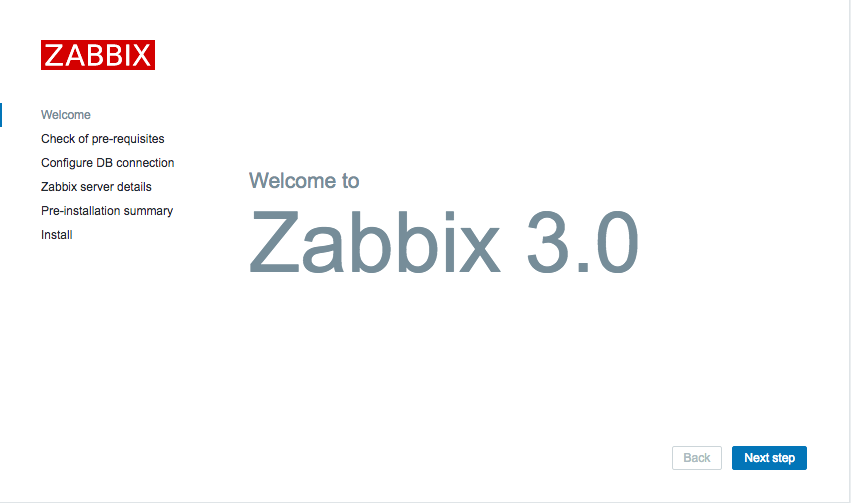
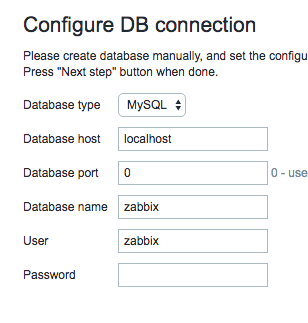
配置MySQL连接信息:

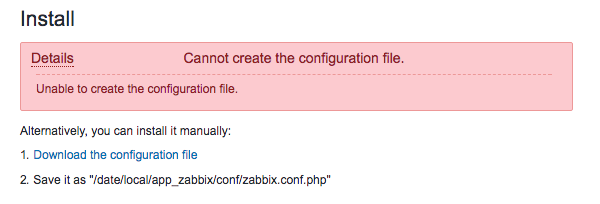
最后一步时,提示这个:

没关系,按照它说的做,它说的都对,它高兴就好,,,
选择 "Download the configuration file"
下载完后按照第2个提示放好位置
注意 !!! 若zabbix_server启动失败,需要着重看下zabbix_server.conf的配置:
DBHost=localhost
DBUser=zabbix
DBPassword=
DBSocket=
DBPort=
zabbix选择中文后,出现乱码:
下载字体:wget http://down1.chinaunix.net/distfiles/ttf-arphic-uming_0.0.20050501-1.tar.gz
解压字体包后,将自带字体替换:
cd ttf-arphic-uming-0.0.20050501/
cp uming.ttf /data/app/zabbix/fonts/DejaVuSans.ttf
其中,/data/app/zabbix为nginx中配置的zabbix的应用目录。
参考:http://www.ttlsa.com/zabbix/install-zabbix-on-linux-5-ttlsa/