目录
Outline
-
keras.datasets
-
tf.data.Dataset.from_tensor_slices
- shuffle
- map
- batch
- repeat
-
will display
Input Pipelinelater(大数据集)
keras.datasets
-
boston housing
- Boston housing price regression dataset
-
mnist/fashion mnist
- MNIST/Fashion-MNIST dataset
-
cifar10/100
- small images classification dataset
-
imdb
- sentiment classification dataset
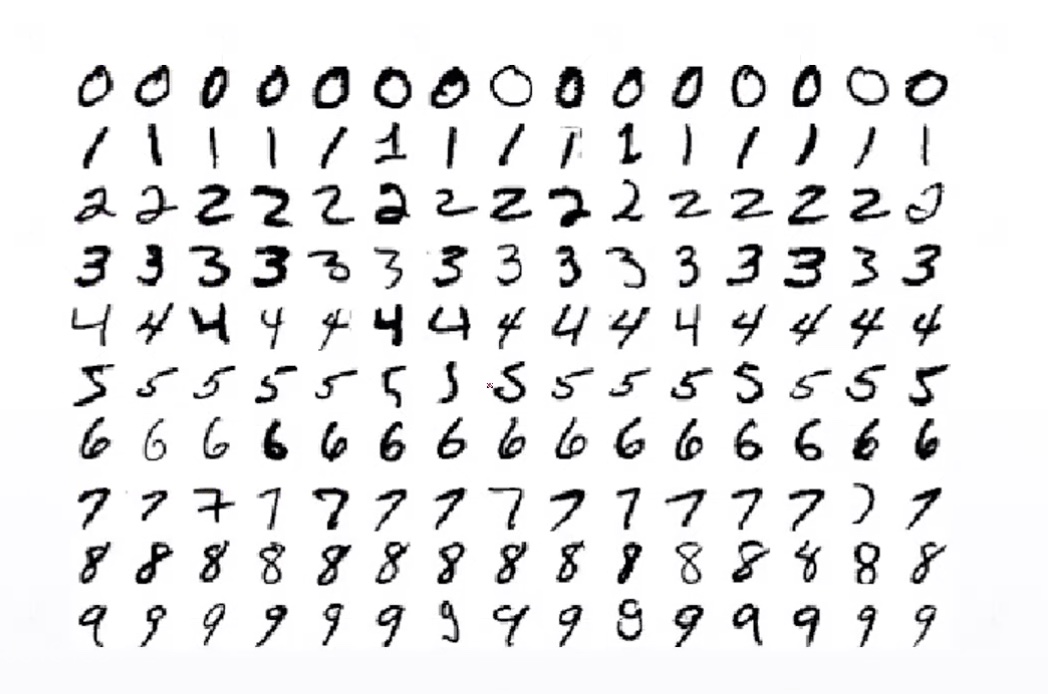
MNIST

import tensorflow as tf
from tensorflow import keras
# train: 60k | test: 10k
(x, y), (x_test, y_test) = keras.datasets.mnist.load_data()
x.shape
(60000, 28, 28)
y.shape
(60000,)
# 0纯黑、255纯白
x.min(), x.max(), x.mean()
(0, 255, 33.318421449829934)
x_test.shape, y_test.shape
((10000, 28, 28), (10000,))
y[:4]
array([5, 0, 4, 1], dtype=uint8)
# 0-9有10种分类结果
y_onehot = tf.one_hot(y, depth=10)
y_onehot[:2]
<tf.Tensor: id=13, shape=(2, 10), dtype=float32, numpy=
array([[0., 0., 0., 0., 0., 1., 0., 0., 0., 0.],
       [1., 0., 0., 0., 0., 0., 0., 0., 0., 0.]], dtype=float32)>
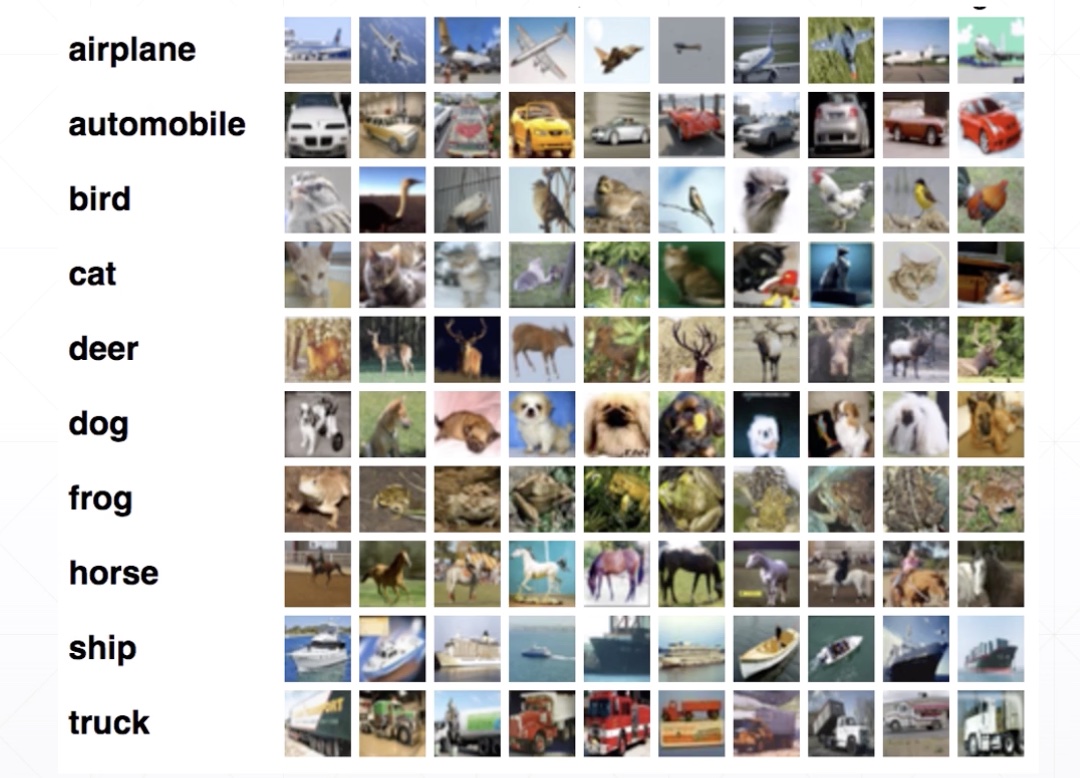
CIFAR10/100
- 10个大类中有100个小类

# train: 50k | test: 10k
(x, y), (x_test, y_test) = keras.datasets.cifar10.load_data()
Downloading data from https://www.cs.toronto.edu/~kriz/cifar-10-python.tar.gz
170500096/170498071 [==============================] - 63s 0us/step
x.shape, y.shape, x_test.shape, y_test.shape
((50000, 32, 32, 3), (50000, 1), (10000, 32, 32, 3), (10000, 1))
x.min(), x.max()
(0, 255)
y[:4]
array([[6],
       [9],
       [9],
       [4]], dtype=uint8)
tf.data.Dataset
- from_tensor_slices()
db = tf.data.Dataset.from_tensor_slices(x_test)
next(iter(db)).shape
TensorShape([32, 32, 3])
db = tf.data.Dataset.from_tensor_slices((x_test, y_test))
next(iter(db))[0].shape
TensorShape([32, 32, 3])
.shuffle
- 打乱数据
db = tf.data.Dataset.from_tensor_slices((x_test, y_test))
db = db.shuffle(10000)
.map
- 数据预处理
def preprocess(x, y):
    x = tf.cast(x, dtype=tf.float32) / 255.
    y = tf.cast(y, dtype=tf.int32)
    y = tf.one_hot(y, depth=10)
    return x, y
db2 = db.map(preprocess)
res = next(iter(db2))
res[0].shape, res[1].shape
(TensorShape([32, 32, 3]), TensorShape([1, 10]))
res[1][:2]
<tf.Tensor: id=84, shape=(1, 10), dtype=float32, numpy=array([[0., 0., 0., 0., 0., 0., 0., 0., 1., 0.]], dtype=float32)>
.batch
- 一次性得到多张照片
db3 = db2.batch(32)
res = next(iter(db3))
res[0].shape, res[1].shape
(TensorShape([32, 32, 32, 3]), TensorShape([32, 1, 10]))
db_iter = iter(db3)
while True:
    next(db_iter)
.repeat()
# 迭代不退出
db4 = db3.repeat()
# 迭代两次退出
db3 = db3.repeat(2)
For example
def prepare_mnist_features_and_labels(x, y):
    x = tf.cast(x, tf.float32) / 255.
    y = tf.cast(y, tf.int64)
    return x, y


def mnist_dataset():
    (x, y), (x_val, y_val) = datasets.fashion_mnist.load_data()
    y = tf.one_hot(y, depth=10)
    y_val = tf.one_hot(y_val, depth=10)

    ds = tf.data.Dataset.from_tensor_slices((x, y))
    ds = ds.map(prepare_mnist_features_and_labels)
    ds = ds.shffle(60000).batch(100)
    ds_val = tf.data.Dataset.from_tensor_slices((x_val, y_val))
    ds_val = ds_val.map(prepare_mnist_features_and_labels)
    ds_val = ds_val.shuffle(10000).batch(100)
    return ds, ds_val