CRPixellatedView-用CIPixellate滤镜动态渲染UIView

https://github.com/chroman/CRPixellatedView
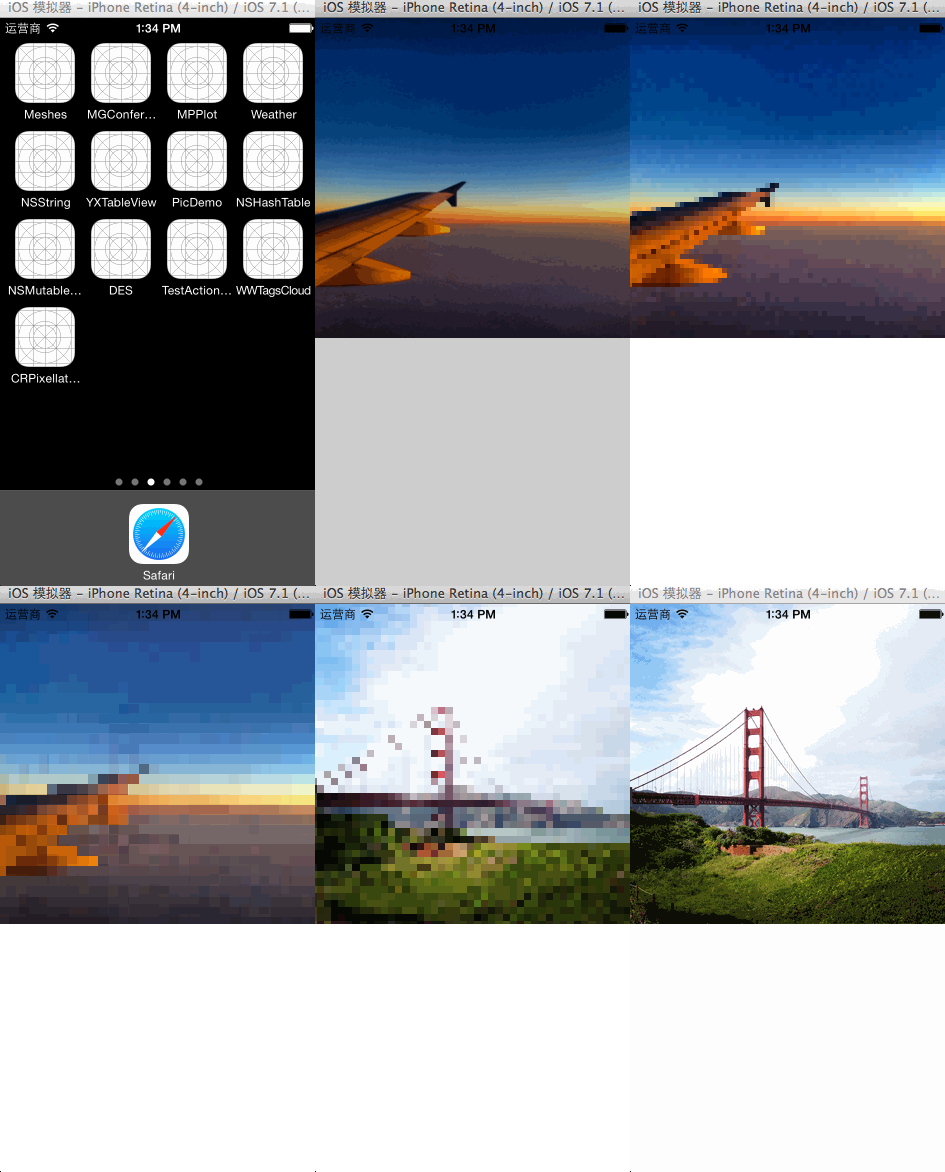
本人测试的效果:

Usage
To use CRPixellatedView, create a CRPixellatedView, configure and animate!
要使用CRPixellatedView的话,创建一个CRPixellatedView,配置以及做动画!
An example of making a CRPixellatedView:
以下是一个使用CRPixellatedView的例子:
CRPixellatedView *pixellatedView = [[CRPixellatedView alloc] initWithFrame:CGRectMake(0, 0, 320, 320)];
pixellatedView.image = [UIImage imageNamed:@"Image"];
[self.view addSubview:pixellatedView]; // Add to your view
[pixellatedView animate];
You can configure this settings, customizable example:
以下是配置设置,自定义的例子:
CRPixellatedView *pixellatedView = [[CRPixellatedView alloc] initWithFrame:CGRectMake(0, 0, 320, 320)];
pixellatedView.image = [UIImage imageNamed:@"Image"];
pixellatedView.pixelScale = 20.0f;
pixellatedView.animationDuration = 0.8f;
[self.view addSubview:pixellatedView]; // Add to your view
[pixellatedView animateWithCompletion:^(BOOL finished) {
    NSLog(@"completed");
}];
Also, you can customize the animation effect using the reverse property:
以下是你使用反转效果的例子:
CRPixellatedView *pixellatedView = [[CRPixellatedView alloc] initWithFrame:CGRectMake(0, 0, 320, 320)];
pixellatedView.image = [UIImage imageNamed:@"Image"];
pixellatedView.pixelScale = 20.0f;
pixellatedView.animationDuration = 0.8f;
pixellatedView.reverse = YES; // Reverse effect
[self.view addSubview:pixellatedView]; // Add to your view
[pixellatedView animateWithCompletion:^(BOOL finished) {
    NSLog(@"completed");
}];
Examples
pixellatedView.reverse = YES; // Reverse effect


pixellatedView.reverse = NO; // (default)
pixellatedView.pixelScale = 30.0f;

核心的地方:
使用了3个CoreImage的滤镜用来重绘View:)
