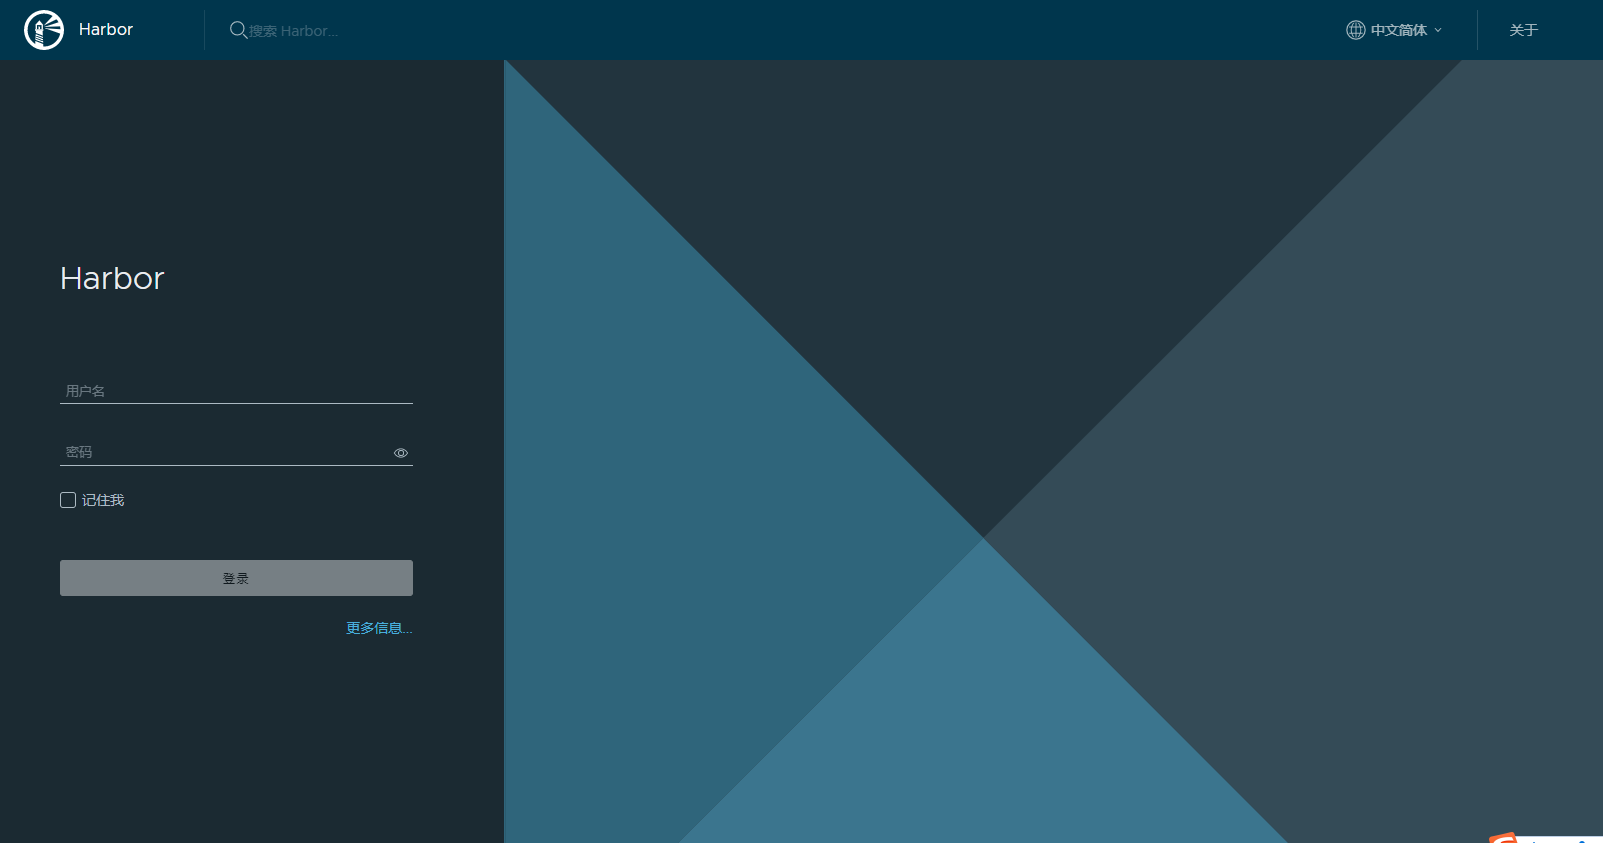
Docker搭建私有仓库harbor的搭建与使用
环境准备
需要提前安装 docker 、docker-compose 环境
harbor安装
官网 https://goharbor.io/
https://github.com/goharbor/harbor
在 releases https://github.com/goharbor/harbor/releases 找到最新版本
wget https://github.com/goharbor/harbor/releases/download/v2.4.2/harbor-online-installer-v2.4.2.tgz
tar xzvf harbor-online-installer-v2.4.2.tgz
cd harbor
修改 harbor.yml
# Configuration file of Harbor

# The IP address or hostname to access admin UI and registry service.
# DO NOT use localhost or 127.0.0.1, because Harbor needs to be accessed by external clients.
hostname: 192.168.100.179

# http related config
http:
  # port for http, default is 80. If https enabled, this port will redirect to https port
  port: 80

# https related config
# https:
  # https port for harbor, default is 443
  # port: 443
  # The path of cert and key files for nginx
  # certificate: /your/certificate/path
  # private_key: /your/private/key/path

# # Uncomment following will enable tls communication between all harbor components
# internal_tls:
#   # set enabled to true means internal tls is enabled
#   enabled: true
#   # put your cert and key files on dir
#   dir: /etc/harbor/tls/internal

# Uncomment external_url if you want to enable external proxy
# And when it enabled the hostname will no longer used
# external_url: https://reg.mydomain.com:8433

# The initial password of Harbor admin
# It only works in first time to install harbor
# Remember Change the admin password from UI after launching Harbor.
harbor_admin_password: Harbor12345
...
修改 hostname 为自己部署 harbor 机器的 ip,port 为访问时的端口,默认为80。
harbor_admin_password: Harbor12345 为 登录 harbor 的用户密码可以自己进行设置。默认用户名为 admin。
安装
修改过配置文件之后,执行如下操作,会重新加载配置文件和下载所需要的镜像文件。
sudo ./install.sh
安装后如下:

登录 harbor

编辑docker 配置文件
nano /etc/docker/daemon.json
{
  "insecure-registries": ["192.168.100.179"],
  "registry-mirrors": ["http://hub-mirror.c.163.com"],
  "log-driver": "json-file",
  "log-opts": {
    "max-size": "50m",
    "max-file": "3"
  }
}
sudo systemctl daemon-reload
sudo systemctl restart docker
使用
docker login -u admin -p Harbor12345 192.168.100.179

$ docker tag openjdk:11.0.14.1-jdk 192.168.100.179/library/openjdk:11.0.14.1-jdk
$ docker push 192.168.100.179/library/openjdk:11.0.14.1-jdk
The push refers to repository [192.168.100.179/library/openjdk]
0816d1f73744: Layer already exists
84f2cb0fc541: Layer already exists
b0dc1a441986: Layer already exists
7a7698da17f2: Layer already exists
d59769727d80: Layer already exists
348622fdcc61: Layer already exists
4ac8bc2cd0be: Layer already exists
11.0.14.1-jdk: digest: sha256:d0493f7e52398c5753b95dfacd95dd0da67a6924903deac1e2c8aa8266055fda size: 1795