前言
这是一篇失败结论的实践过程,不涉及eBPF。主要是使用cuttlefish来实践eBPF。
编译Android内核
AOSP版本:QP1A.190711.019
手机:pixel 1
环境:Ubuntu 20
查看内核版本
sailfish:/ $ cat /proc/version
Linux version 3.18.137-g382d7256ce44 (android-build@abfarm700) (gcc version 4.9.x 20150123 (prerelease) (GCC) ) #1 SMP PREEMPT Fri Jul 12 06:00:07 UTC 2019

同步AOSP源码
mkdir aosp10r1 && cd aosp10r1
repo init -u https://android.googlesource.com/platform/manifest -b android-10.0.0_r1
repo sync
编译AOSP源码
下载驱动文件
https://developers.google.com/android/drivers
Pixel机型且build id为QP1A.190711.019对应的驱动是下面两个文件. PS: 这里驱动版本不要选错.

下载并解压, 得到两个脚本文件
extract-google_devices-sailfish.sh
extract-qcom-sailfish.sh
编译
// 初始化编译环境
source build/envsetup.sh// 选择与设备对应的编译版本
lunch aosp_sailfish-userdebug// 选用8个线程并行编译 (或者make clean; make -j8)
m
同步内核源码
cd msm
git checkout 382d7256ce44
这个源码中有一个文件有问题
vim drivers/thermal/thermal_core.c
将其中的<../base/base.h>改成"../base/base.h"
环境配置
因为某些奇怪问题找不到目录,把toolchain从aosp源码里拷出来了,放在了/opt下:
sudo cp -r ~/BUILD/android-10.0.0_r17_pixel/prebuilts/gcc/linux-x86/arm/arm-linux-androideabi-4.9 /opt
sudo cp -r ~/BUILD/android-10.0.0_r17_pixel/prebuilts/gcc/linux-x86/aarch64/aarch64-linux-android-4.9 /opt
依然要配置CROSS_COMPILE_ARM32、 CROSS_COMPILE 两个。
tips:在zsh下操作的
export PATH=$PATH:/opt/arm-linux-androideabi-4.9/bin:/opt/aarch64-linux-android-4.9/bin
export ARCH="arm64"
export CROSS_COMPILE="aarch64-linux-android-"
export CROSS_COMPILE_ARM32="arm-linux-androideabi-"
sudo apt-get install liblz4-tool
编译
make clean
make mrproper
make marlin_defconfig
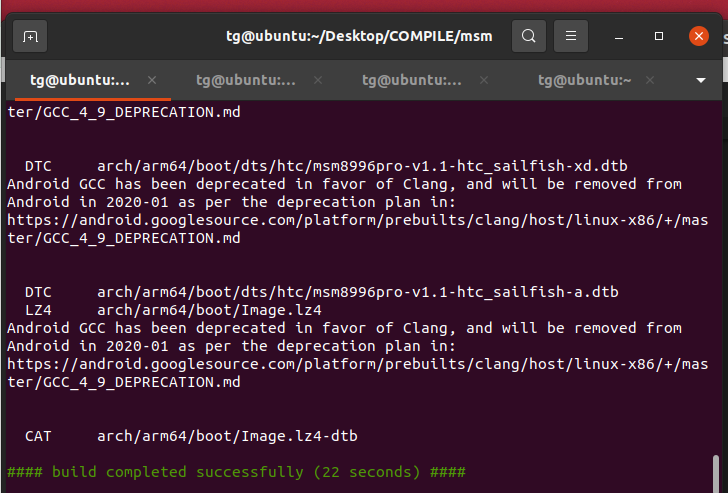
make -j8
刷机
临时刷机
adb reboot bootloader
fastboot boot arch/arm64/boot/Image.lz4-dtb

编译带有eBPF的Android内核
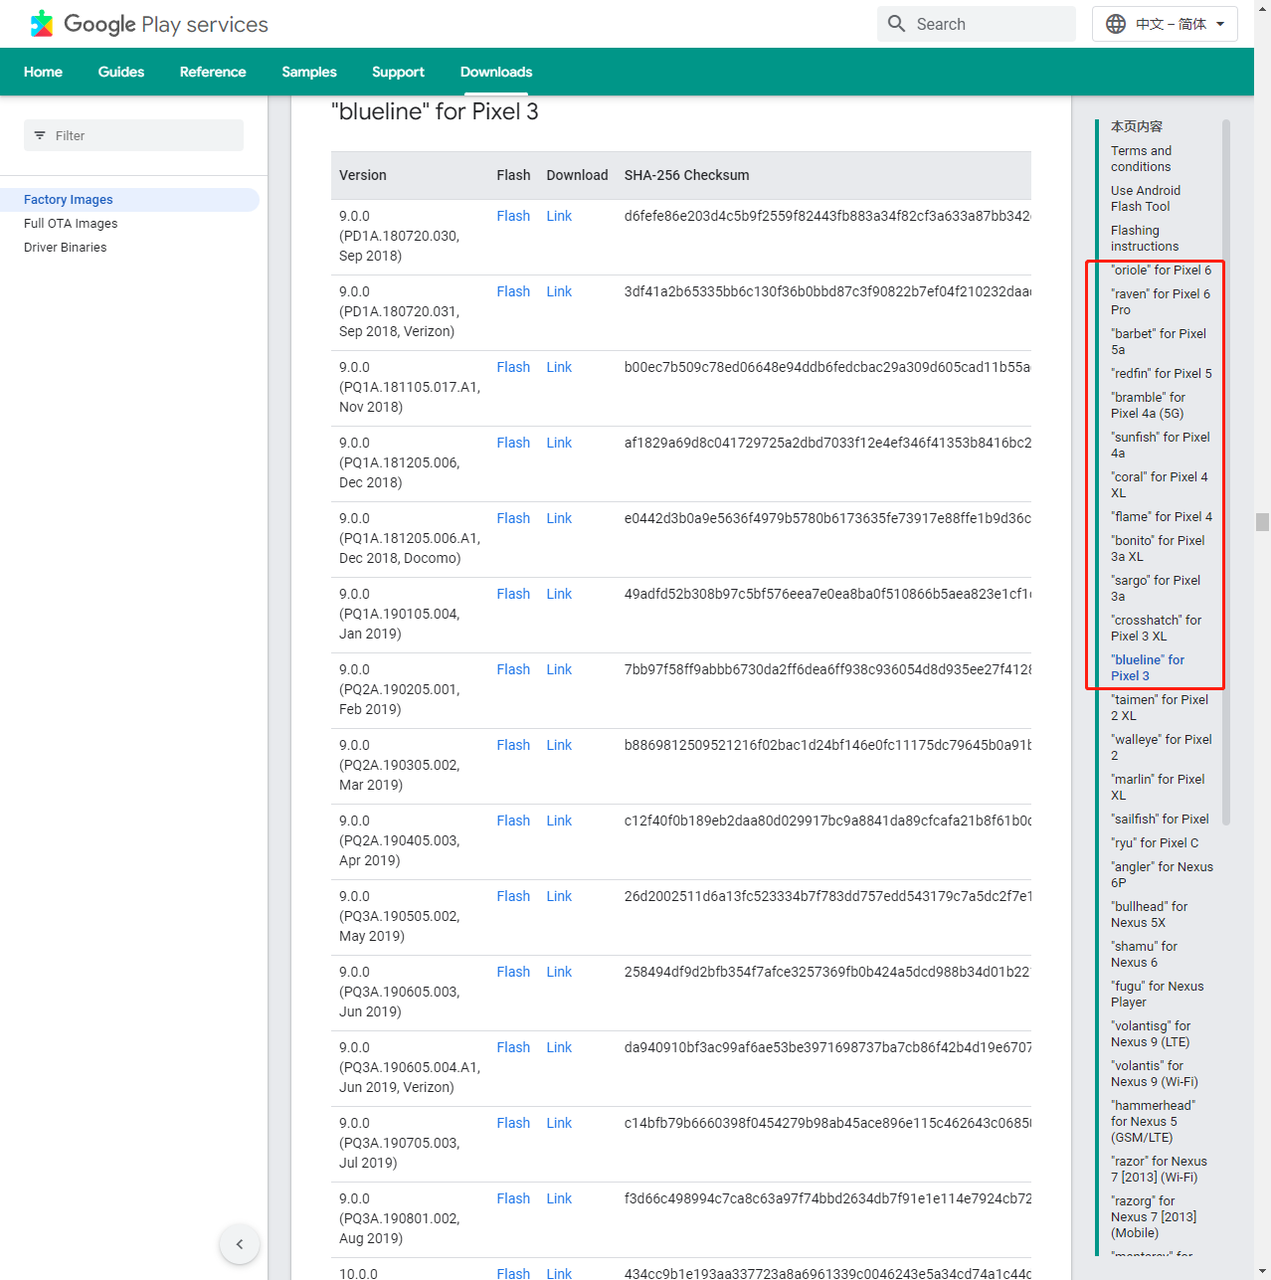
按照Google官方文档的信息,只能在内核版本为4.9或更高且最初搭载了Android P版本的Android设备才能使用eBPF。https://source.android.com/devices/tech/datausage/ebpf-traffic-monitor
所以需要pixel 3系列以上的设备。

ecapture在上述系统中的实践
ecapture需要Linux 内核4.18,所以正常的手机ROM自带的内核无法适配,需要更换ROM的内核版本。
参考这个文章:https://blog.senyuuri.info/2021/06/30/ebpf-bcc-android-instrumentation/ 。这篇文章是使用Google 的cuttlefish来安装eBPF并测试的,我们也按照这个方式来做。
制作cuttlefish虚拟机来运行镜像
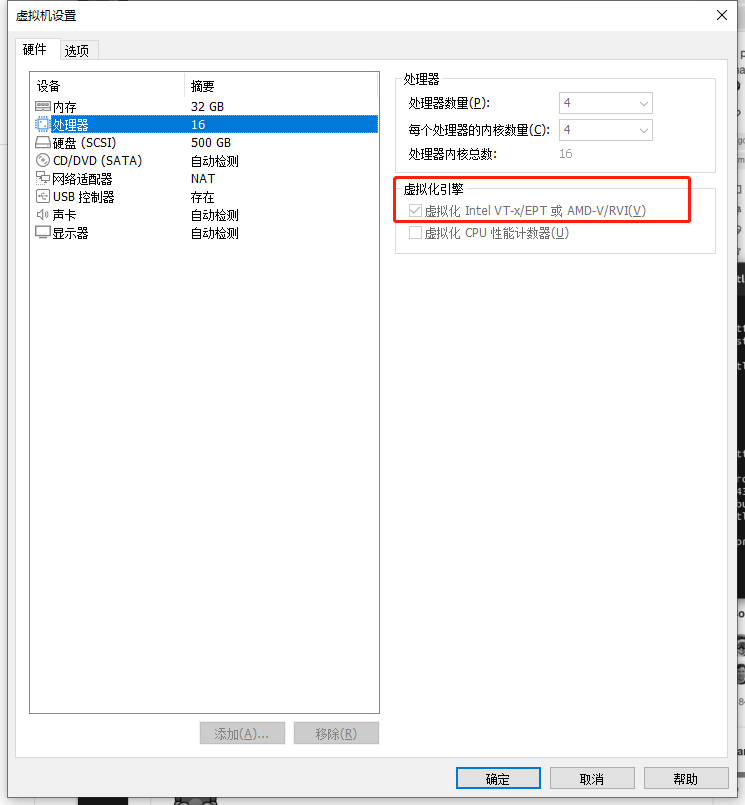
如果是VMware中使用Ubuntu环境的话,需要在CPU一栏中选择打开
可以参考官方文档(https://android.googlesource.com/device/google/cuttlefish/)来制作cuttlefish,其中一点需要注意的是debuild -i -us -uc -b -d 命令可能会失败,因为某个go包拒绝连接了,就像下面这样,

这个时候使用
go env -w GOPROXY=https://goproxy.cn,direct
就可以了
启动cuttlefish
HOME=$PWD ./bin/launch_cvd --start_webrtc=true --kernel_path=/home/tg/Desktop/aosp_cf_x86_64_img/bzImage --initramfs_path= /home/tg/Desktop/aosp_cf_x86_64_img/initramfs.img
使用Cuttlefish运行aosp最新版本
同步最新AOSP源码以及编译
mkdir aosp
cd aosp
proxychains repo init -u https://android.googlesource.com/platform/manifest
proxychains repo sync
source build/envsetup.sh
lunch # 选择aosp_cf_x86_64_phone-userdebug
m -j16
cuttlefish运行AOSP
参考:https://android.googlesource.com/device/google/cuttlefish/
不再赘述。
在最新版AOSP源码中使用ecapture
从ecapture的release页面下载最新的,可执行程序:Releases · ehids/ecapture
adb push ecapture /data/local/tmp
在Android系统内运行ecapture:
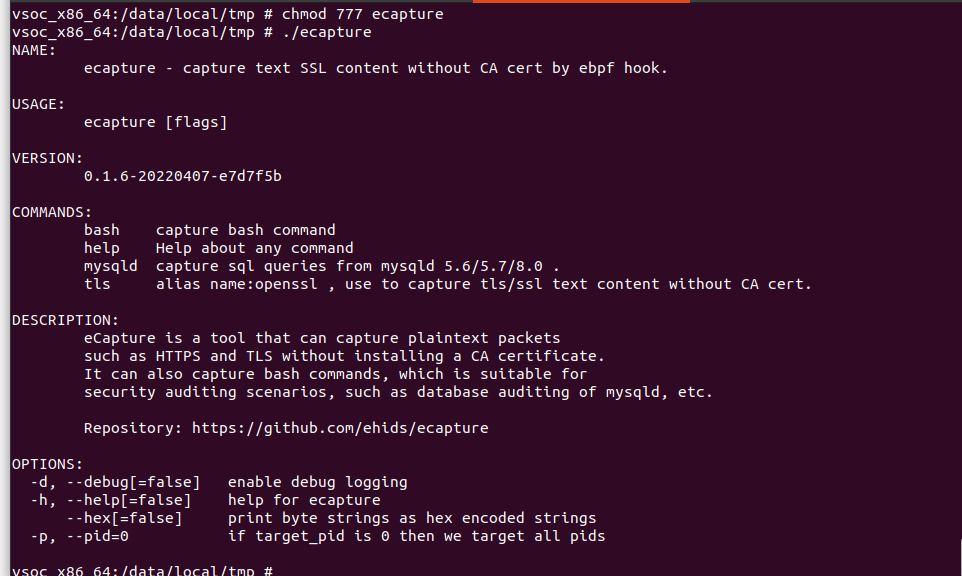
我用小红书app为例:

小红书 7.35.2.1
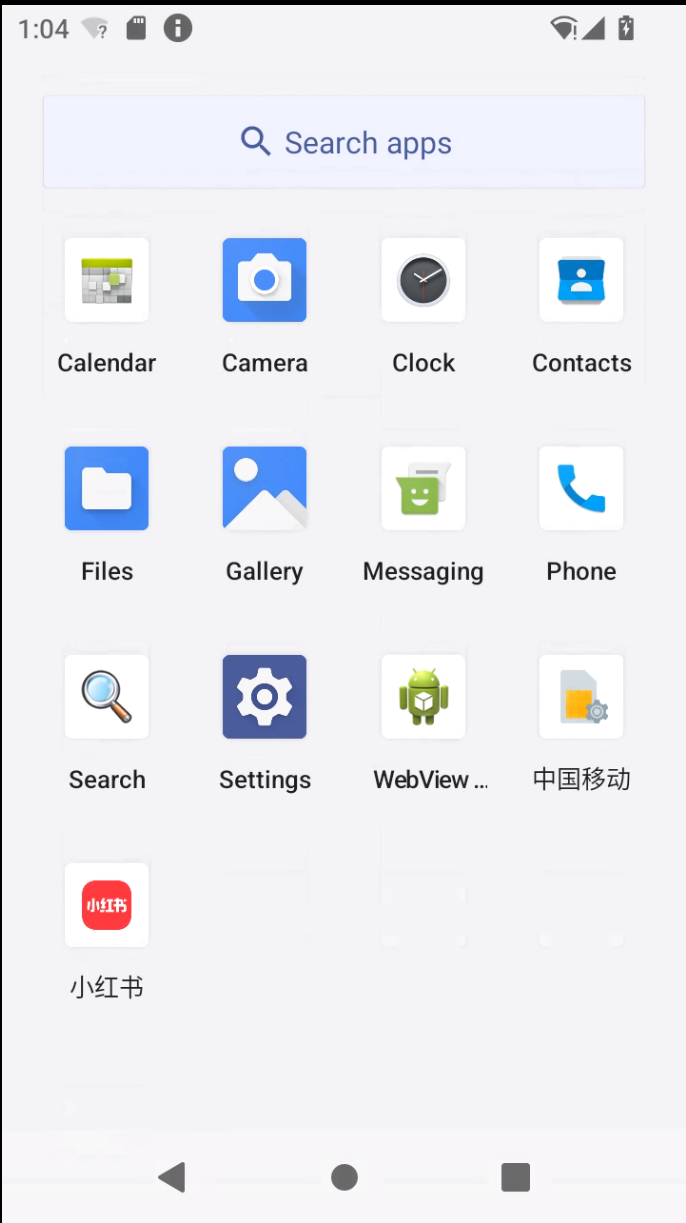

都不用打开app的,试一下./ecapture tls就不行了,Linux跟Android 内部的区别还是有的。
还需要改他的代码,可能一部分逻辑不一样吧,主要改的核心还是tls命令这块功能,他的MySQL啥的我就不涉及变动了,Android内部也不需要运行MySQL这种的大型的数据库。
项目:https://github.com/TUGOhost/ecapture
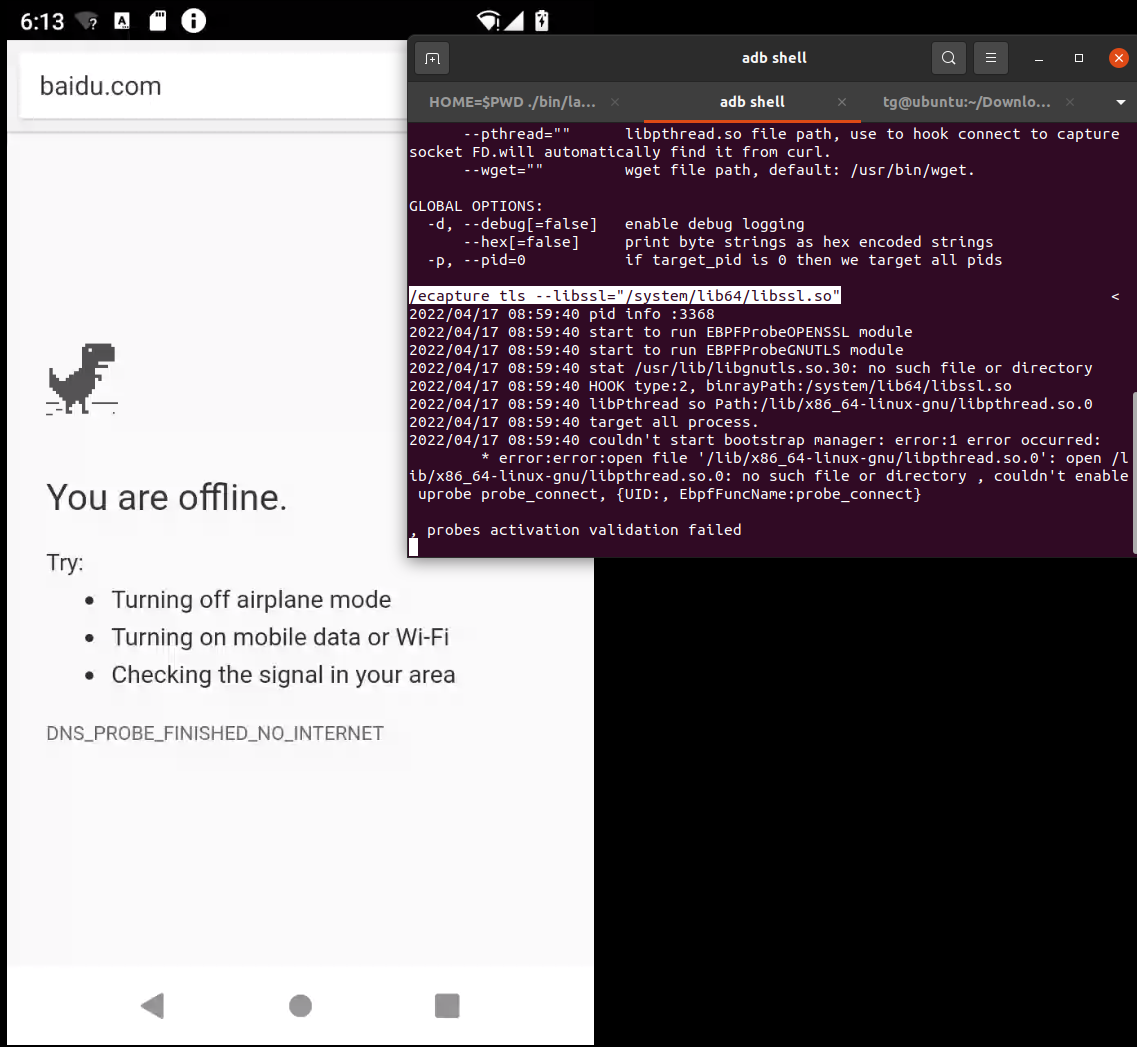
问了作者,可以指定libssl.so路径:
./ecapture tls --libssl="/system/lib64/libssl.so"
但是cuttlefish没有网络,这个还需要解决一下。
参考
- ecapture:https://github.com/ehids/ecapture
- Extending the Kernel with eBPF:https://source.android.com/devices/architecture/kernel/bpf
- https://source.android.com/setup/build/building-kernels?hl=zh-cn
- https://www.daimajiaoliu.com/daima/476261aff1003f0
- https://www.yuque.com/docs/share/f097540e-34e5-4473-beee-29e811a151a6?#
- https://blog.senyuuri.info/2021/06/30/ebpf-bcc-android-instrumentation/
- https://www.youtube.com/watch?v=eaPUdDkE91g
- https://android.googlesource.com/platform/tools/acloud/+/refs/heads/master/README.md
- https://www.cnblogs.com/zknublx/p/9156560.html
- https://android.googlesource.com/device/google/cuttlefish/