一、以hyy-vshare插件开发为例
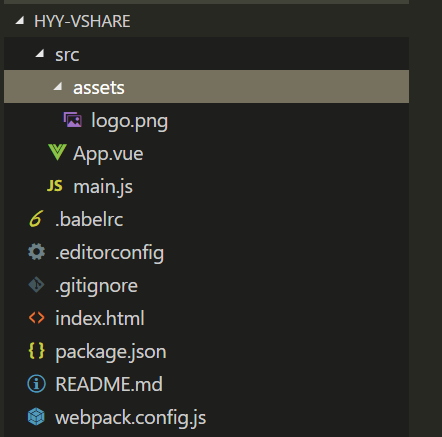
1、初始化插件项目:vue init webpack-simple hyy-vshare,目录结构如下:
2、添加依赖:npm i;
3、启动服务:npm run dev;
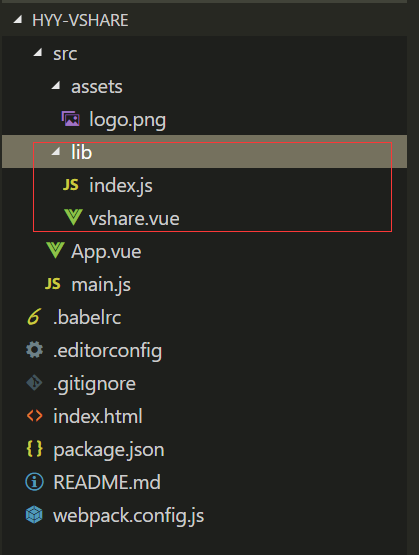
4、在src目录下新建lib文件夹,用于组件开发;
5、开发并调试插件
lib/index.js(全局组件的方式)
import vshare from './vshare.vue' // 导入组件
vshare.install = function (Vue) {
    Vue.component('vshare', vshare)
    if (typeof window !== 'undefined' && window.Vue) {
        window.Vue.use(vshare);
    }
}
export default vshare
lib/vshare.vue
<template>
<div>
    <input type="text" v-model="vshareText">
    <div>
        你输入的是:{{vshareText}}
    </div>
</div>
</template>
<script>
export default {
    data() {
        return {
            vshareText: ""
        };
    }
}
</script>
main.js
import Vue from 'vue'
import App from './App.vue'
import vshare from './lib/index.js'
Vue.use(vshare)
new Vue({
  el: '#app',
  render: h => h(App)
})
App.vue
<template>
  <div id="app">
    <vshare></vshare>
  </div>
</template>

<script>
export default {
  name: 'app',
  data () {
    return {
      msg: 'Welcome to Your Vue.js App'
    }
  }
}
</script>

<style>
#app {
  font-family: 'Avenir', Helvetica, Arial, sans-serif;
  -webkit-font-smoothing: antialiased;
  -moz-osx-font-smoothing: grayscale;
  text-align: center;
  color: #2c3e50;
  margin-top: 60px;
}

h1, h2 {
  font-weight: normal;
}

ul {
  list-style-type: none;
  padding: 0;
}

li {
  display: inline-block;
  margin: 0 10px;
}

a {
  color: #42b983;
}
</style>
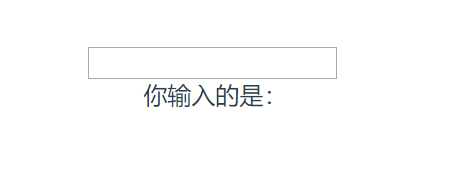
可以看到调试界面如下,是我们想要的结果:
二、开发调试完成,进行插件打包
1、修改 weppack.config.js 部分配置
(1)入口文件;
(2)打包后输出的文件名(非必选);
(3)require时的模块名;
(4)libraryTarget:libraryTarget会生成不同umd的代码,可以只是commonjs标准的,也可以是指amd标准的,也可以只是通过script标签引入的。
(5)umdNamedDefine: 会对 UMD 的构建过程中的 AMD 模块进行命名。否则就使用匿名的 define。
var path = require('path')
var webpack = require('webpack')

module.exports = {
  entry: './src/lib/index.js',
  output: {
    path: path.resolve(__dirname, './dist'),
    publicPath: '/dist/',
    filename: 'vshare.js',
    library: 'vshare',
    libraryTarget: 'umd',
    umdNamedDefine: true
  },
  module: {
    rules: [
      {
        test: /.css$/,
        use: [
          'vue-style-loader',
          'css-loader'
        ],
      },      {
        test: /.vue$/,
        loader: 'vue-loader',
        options: {
          loaders: {
          }
          // other vue-loader options go here
        }
      },
      {
        test: /.js$/,
        loader: 'babel-loader',
        exclude: /node_modules/
      },
      {
        test: /.(png|jpg|gif|svg)$/,
        loader: 'file-loader',
        options: {
          name: '[name].[ext]?[hash]'
        }
      }
    ]
  },
  resolve: {
    alias: {
      'vue$': 'vue/dist/vue.esm.js'
    },
    extensions: ['*', '.js', '.vue', '.json']
  },
  devServer: {
    historyApiFallback: true,
    noInfo: true,
    overlay: true
  },
  performance: {
    hints: false
  },
  devtool: '#eval-source-map'
}

if (process.env.NODE_ENV === 'production') {
  module.exports.devtool = '#source-map'
  // http://vue-loader.vuejs.org/en/workflow/production.html
  module.exports.plugins = (module.exports.plugins || []).concat([
    new webpack.DefinePlugin({
      'process.env': {
        NODE_ENV: '"production"'
      }
    }),
    new webpack.optimize.UglifyJsPlugin({
      sourceMap: true,
      compress: {
        warnings: false
      }
    }),
    new webpack.LoaderOptionsPlugin({
      minimize: true
    })
  ])
}
2、修改package.json文件
(1)修改private: true为private: false;
(2)添加 "main": "dist/vshare.js":这个超级重要 决定了你 import xxx from “vshare” 它默认就会去找 dist下的vshare 文件;
(3)配置这个地址存放你项目在github上的位置(非必需)
{
  "name": "hyy-vshare",
  "description": "A Vue.js project",
  "version": "1.0.0",
  "author": "TiffanyHYY <huyuanyuan123@t.shu.edu.cn>",
  "license": "MIT",
  "private": false,
  "main": "dist/vshare.js",
  "scripts": {
    "dev": "cross-env NODE_ENV=development webpack-dev-server --open --hot",
    "build": "cross-env NODE_ENV=production webpack --progress --hide-modules"
  },
  "dependencies": {
    "vue": "^2.5.11"
  },
  "browserslist": [
    "> 1%",
    "last 2 versions",
    "not ie <= 8"
  ],
  "devDependencies": {
    "babel-core": "^6.26.0",
    "babel-loader": "^7.1.2",
    "babel-preset-env": "^1.6.0",
    "babel-preset-stage-3": "^6.24.1",
    "cross-env": "^5.0.5",
    "css-loader": "^0.28.7",
    "file-loader": "^1.1.4",
    "vue-loader": "^13.0.5",
    "vue-template-compiler": "^2.4.4",
    "webpack": "^3.6.0",
    "webpack-dev-server": "^2.9.1"
  }
}
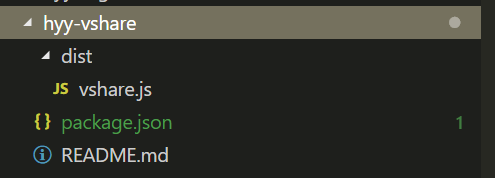
3、执行npm run build,生成dist文件夹,里边包含了一个vshare.js和一个map文件

4、本地测试打包后js文件
(1)weppack.config.js的entry需要改回main.js
(2)index.html
<!DOCTYPE html>
<html lang="en">
  <head>
    <meta charset="utf-8">
    <title>hyy-vshare</title>
  </head>
  <body>
    <div id="app"></div>
    <script src="/dist/vshare.js"></script>
  </body>
</html>
三、发布插件
(1).npmignore:用于筛选不必要的文件(不必publish到npm的文件),真正有用的文件只有 dist/vshare.js文件和 package.json文件,readme.md文件用于描述该插件的使用方法,非必需。
.*
*.md
*.yml
build/
node_modules/
src/
test/
webpack.config.js
.gitignore
index.html
.editorconfig
.babelrc
.package-lock.json
dist/*.map
(2)假设本地环境未执行过npm adduser,则先执行npm adduser;
(3)如果本地环境已经执行过npm adduser,则直接执行npm publish;
四、测试发布的后的生产包
直接install下来,正常import进项目就可以使用啦!