安装教程
Ubuntu 镜像安装与配置
WSL:在Windows下优雅地玩Linux
window10 安装wsl + ubuntu 18.04
先了解一下WSL:
WSL是一个缩写,全称是Windows Subsystem for Linux。意为一个在Windows下的Linux子系统,是一个在Windows 10上能够运行原生的Linux可执行文件。
重启WSL,即重启 子系统,打开服务(win+R 输入'services.msc') - 搜索名为LxssManager的Windows子系统Linux服务 -右键重新启动即可
安装步骤:
1.首先启用Windows10的一些功能
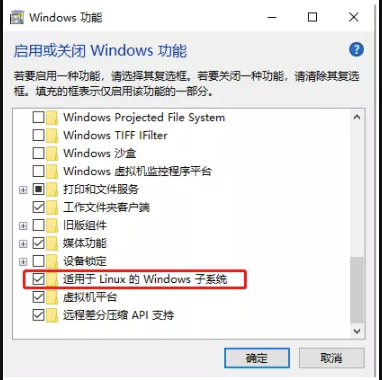
方法一:UI界面操作法
点击:开始->设置->应用->最大化点击右边的“程序和功能”->点击左侧的“启用或关闭Windows功能”->在弹出的窗体上找到“适用于Linux的Windows子系统”,选中->确定。
方法二:命令法
用管理员身份打开PowerShell,输入:Enable-WindowsOptionalFeature -Online -FeatureName Microsoft-Windows-Subsystem-Linux
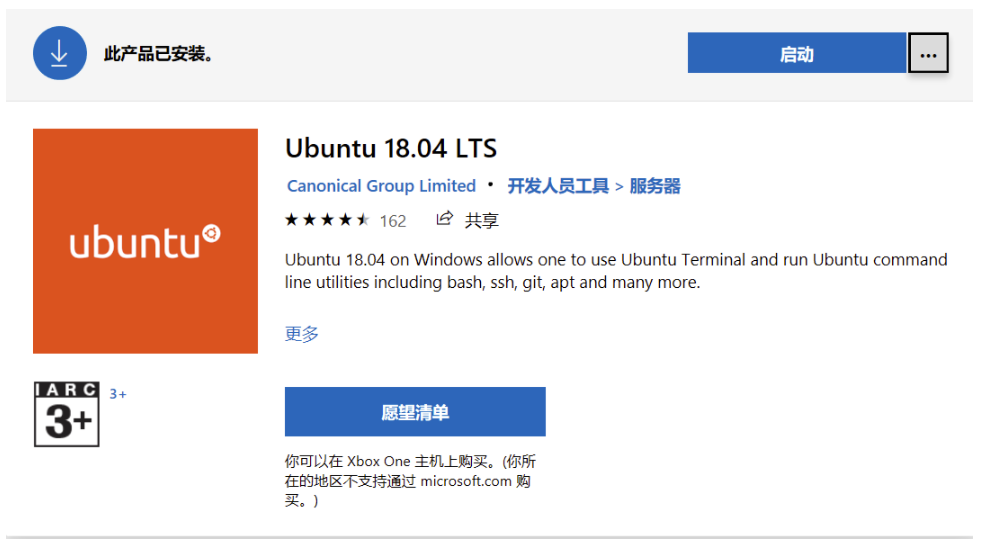
2.安装ubuntu 18.04
打开 微软应用商店,搜linux,选ubuntu18.04LTS,之后获取,安装完成后打开
3.配置
-
备份源
sudo cp /etc/apt/sources.list /etc/apt/sources.list.bak -
替换内容
source:https://developer.aliyun.com/mirror/ubuntu?spm=a2c6h.13651102.0.0.53322f70EvuZaI
sudo nano /etc/apt/sources.list
以下为ubuntu 18.04(bionic)替换内容:
deb http://mirrors.aliyun.com/ubuntu/ bionic main restricted universe multiverse
deb-src http://mirrors.aliyun.com/ubuntu/ bionic main restricted universe multiverse

deb http://mirrors.aliyun.com/ubuntu/ bionic-security main restricted universe multiverse
deb-src http://mirrors.aliyun.com/ubuntu/ bionic-security main restricted universe multiverse

deb http://mirrors.aliyun.com/ubuntu/ bionic-updates main restricted universe multiverse
deb-src http://mirrors.aliyun.com/ubuntu/ bionic-updates main restricted universe multiverse

deb http://mirrors.aliyun.com/ubuntu/ bionic-proposed main restricted universe multiverse
deb-src http://mirrors.aliyun.com/ubuntu/ bionic-proposed main restricted universe multiverse

deb http://mirrors.aliyun.com/ubuntu/ bionic-backports main restricted universe multiverse
deb-src http://mirrors.aliyun.com/ubuntu/ bionic-backports main restricted universe multiverse
- 更新和升级
sudo apt-get update
sudo apt-get upgrade
- 安装wsl
似乎还需要安装什么....不记得了...以后要安装时补充
- 修改.bashrc 文件
sudo nano ~/.bashrc
添加内容:
PATH=~/.local/bin:/usr/local/sbin:/usr/local/bin:/usr/sbin:/usr/bin:/sbin:/bin
配置PS1(shell提示), 先旧的删除掉, 填加新PS1
function color_my_prompt {
local __user_and_host="[�33[01;32m]u@h"
local __cur_location="[�33[01;34m]w"
local __git_branch_color="[�33[31m]"
#local __git_branch="\`ruby -e "print (%x{git branch 2> /dev/null}.grep(/^*/).first || '').gsub(/^* (.+)$/, '(1) ')"\`"
local __git_branch='`git branch 2> /dev/null | grep -e ^* | sed -E s/^\\* (.+)$/(\\1) /`'
local __prompt_tail="[�33[35m]$"
local __last_color="[�33[00m]"
export PS1="$__user_and_host $__cur_location $__git_branch_color$__git_branch$__prompt_tail$__last_color "
}
color_my_prompt
以上步骤完成后,一般已经自动安装了git
git配置 - SSH-KEY
检查git安装: git
手动安装git: sudo apt-get install git
因为Git是分布式版本控制系统,所以,每个机器都必须自报家门:你的名字和Email地址。
$ git config --global user.name "Your Name"

$ git config --global user.email "email@example.com"
SSH-KEY
简介:SSH key提供了一种与GitHub通信的方式,通过这种方式,能够在不输入密码的情况下,将GitHub作为自己的remote端服务器,进行版本控制
source:https://www.jianshu.com/p/259773014e03
检查ssh-key是否存在: cat ~/.ssh/id_rsa.pub
-
存在,直接复制密钥到github即可
-
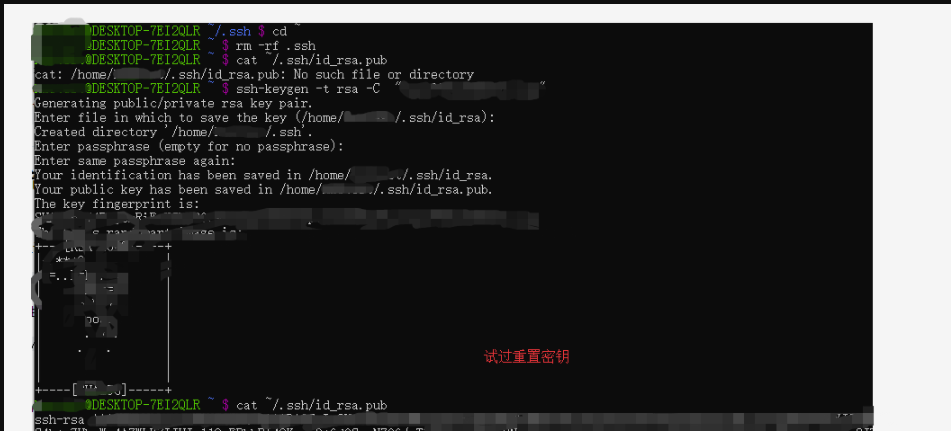
如果不存在: 生成ssh-key
ssh-keygen -t rsa -C "your_email@example.com", 后续回车,不需要输入文件名,passphrase看系统需要
到这里,我们就可以从github克隆代码到本地了
使用git push遇到的问题:
------20200530------
前一段时间受疫情影响,在家办公了一段时间。刚开始要用家里的电脑拉取git的代码,一直出现权限问题。
最开始大佬提供的解决方式是把拉取下来的代码放到linux子系统文件夹里面,再复制到本地。
后面要提交代码时发现没办法提交。找了大佬帮忙看,最终解决了权限问题!
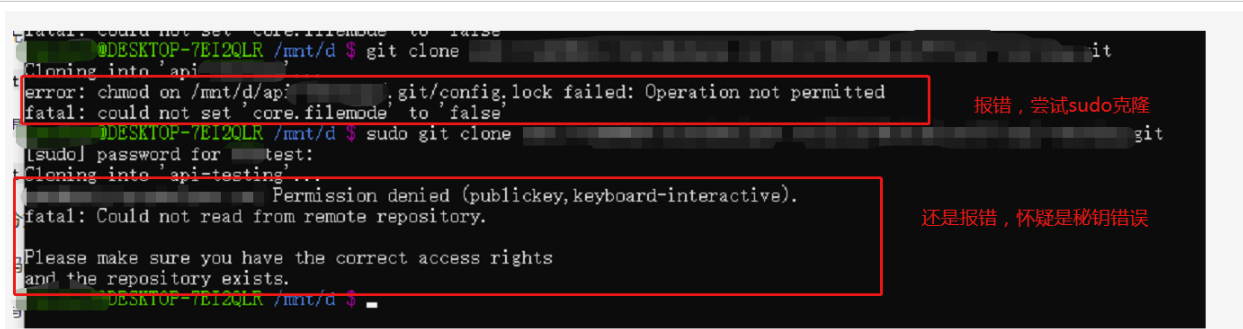
第一次报错,自己尝试重置秘钥后再重新拉取,结果还是报错:
第一次报错解决方案:
cd ~ ; git clone

mv api-testing /mnt/d
好了,到这里代码是成功拉取到本地了,但是!!!当要提交代码时,再次出现了问题!
本人的操作步骤:
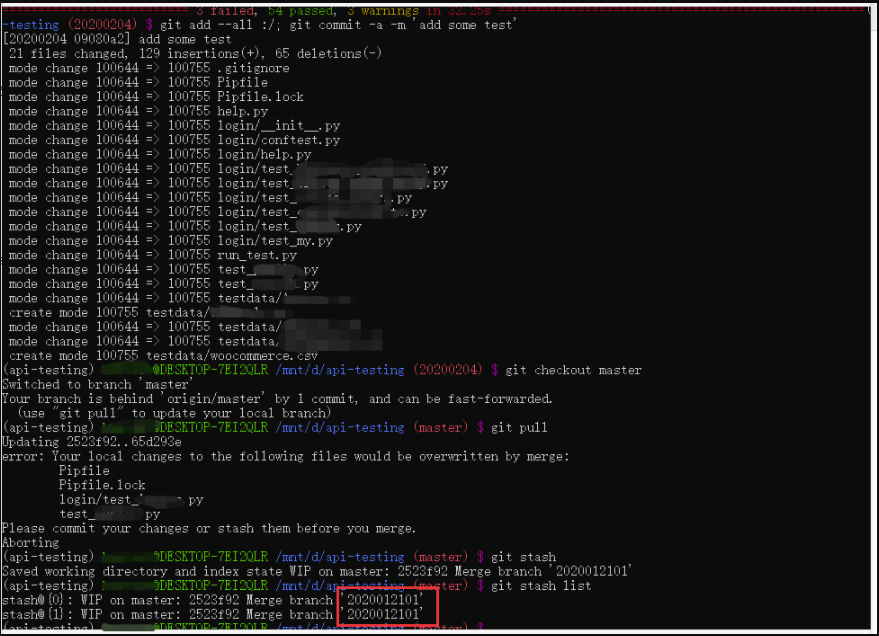
①提交 (20200203) $ git add --all :/; git commit -a -m 'add some test'
②切换master (20200203) $ git checkout master
③拉代码 (master) $ git pull origin master
...然后执行了 git reset
....直接覆盖文件---之前写的
④执行 (master) $ git stash
Saved working directory and index state WIP on master: 2523f92 Merge branch '2020012101'
⑤再次创建分支 (master) $ git checkout -b '20200204'
⑥再次提交 (20200204) $ git add --all :/; git commit -a -m 'add some test'
记得当时的描述是这样的: 最后我本地的又被覆盖了……
现在想想,我好像是把远程代码拉下来,并没有merge,那我看到的代码就是远程代码(即 我改变的代码肯定是被去掉了呀!),哈哈哈哈哈....
由于是远程指导,大佬一开始也没有想起来前一天发生的事情,后面可能是突然想起来可能和昨天发生的事情有关系,没有从根本上解决问题。让我使用昨天的‘老办法’尝试push代码
最后还给我发了一个网上的资料(https://hughsite.com/post/chmod-chown-wsl-improvements.html),让我按照上面的步骤来操作。
第二次报错解决方案:
更改 wsl.conf 文件。
sudo nano /etc/wsl.conf
添加挂载磁盘的一些默认设置。
[automount]
enabled = true
options = "metadata,umask=22,fmask=11"
mountFsTab = false
改完之后重启一下wsl就可以了!