话不多说上代码
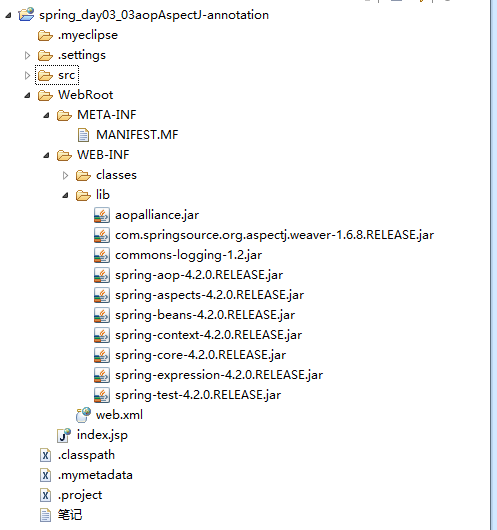
项目架构图及Lib包如下:
第二步创建业务类接口
package cn.happy.day01.entity;
/**
 * 1.业务接口
 * @author Happy
 *
 */
public interface ISomeService {
    //1.1  执行事务
   public void doTransaction();
    //1.2 书写日志
   public String doLog();
}
第三步实现接口重写接口方法
package cn.happy.day01.entity;

public class SomeServiceImpl implements ISomeService {

    @Override
    public void doTransaction() {
        System.out.println("开启事务");
    }

    @Override
    public String doLog() {
        System.out.println("书写日志");
        return "abc";
    }

}
第四步创建aop包定义增强类
package cn.happy.day01.aop;

import org.aspectj.lang.annotation.Aspect;
import org.aspectj.lang.annotation.Before;


@Aspect  //该类为切面
public class MyAspect {
    //前置通知
    @Before(value="execution(public * *(..))")
    public void myBefore(){
        System.out.println("这是前置增强");
    }

}
第五步在applicationContext.xml中配置:
<?xml version="1.0" encoding="UTF-8"?>
<beans xmlns="http://www.springframework.org/schema/beans"
    xmlns:xsi="http://www.w3.org/2001/XMLSchema-instance"
    xmlns:context="http://www.springframework.org/schema/context"
    xmlns:aop="http://www.springframework.org/schema/aop"
     xsi:schemaLocation="
        http://www.springframework.org/schema/beans http://www.springframework.org/schema/beans/spring-beans.xsd
        http://www.springframework.org/schema/context http://www.springframework.org/schema/context/spring-context.xsd
        http://www.springframework.org/schema/aop http://www.springframework.org/schema/aop/spring-aop.xsd">

   <!-- 目标对象 -->
   <bean id="someService" class="cn.happy.day01.entity.SomeServiceImpl"></bean>

   <!-- 切面: -->
   <bean id="myAspect" class="cn.happy.day01.aop.MyAspect"></bean>

  <aop:aspectj-autoproxy/>
</beans>
最后我们写测试类测试
package cn.happy.day01.test;

import org.junit.Test;
import org.junit.runner.RunWith;
import org.springframework.context.ApplicationContext;
import org.springframework.context.support.ClassPathXmlApplicationContext;
import org.springframework.test.context.ContextConfiguration;
import org.springframework.test.context.junit4.SpringJUnit4ClassRunner;

import cn.happy.day01.entity.ISomeService;
public class Spring_01Test {
    @Test
    public void testOne(){

        ApplicationContext ctx=new ClassPathXmlApplicationContext("cn/happy/day01/applicationContext.xml");
        ISomeService service = (ISomeService)ctx.getBean("someService");
        service.doTransaction();
        String result = service.doLog();
        System.out.println(result);
    }
}
ps:
1.切入点表达式
execution(【modifiers-pattern?】 访问修饰符
ret-type-pattern 返回值类型
【declaring-type-pattern?】 全限定性类名
name-pattern(param-pattern) 方法名(参数名)
【throws-pattern?】) 抛出异常类型
切入点表达式要匹配的对象就是目标方法的方法名。所以,execution表达式中明显就是方法的签名。注意:表达式中加[]的部分表示可省略部分,各部分间用空格分开。在其中可以使用以下符号:
符号 意义
* 0至多个任意字符
.. 用在方法参数中,表示任意多个参数
用在包名后,表示当前包及其子包路径
+ 用在类名后,表示当前类及其子类
用在接口后,表示当前接口及其实现类
案例:
execution(public * *(..)) 指定切入点为:任意公共方法
execution(* set*(..)) 指定切入点为:任何一个以"set"开始的方法
ok就这样了试试吧