最近刚入了3090,发现网上写的各种环境配置相当混乱而且速度很慢。所以自己测了下速度最快的3090配置环境,欢迎补充!
基本环境(整个流程大约需要5分钟甚至更少)
py37或py38
cuda11.1
tf2.5(tf-nightly)或 tf1.15.4
pytorch1.8
keras2.3
(1)安装gcc
sudo apt install build-essential
gcc -v #查看gcc版本
(2)官网下载对应版本显卡驱动及cuda:(以下版本对应11.1cuda,此处安装cuda是为了tf的某个缺失的文件)
wget https://developer.download.nvidia.com/compute/cuda/11.1.0/local_installers/cuda_11.1.0_455.23.05_linux.run
sudo sh cuda_11.1.0_455.23.05_linux.run
(3)安装Anaconda并换源
bash Anaconda3-5.2.0-Linux-x86_64.sh
vim ~/.bashrc
export PATH=/home/yukyin/anaconda3/bin:$PATH(在文件末尾处添加该语句)
source ~/.bashrc

conda config --add channels https://mirrors.tuna.tsinghua.edu.cn/anaconda/pkgs/main/
conda config --add channels https://mirrors.tuna.tsinghua.edu.cn/anaconda/pkgs/free/
conda config --add channels https://mirrors.tuna.tsinghua.edu.cn/anaconda/cloud/conda-forge
conda config --add channels https://mirrors.tuna.tsinghua.edu.cn/anaconda/cloud/msys2/
conda config --add channels https://mirrors.tuna.tsinghua.edu.cn/anaconda/cloud/pytorch/
conda config --set show_channel_urls yes
之后vim ~/.condarc,把defaults删掉
(4)创建虚拟环境,一般用py37或py38(以下都在虚拟环境中操作)
conda create -n exp38 python==3.8
conda activate exp38
(5)安装pytorch
官网下载cuda11.1轮子:torch-1.8.1+cu111-cp38-cp38-linux_x86_64.whl
pip install torch-1.8.1+cu111-cp38-cp38-linux_x86_64.whl #在轮子所在的目录下操作(6)装tf2.5(不要装tensorflow-gpu==2.4.0rc0,会报错'NoneType' object has no attribute 'TFE_MonitoringDeleteBuckets')
pip install tf-nightly-gpu -i http://pypi.douban.com/simple --trusted-host pypi.douban.com
pip install tf-nightly -i http://pypi.douban.com/simple --trusted-host pypi.douban.com
conda install cudatoolkit=11.0
cp /usr/local/cuda-11.1/targets/x86_64-linux/lib/libcusolver.so.11.0.0.74 /home/yukyin/anaconda3/envs/exp382/lib/
mv /home/yukyin/anaconda3/envs/exp382/lib/libcusolver.so.11.0.0.74 /home/yukyin/anaconda3/envs/exp382/lib/libcusolver.so.11.0
(7)装tf1.15
pip install nvidia-pyindex -i http://pypi.douban.com/simple --trusted-host pypi.douban.com
pip install nvidia-tensorflow -i http://pypi.douban.com/simple --trusted-host pypi.douban.com
(8)装keras2.3
pip install keras==2.3 -i http://pypi.douban.com/simple --trusted-host pypi.douban.com(10)测试(使用cuda10.2也可以测试使用gpu,但貌似不能把数据写入gpu)
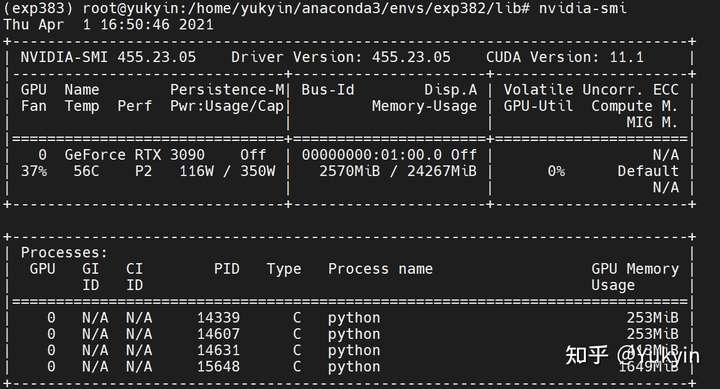
pytorch

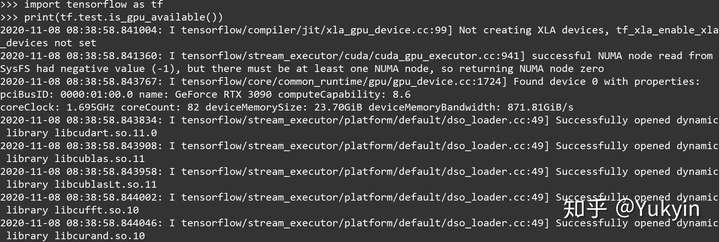
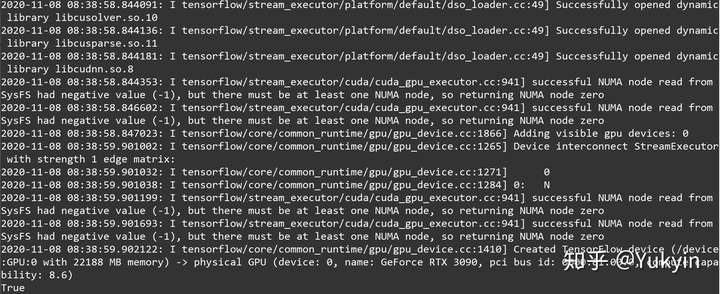
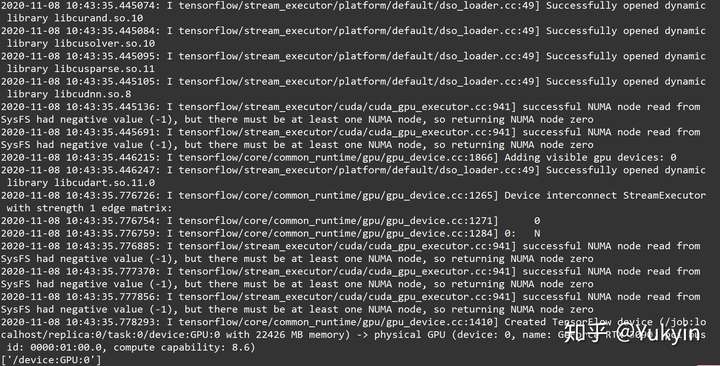
tensorflow-2.5或1.15.4
keras(测试需要改部分源码_get_available_gpus())
import tensorflow as tf
import keras.backend.tensorflow_backend as tfback
print("tf.__version__ is", tf.__version__)
print("tf.keras.__version__ is:", tf.keras.__version__)

def _get_available_gpus():
    if tfback._LOCAL_DEVICES is None:
        devices = tf.config.list_logical_devices()
        tfback._LOCAL_DEVICES = [x.name for x in devices]
    return [x for x in tfback._LOCAL_DEVICES if 'device:gpu' in x.lower()]
tfback._get_available_gpus = _get_available_gpus

from keras import backend as K
K.tensorflow_backend._get_available_gpus()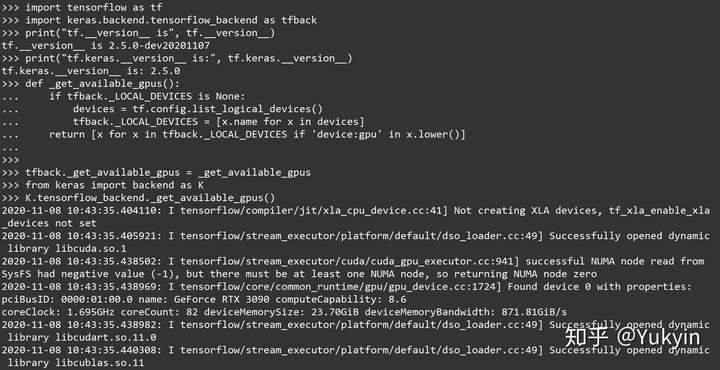
后记:不需要单独配cuda、cudnn,在虚拟环境里搞就行了。
参考:https://zhuanlan.zhihu.com/p/279401802