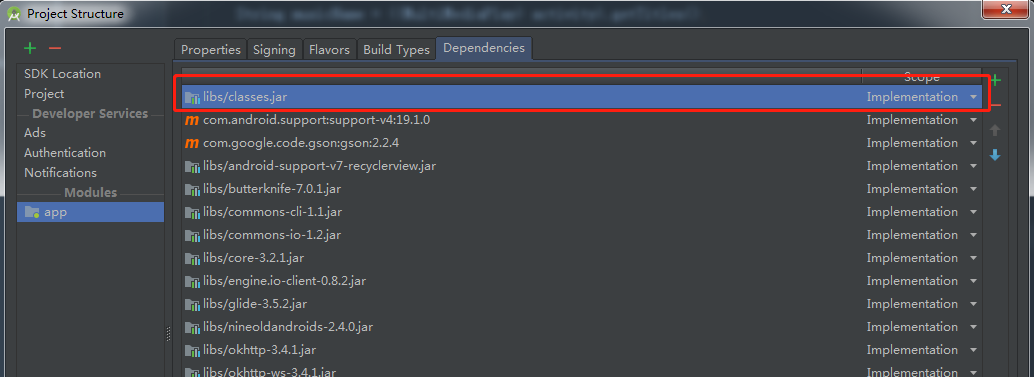
1.在libs文件夹中加入jar包,并将其置顶

注:studio3.1的scope没有Provided选项,都默认选择implementation,studio2.3及以下版本需要将scope设置为Provided
2.在根目录下的build.gradle中设置
tasks.withType(JavaCompile) {
    options.compilerArgs.add('-Xbootclasspath/p:app(module的名字)\libs\classes.jar')
}

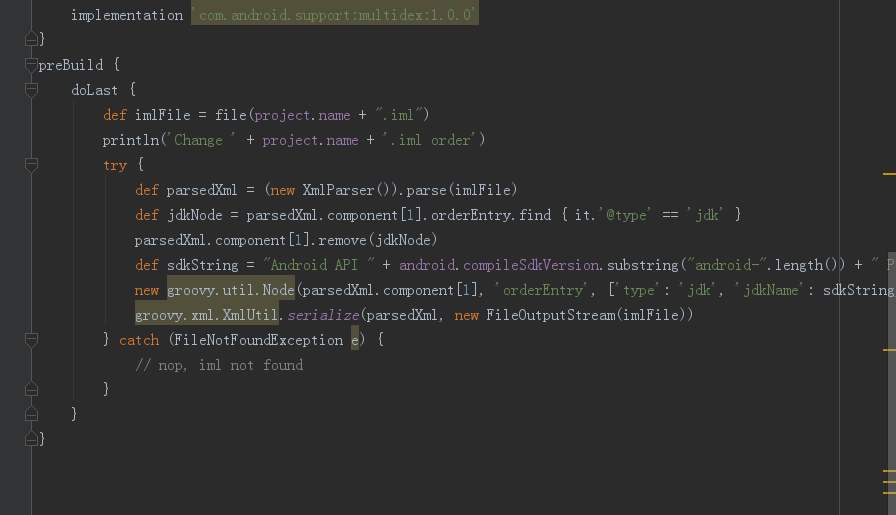
3.然后打开module下的build.gradle添加设置来更改引用库的优先级,优先引用自己添加的jar
preBuild {
    doLast {
        def imlFile = file(project.name + ".iml")
        println('Change ' + project.name + '.iml order')
        try {
            def parsedXml = (new XmlParser()).parse(imlFile)
            def jdkNode = parsedXml.component[1].orderEntry.find { it.'@type' == 'jdk' }
            parsedXml.component[1].remove(jdkNode)
            def sdkString = "Android API " + android.compileSdkVersion.substring("android-".length()) + " Platform"
            new groovy.util.Node(parsedXml.component[1], 'orderEntry', ['type': 'jdk', 'jdkName': sdkString, 'jdkType': 'Android SDK'])
            groovy.xml.XmlUtil.serialize(parsedXml, new FileOutputStream(imlFile))
        } catch (FileNotFoundException e) {
            // nop, iml not found
        }
    }
}

4.在Module下的build.gradle下的android->defaultConfig里面添加
multiDexEnabled = true

然后加入下面引用:compile 'com.android.support:multidex:1.0.0'
OK,到此就成功引入了。