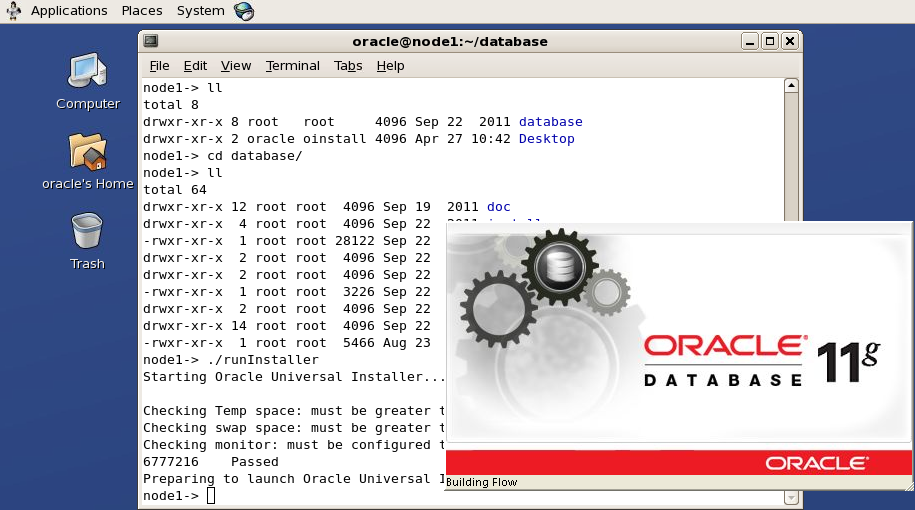
从此步骤开始,我们正式安装oracle软件:
① 以oracle用户登录图形界面,执行/home/oracle/database/runInstaller,进入OUI的图形安装界面:
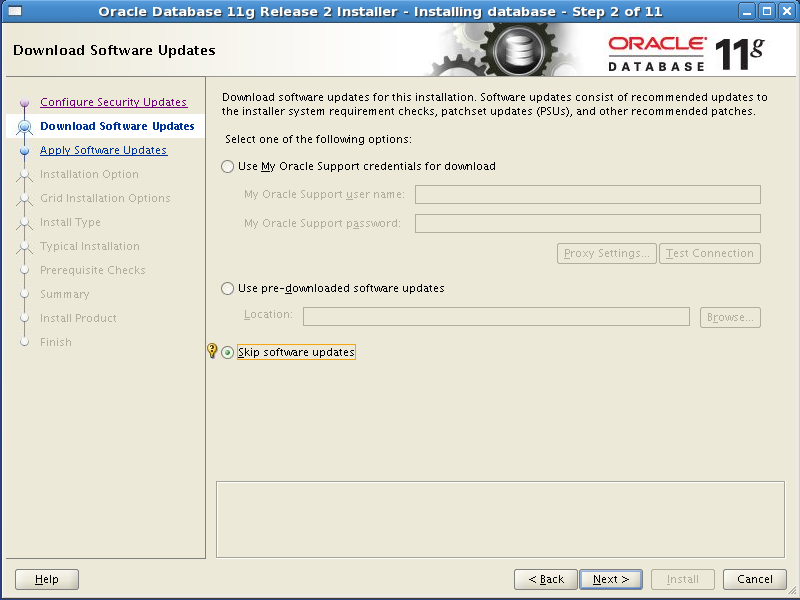
② 进入OUI安装界面后,选择第3项,跳过软件更新,Next:
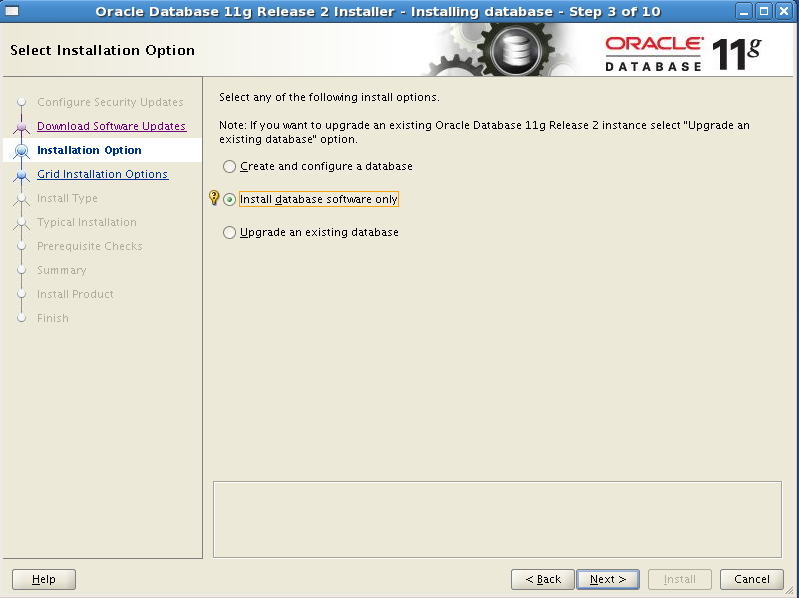
③ 选择第2项,只安装oracle软件,Next:
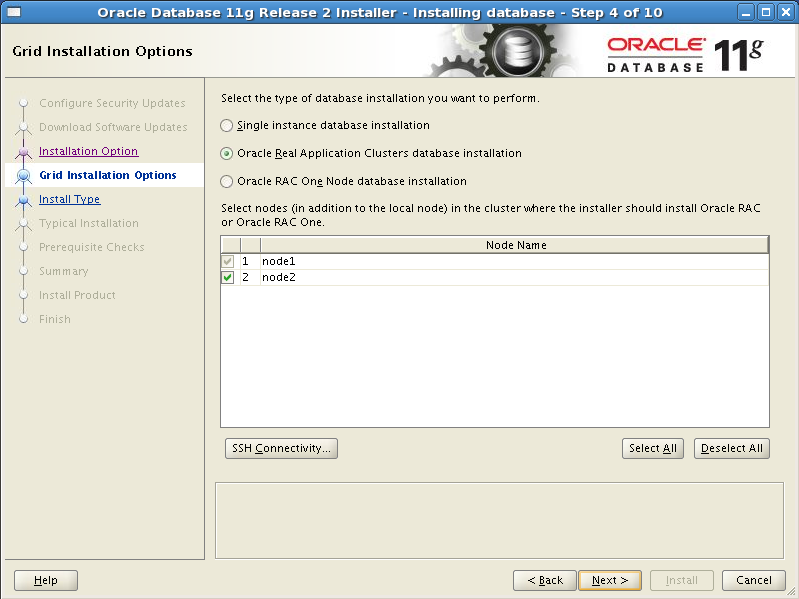
④ 选择第2项,安装oracle RAC,选择所有节点,Next:
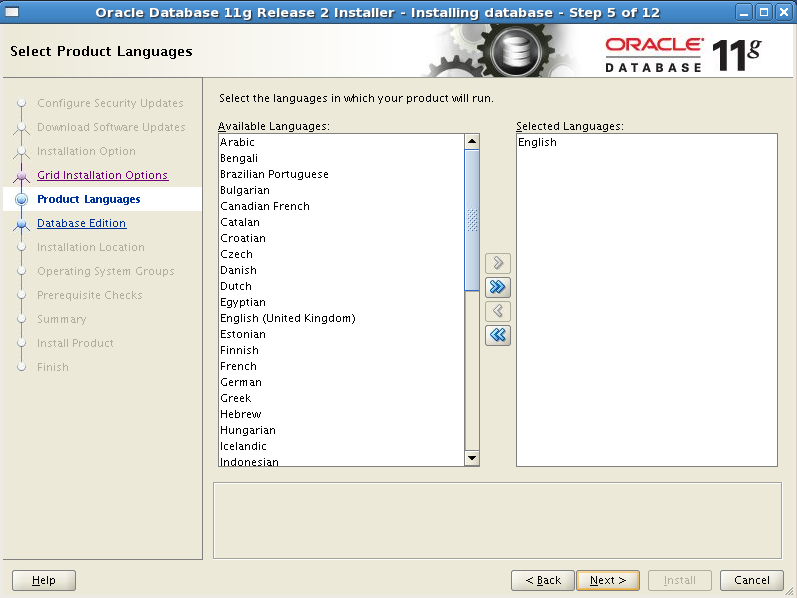
⑤ 语言选择默认,English,Next:
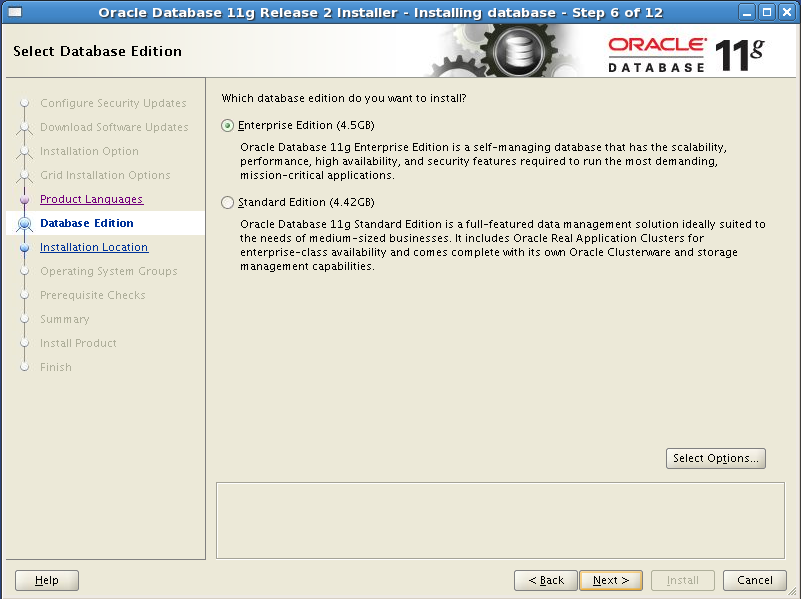
⑥ 选择第1项,安装企业版软件,Next:
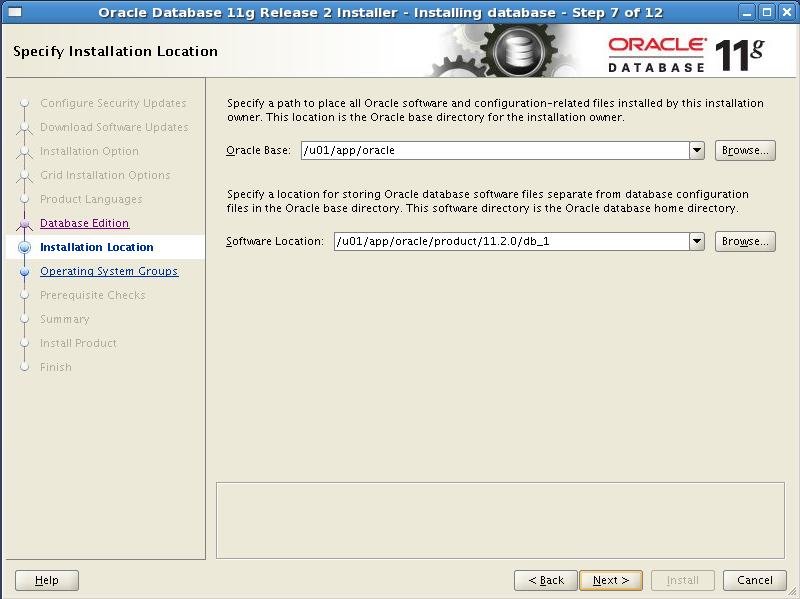
⑦ 选择oracle软件的安装路径,其中ORACLE_BASE,ORACLE_HOME均选择之前已经配置好的,可参照配置信息。Next:
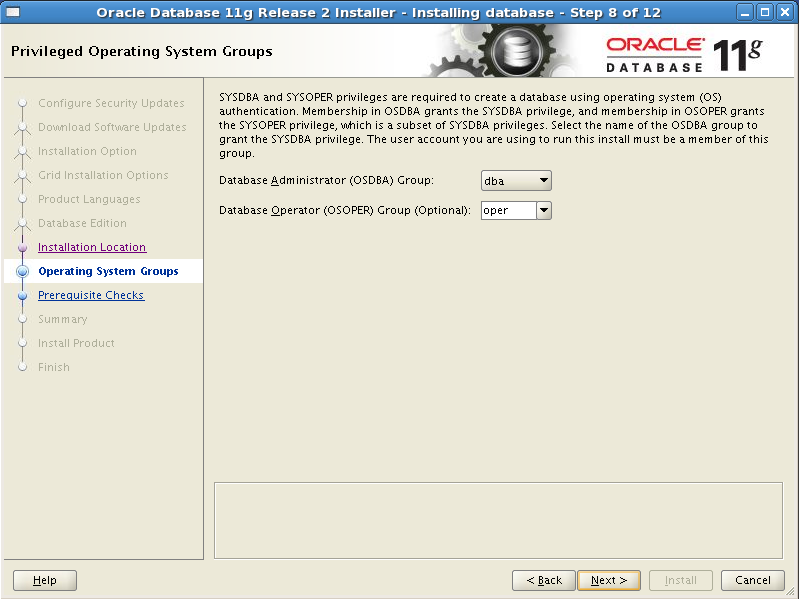
⑧ 选择oracle用户组,Next:
⑨ 执行安装前的预检查,Next:

⑩ 安装概要信息,Install:

⑪ 根据提示以root用户分别在两个节点上执行脚本,Next:
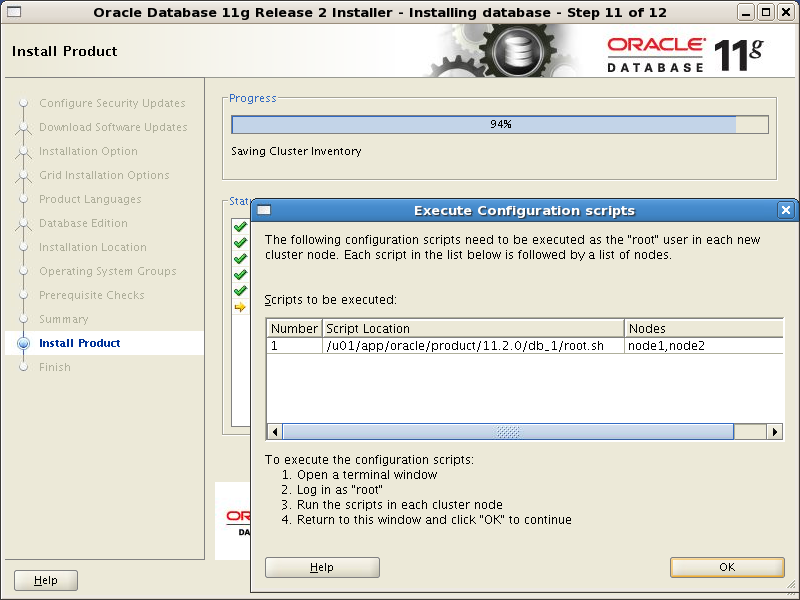
执行/u01/app/oracle/product/11.2.0/db_1/root.sh 脚本:
node1:
|
[root@node1 ~]# /u01/app/oracle/product/11.2.0/db_1/root.sh Performing root user operation for Oracle 11g
The following environment variables are set as: ORACLE_OWNER= oracle ORACLE_HOME= /u01/app/oracle/product/11.2.0/db_1
Enter the full pathname of the local bin directory: [/usr/local/bin]: The contents of "dbhome" have not changed. No need to overwrite. The contents of "oraenv" have not changed. No need to overwrite. The contents of "coraenv" have not changed. No need to overwrite.
Entries will be added to the /etc/oratab file as needed by Database Configuration Assistant when a database is created Finished running generic part of root script. Now product-specific root actions will be performed. Finished product-specific root actions. [root@node1 ~]# |
node2:
|
[root@node2 ~]# /u01/app/oracle/product/11.2.0/db_1/root.sh Performing root user operation for Oracle 11g
The following environment variables are set as: ORACLE_OWNER= oracle ORACLE_HOME= /u01/app/oracle/product/11.2.0/db_1
Enter the full pathname of the local bin directory: [/usr/local/bin]: The contents of "dbhome" have not changed. No need to overwrite. The contents of "oraenv" have not changed. No need to overwrite. The contents of "coraenv" have not changed. No need to overwrite.
Entries will be added to the /etc/oratab file as needed by Database Configuration Assistant when a database is created Finished running generic part of root script. Now product-specific root actions will be performed. Finished product-specific root actions. [root@node2 ~]# |
⑫ 最后,单击close,完成oracle软件在双节点上的安装。
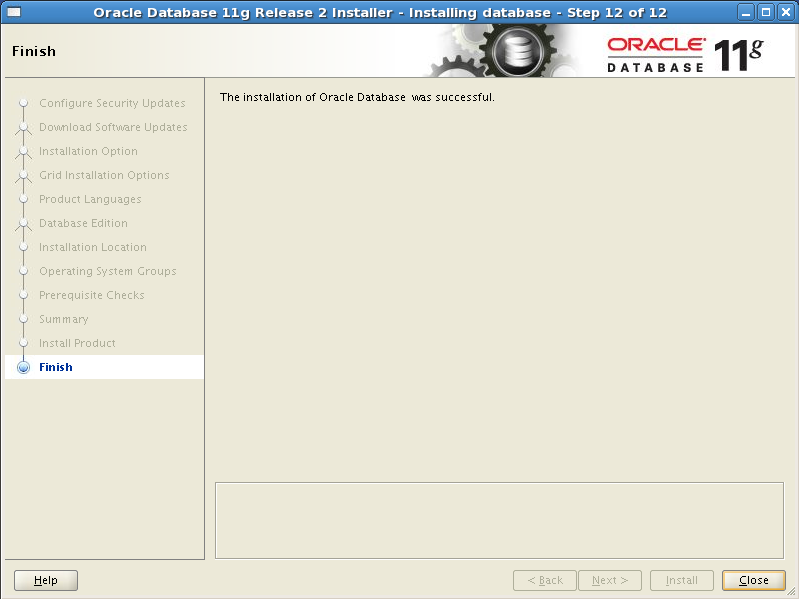
至此,我们在RAC双节点上完成oracle软件的安装!!!