参考博客:
《参考博客一》
《参考博客二》
所需环境:
已安装opencv环境
下载好MNIST数据集
pycharm一些库的安装
实现效果:


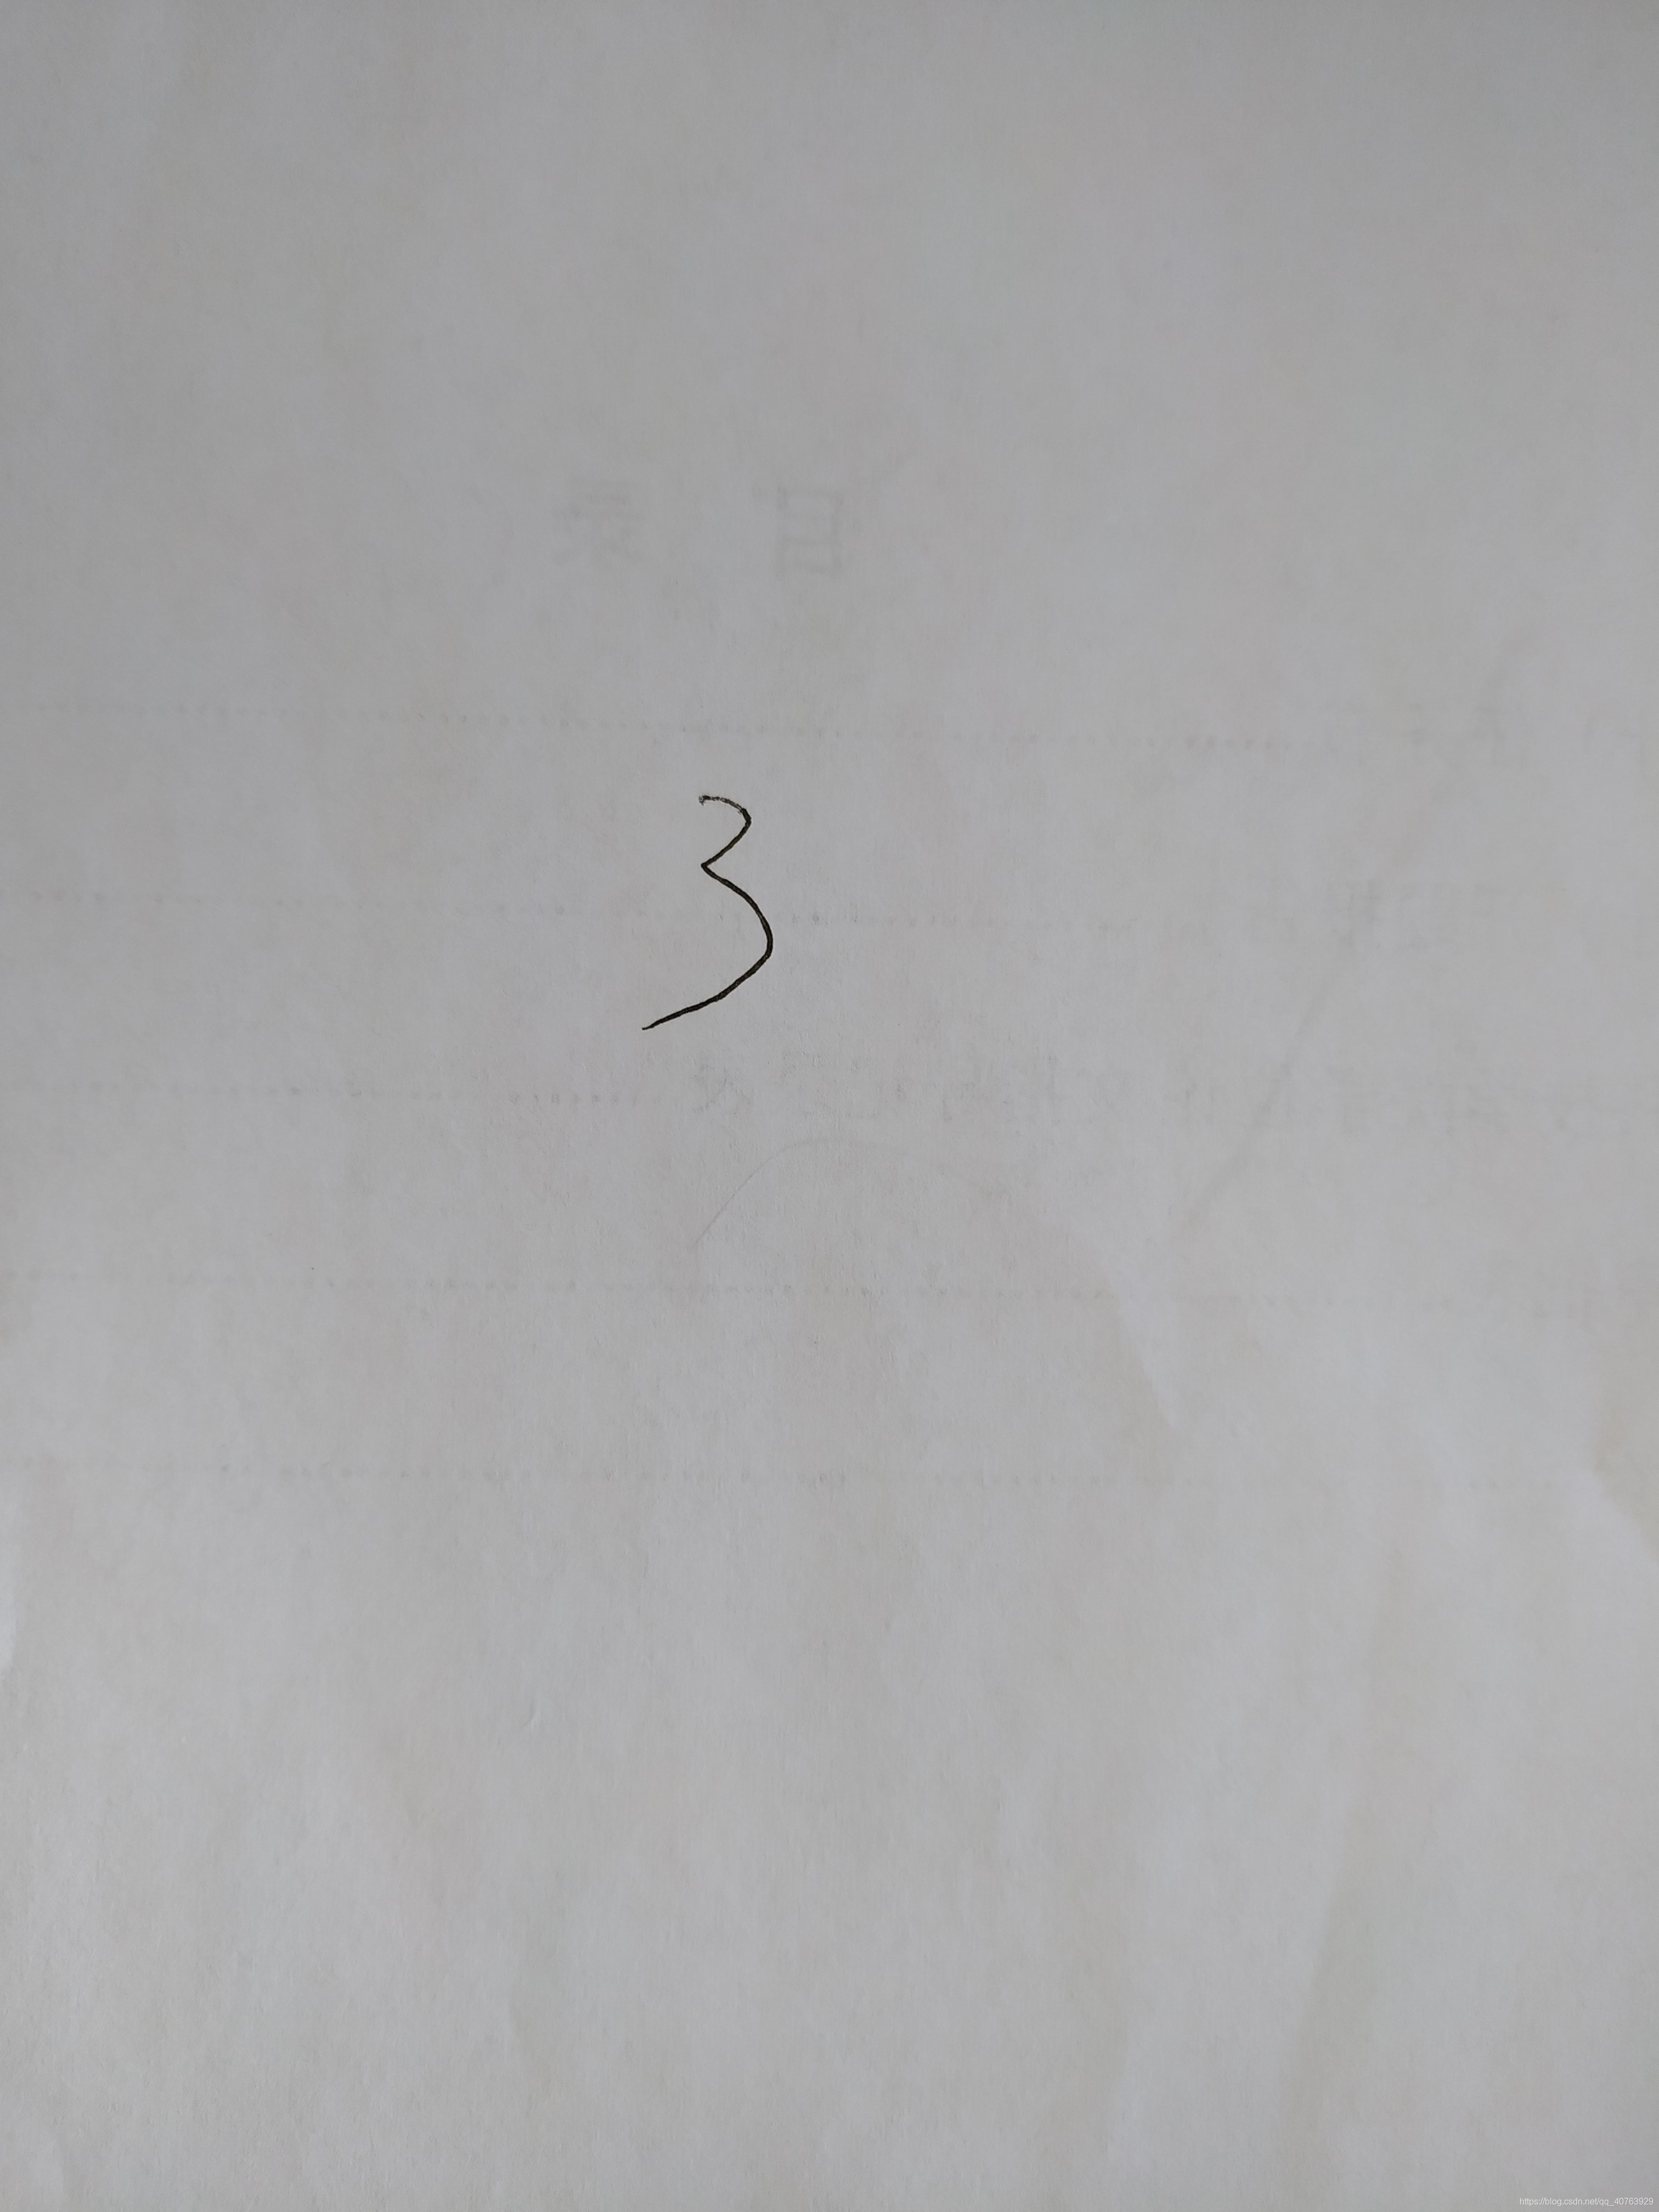
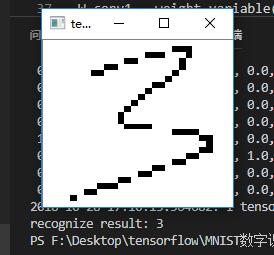
这是手写的两个字,进行opencv二值化处理后,得到两张28*28像素的图片,即可进行识别。
进行代码二处理后的数字3图片:

然后将此图片进行预测即可得出结果。
代码一:
前向传播,进行模型训练,训练完成后会在电脑桌面自动生成4个文件,这4个文件就是训练好的模型!
from tensorflow.examples.tutorials.mnist import input_data

import tensorflow as tf

mnist = input_data.read_data_sets('MNIST_data', one_hot=True) # MNIST数据集所在路径

x = tf.placeholder(tf.float32, [None, 784])

y_ = tf.placeholder(tf.float32, [None, 10])


def weight_variable(shape):
    initial = tf.truncated_normal(shape,stddev = 0.1)
    return tf.Variable(initial)

def bias_variable(shape):
    initial = tf.constant(0.1,shape = shape)
    return tf.Variable(initial)

def conv2d(x,W):
    return tf.nn.conv2d(x, W, strides = [1,1,1,1], padding = 'SAME')

def max_pool_2x2(x):
    return tf.nn.max_pool(x, ksize=[1,2,2,1], strides=[1,2,2,1], padding='SAME')

W_conv1 = weight_variable([5, 5, 1, 32])
b_conv1 = bias_variable([32])

x_image = tf.reshape(x,[-1,28,28,1])

h_conv1 = tf.nn.relu(conv2d(x_image,W_conv1) + b_conv1)
h_pool1 = max_pool_2x2(h_conv1)

W_conv2 = weight_variable([5, 5, 32, 64])
b_conv2 = bias_variable([64])

h_conv2 = tf.nn.relu(conv2d(h_pool1, W_conv2) + b_conv2)
h_pool2 = max_pool_2x2(h_conv2)

W_fc1 = weight_variable([7 * 7 * 64, 1024])
b_fc1 = bias_variable([1024])

h_pool2_flat = tf.reshape(h_pool2, [-1, 7*7*64])
h_fc1 = tf.nn.relu(tf.matmul(h_pool2_flat, W_fc1) + b_fc1)

keep_prob = tf.placeholder("float")
h_fc1_drop = tf.nn.dropout(h_fc1, keep_prob)

W_fc2 = weight_variable([1024, 10])
b_fc2 = bias_variable([10])

y_conv=tf.nn.softmax(tf.matmul(h_fc1_drop, W_fc2) + b_fc2)

cross_entropy = -tf.reduce_sum(y_*tf.log(y_conv))
train_step = tf.train.AdamOptimizer(1e-4).minimize(cross_entropy)
correct_prediction = tf.equal(tf.argmax(y_conv,1), tf.argmax(y_,1))
accuracy = tf.reduce_mean(tf.cast(correct_prediction, "float"))

saver = tf.train.Saver() #定义saver

with tf.Session() as sess:
    sess.run(tf.global_variables_initializer())
    for i in range(20000):
        batch = mnist.train.next_batch(50)
        if i % 100 == 0:
            train_accuracy = accuracy.eval(feed_dict={
                x: batch[0], y_: batch[1], keep_prob: 1.0})
            print('step %d, training accuracy %g' % (i, train_accuracy))
        train_step.run(feed_dict={x: batch[0], y_: batch[1], keep_prob: 0.5})
    saver.save(sess, 'C:/Users/Lenovo/Desktop/model.ckpt') # 模型储存位置,这个地方要结合你#自己的储存位置进行修改

    print('test accuracy %g' % accuracy.eval(feed_dict={
        x: mnist.test.images, y_: mnist.test.labels, keep_prob: 1.0}))
训练好的模型:

我把这4个文件放在了一个名为 “SAVE” 的文件夹,文件夹放在桌面。
代码二:
将自己的手写图片进行二值化处理,生成新的符合代码要求的28*28像素的图片。
代码运行后,需要用鼠标在图片上进行截图,如果弹出的图片过大,可以先在画图工具中将图片的像素缩小再进行截图。
记住:图片要放在你的python文件的同一个工程目录下。
用鼠标右键在工程目录新建一个txt文档,将名字改为temp,后缀名改为png,那么这就是一个新的空白的png文件了,用于储存二值化之后的结果图片。
# coding=gbk
import cv2

global img
global point1, point2
def on_mouse(event, x, y, flags, param):
    global img, point1, point2
    img2 = img.copy()
    if event == cv2.EVENT_LBUTTONDOWN:         #左键点击
        point1 = (x,y)
        cv2.circle(img2, point1, 10, (0,255,0), 5)
        cv2.imshow('image', img2)
    elif event == cv2.EVENT_MOUSEMOVE and (flags & cv2.EVENT_FLAG_LBUTTON):   #按住左键拖曳
        cv2.rectangle(img2, point1, (x,y), (255,0,0), 5) # 图像,矩形顶点,相对顶点,颜色,粗细
        cv2.imshow('image', img2)
    elif event == cv2.EVENT_LBUTTONUP:         #左键释放
        point2 = (x,y)
        cv2.rectangle(img2, point1, point2, (0,0,255), 5)
        cv2.imshow('image', img2)
        min_x = min(point1[0], point2[0])
        min_y = min(point1[1], point2[1])
        width = abs(point1[0] - point2[0])
        height = abs(point1[1] -point2[1])
        cut_img = img[min_y:min_y+height, min_x:min_x+width]
        resize_img = cv2.resize(cut_img, (28,28)) # 调整图像尺寸为28*28
        ret, thresh_img = cv2.threshold(resize_img,127,255,cv2.THRESH_BINARY) # 二值化
        cv2.imshow('result', thresh_img)
        cv2.imwrite('C:\Users\Lenovo\PycharmProjects\untitled5\temp.png', thresh_img)  # 预处理后图像保存位置,用鼠标右键新建一个txt文档,将名字改为temp,后缀名改为png,#那么这就是一个新的空白的png文件了,用于储存二值化之后的结果图片。

def main():
    global img
    img = cv2.imread('C:\Users\Lenovo\PycharmProjects\untitled5\MyNum9.jpg')  # 手写数字图像所在位置
    img = cv2.cvtColor(img, cv2.COLOR_BGR2GRAY) # 转换图像为单通道(灰度图)
    cv2.namedWindow('image')
    cv2.setMouseCallback('image', on_mouse) # 调用回调函数
    cv2.imshow('image', img)
    cv2.waitKey(0)

if __name__ == '__main__':
    main()
通过代码处理过的图片为:

代码三:
将处理过的图片和已经训练好的模型文件,进行代码预测。
from PIL import Image, ImageFilter
import tensorflow as tf
import matplotlib.pyplot as plt

def imageprepare():
    im = Image.open('C:\Users\Lenovo\PycharmProjects\untitled5\MyNum9.png') #读取的图片所在路径,注意是已经处理好的28*28像素的图片,其他图片不行。

    im = im.convert('L')
    tv = list(im.getdata())
    tva = [(255-x)*1.0/255.0 for x in tv]
    return tva

result=imageprepare()
x = tf.placeholder(tf.float32, [None, 784])

y_ = tf.placeholder(tf.float32, [None, 10])

def weight_variable(shape):
    initial = tf.truncated_normal(shape,stddev = 0.1)
    return tf.Variable(initial)

def bias_variable(shape):
    initial = tf.constant(0.1,shape = shape)
    return tf.Variable(initial)

def conv2d(x,W):
    return tf.nn.conv2d(x, W, strides = [1,1,1,1], padding = 'SAME')

def max_pool_2x2(x):
    return tf.nn.max_pool(x, ksize=[1,2,2,1], strides=[1,2,2,1], padding='SAME')

W_conv1 = weight_variable([5, 5, 1, 32])
b_conv1 = bias_variable([32])

x_image = tf.reshape(x,[-1,28,28,1])

h_conv1 = tf.nn.relu(conv2d(x_image,W_conv1) + b_conv1)
h_pool1 = max_pool_2x2(h_conv1)

W_conv2 = weight_variable([5, 5, 32, 64])
b_conv2 = bias_variable([64])

h_conv2 = tf.nn.relu(conv2d(h_pool1, W_conv2) + b_conv2)
h_pool2 = max_pool_2x2(h_conv2)

W_fc1 = weight_variable([7 * 7 * 64, 1024])
b_fc1 = bias_variable([1024])

h_pool2_flat = tf.reshape(h_pool2, [-1, 7*7*64])
h_fc1 = tf.nn.relu(tf.matmul(h_pool2_flat, W_fc1) + b_fc1)

keep_prob = tf.placeholder("float")
h_fc1_drop = tf.nn.dropout(h_fc1, keep_prob)

W_fc2 = weight_variable([1024, 10])
b_fc2 = bias_variable([10])

y_conv=tf.nn.softmax(tf.matmul(h_fc1_drop, W_fc2) + b_fc2)

cross_entropy = -tf.reduce_sum(y_*tf.log(y_conv))
train_step = tf.train.AdamOptimizer(1e-4).minimize(cross_entropy)
correct_prediction = tf.equal(tf.argmax(y_conv,1), tf.argmax(y_,1))
accuracy = tf.reduce_mean(tf.cast(correct_prediction, "float"))

saver = tf.train.Saver()

with tf.Session() as sess:
    sess.run(tf.global_variables_initializer())
    saver.restore(sess, "C:/Users/Lenovo/Desktop/SAVE/model.ckpt") #使用模型,参数和之前的代码保持一致

    prediction=tf.argmax(y_conv,1)
    predint=prediction.eval(feed_dict={x: [result],keep_prob: 1.0}, session=sess)

    print('识别结果为:')
    print(predint[0])