今天跟大家分享一个前端裁剪图片的方法.
许多网站都有设置用户头像的功能,用户可以选择一张本地的图片,然后用网站的裁剪工具进行裁剪,然后设置大小,位置合适的头像.
当然,网上也有一些用js写的诸如此类裁剪的插件,但是有许多都是前端将图片的一些裁剪参数(如坐标)传给后台,有java程序员进行真正的图片裁剪.今天自己研究了一些,做了一个纯前端裁剪的demo,如下:
1.html部分:
<div>
<input type="file" id="imgFile">
</div>
<div style=" 300px;height: 300px;position: absolute;left: 300px;top: 0;display: inline-block">
<img id="demoImg" style="height: 300px; 300px" alt="">
<div style=" 150px;height: 150px;border: 1px solid #4fb8e3;position: absolute;left: 0;top: 0;z-index: 1000" id="chooseBox"></div>
</div>
<div style="position: absolute;left: 700px;top: 0">
<canvas id="myCan" width="150" height="150"></canvas>
<button id="cut">裁剪文件</button>
<button id="btn">后台返回获取裁剪后的文件</button>
<img id="returnImg" alt="">
</div>
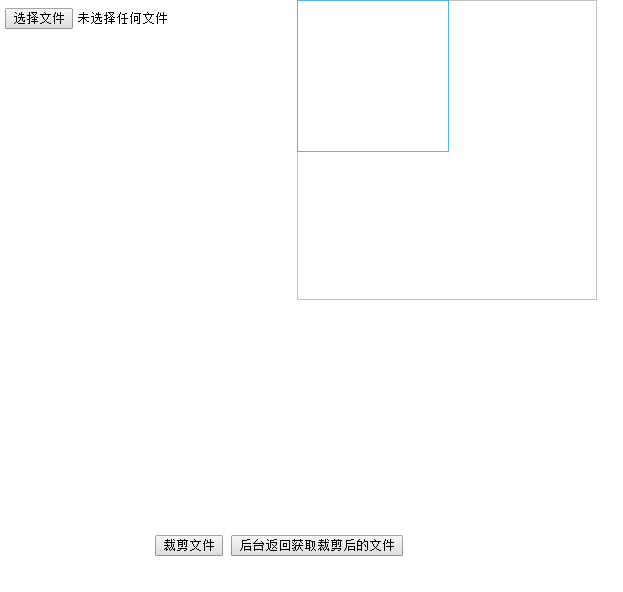
页面初始截图如下:
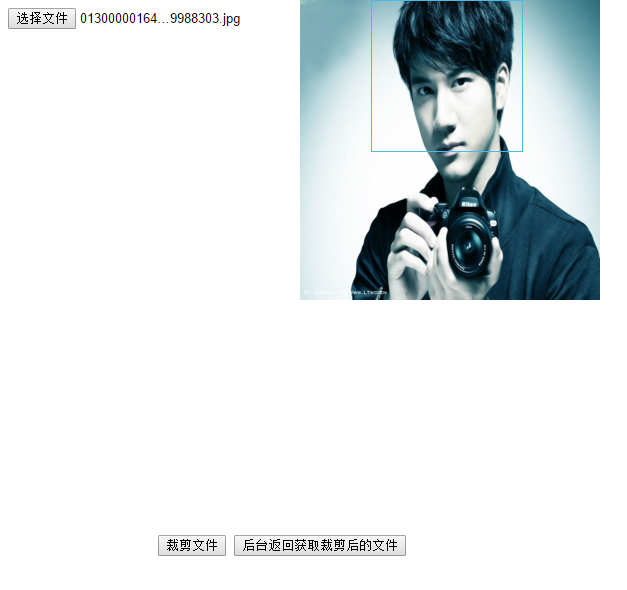
2.第二步进行文件选择后的预览操作
var can=document.getElementById("myCan");
var btn=document.getElementById("btn");
var returnImg=document.getElementById("returnImg");
var ctx=can.getContext("2d");

$('#imgFile').change(function () {
   var file=$('#imgFile')[0].files[0];
    var reader=new FileReader();
    reader.onload= function (e) {
        $('#demoImg').attr('src', e.target.result);
    };
    reader.readAsDataURL(file);
});
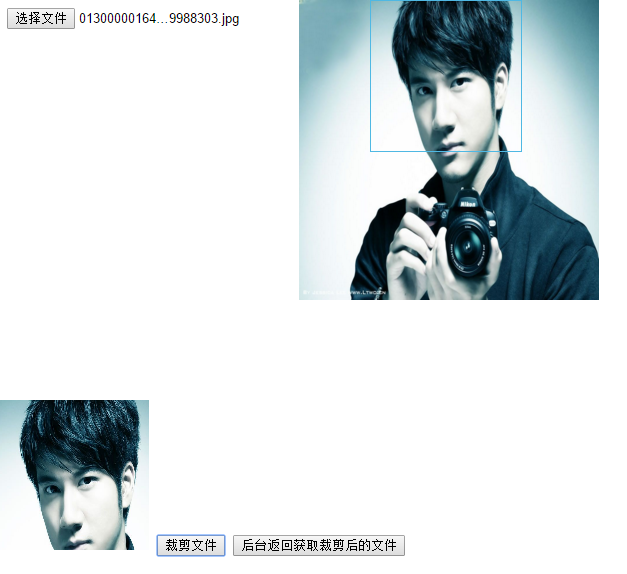
3.进行裁剪

注意到任务图像里面有一个蓝色边框的选择框(大小固定,没有做缩放),将蓝色选框移动到你需要的位置,点击裁剪文件
$('#cut').click(function () {
    var newX=$('#chooseBox').position().left*3.45;
    var newY=$('#chooseBox').position().top*2.6;
    var img=document.getElementById("demoImg");
    console.log(newX,newY);
    ctx.drawImage(img,newX,newY,150*3.45,150*2.6,0,0,150,150);
});
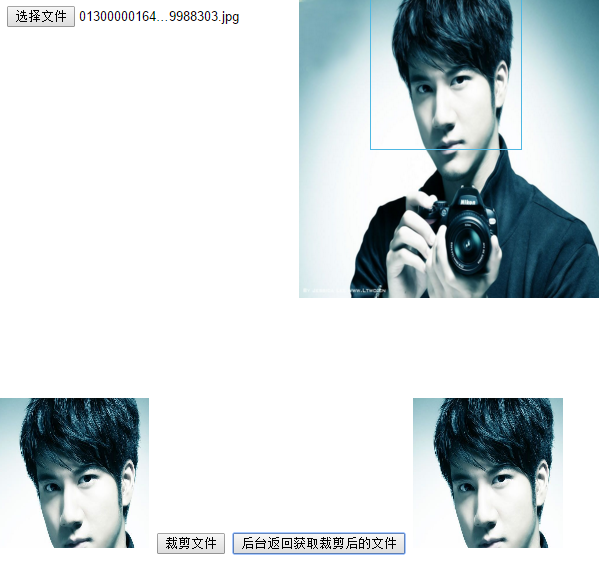
4.将裁剪后的图片传给后台,并将返回的图片展示
btn.onclick=function () {
    var data=can.toDataURL();
    data=data.split(',')[1];
    data=window.atob(data);
    var ia = new Uint8Array(data.length);
    for (var i = 0; i < data.length; i++) {
        ia[i] = data.charCodeAt(i);
    }
    var blob=new Blob([ia],{type:"image/png",endings:'transparent'});
    var fd=new FormData();
    console.log(blob);
    fd.append('avatarFile',blob,'image.png');
    var httprequest=new XMLHttpRequest();
    httprequest.open('POST','/guest/avatar',true);
    httprequest.send(fd);
    httprequest.onreadystatechange= function () {
        if(httprequest.status==200 && httprequest.readyState==4){
            console.log(httprequest.responseText);
            $('#returnImg').attr('src','/images/'+JSON.parse(httprequest.responseText).json);
        }
    };
};
整个demo的注意点有四点:

1.图片上传之后使用fileReader将图片文件转换成base64 png格式图片,从而实现预览

2.图像选择框的移动,mousedown,mouseup,mouseup事件的配合使用

3.html5 canvas实现图片裁剪后的效果展示

4.利用html5 formData,将图片文件转换成blob对象,传给后台

完整源码请移步我的github项目地址:
https://github.com/hyq2015/canvas_crop_img

参考文档:http://blog.csdn.net/cuixiping/article/details/45932793

     https://segmentfault.com/a/1190000000754560

        http://blog.csdn.net/oscar999/article/details/36373183