首先说一下这个原理:
Xray是被动扫描器,它检测的是经过某一端口的流量数据包来判断是否有漏洞,对于XSS漏洞有奇效;这样的话我们需要一个爬虫来产生大量流量,爬取各种网站,一般是Burpsuite/AWVS/Crawlergo这三个爬虫工具。
联动的效果是:白天电脑自动挖洞,然后你可以去做别的事情,比如去B站学习新知识;然后到了晚上把白天Xray检测的文档翻看一下,有漏洞的话就去验证下。然后提交,巴适得很。
我一开始使用的是AWVS+Xray联动,但是今天不知道咋的它罢工了。所以不得已想别的办法Crawlergo+Xray联动
环境说一下:
windows10系统64位
安装python3
导入模块:
pip install

simplejson
threading
subprocess
requests
warnings
首先你得去这两个gayhub网站下载他们写好的项目:
Xray 顺便说一下,今天更新了,加入了shiro反序列化漏洞检测POC
 这个解压以后我看他名字太长了,就改成了xray.exe


下载完这些:
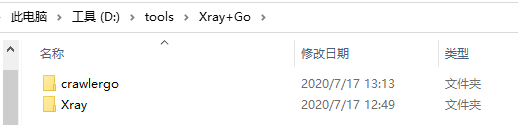
文件里是这样放置的:
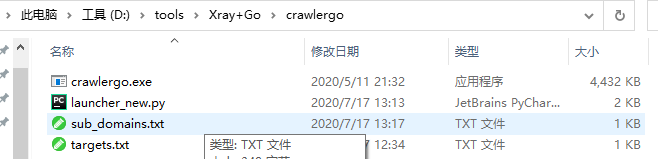
targets.txt文件使是我们想要爬取的目标网站。
targets.txt中的网址是这个格式的:http://example.com/
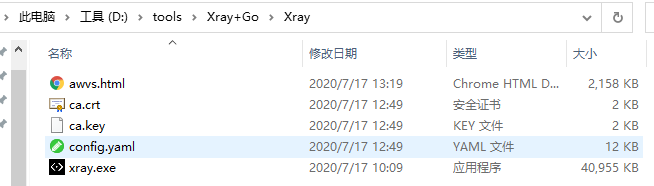
这是运行之后的效果,awvs.html(Xray的扫描结果)/ca.crt(证书相关)/ca.key(证书相关)/sub_domains.txt(爬取的子域名)都是运行产生的。
config.yaml是Xray的配置文件,这个地方,需要大家好好读配置文件每个参数的意思,有可能可以帮助你多发现漏洞
然后launcher_new.py你需要修改一些东西:
#!/usr/bin/python3
# coding: utf-8
import simplejson
import threading
import subprocess
import requests
import warnings
warnings.filterwarnings(action='ignore')


def opt2File(paths):
	try:
		f = open('crawl_result.txt','a')
		f.write(paths + '
')
	finally:
		f.close()

def opt2File2(subdomains):
	try:
		f = open('sub_domains.txt','a')
		f.write(subdomains + '
')
	finally:
		f.close()


def main(data1):
	target = data1
	cmd = ["./crawlergo", "-c", r"C:UsersadminAppDataLocalGoogleChromeApplicationchrome.exe","-t", "5","-f","smart","--fuzz-path", "--push-to-proxy", "http://127.0.0.1:1111/", "--push-pool-max", "10","--output-mode", "json" , target]
	rsp = subprocess.Popen(cmd, stdout=subprocess.PIPE, stderr=subprocess.PIPE)
	output, error = rsp.communicate()
	try:
		result = simplejson.loads(output.decode().split("--[Mission Complete]--")[1])
	except:
		return
	req_list = result["req_list"]
	sub_domain = result["sub_domain_list"]
	print(data1)
	print("[crawl ok]")
	for subd in sub_domain:
		opt2File2(subd)
	print("[scanning]")
改成你自己的谷歌浏览器路径
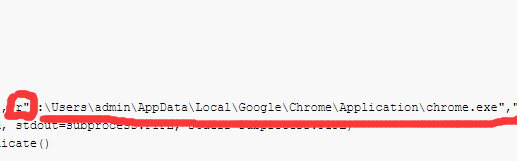
前面要加“r”,否则可能会报错:'unicodeescape' codec can't decode bytes in positio n。这个报错原因和解决方法在这里
然后修改launcher_new.py文件默认为Xray代理端口(还是和上面的修改路径在同一行):1111 (我这里是1111,你也可以设置别的,到时对应起来就行)

然后进入正戏了:
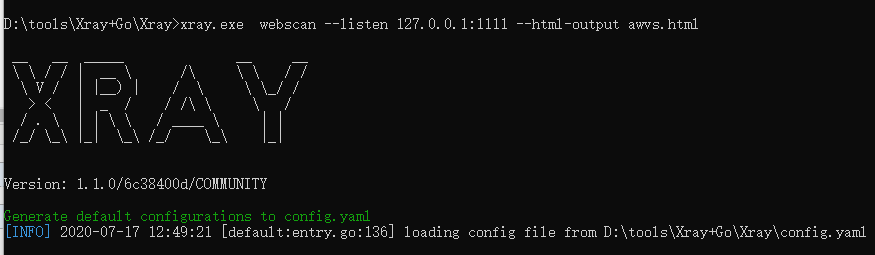
先启动Xray:
D: oolsXray+GoXray>xray.exe webscan --listen 127.0.0.1:1111 --html-output awvs.html
然后启动Crawlergo:(我本机环境py2/py3共存,映射为python2-->pip2 、python-->pip )我这里的python就是python3
pip install simplejson 安装各种需要的模块包
import simplejson
import threading
import subprocess
import requests
import warnings   这个应该都会的
#启动Crawlergo(对了  我这里是Git Bash 启动的)
python launcher_new.py
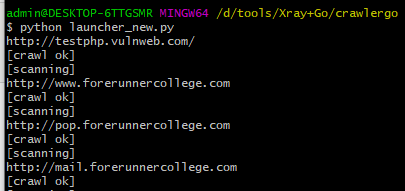
要说一下的是 启动Crawlergo的时间可能有点慢,你需要等待个40来秒中左右 可能跟目标网站多少有关
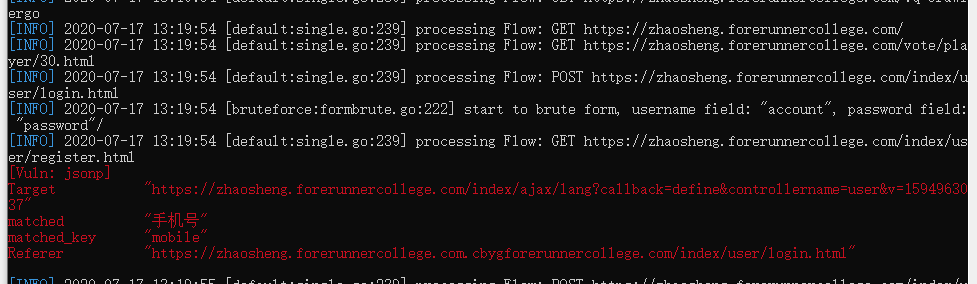
Xray扫描的漏洞结果: