本文地址:http://www.cnblogs.com/QingHuan/p/7365732.html,转载请注明出处
###############################################################################
OpenCV的入门书籍有很多,这里选择的是《OpenCV 3计算机视觉-Python语言实现-第二版》
所有书上的源代码:https://github.com/techfort/pycv
安装过程请查看我的另一篇博客:
http://www.cnblogs.com/QingHuan/p/7354074.html
###############################################################################
第2章 处理文件、摄像头和图形用户界面
2.1 基本I/O脚本
2.1.5 捕获摄像头的帧
下面的代码实现了捕获摄像头10秒的视频信息,并将其写入一个AVI文件中
 1 import cv2
 2
 3 cameraCapture = cv2.VideoCapture(0)
 4 fps = 30
 5 size = (int(cameraCapture.get(cv2.CAP_PROP_FRAME_WIDTH)),
 6         int(cameraCapture.get(cv2.CAP_PROP_FRAME_HEIGHT)))
 7 videoWriter = cv2.VideoWriter(
 8     'MyOutputVid.avi', cv2.VideoWriter_fourcc('I', '4', '2', '0'),
 9     fps, size)
10
11 success, frame = cameraCapture.read()
12 numFrameRemaining = 10*fps - 1
13 while success and numFrameRemaining > 0:
14     videoWriter.write(frame)
15     success, frame = cameraCapture.read()
16     numFrameRemaining -= 1
17
18 cameraCapture.release()
2.1.6 在窗口显示图像
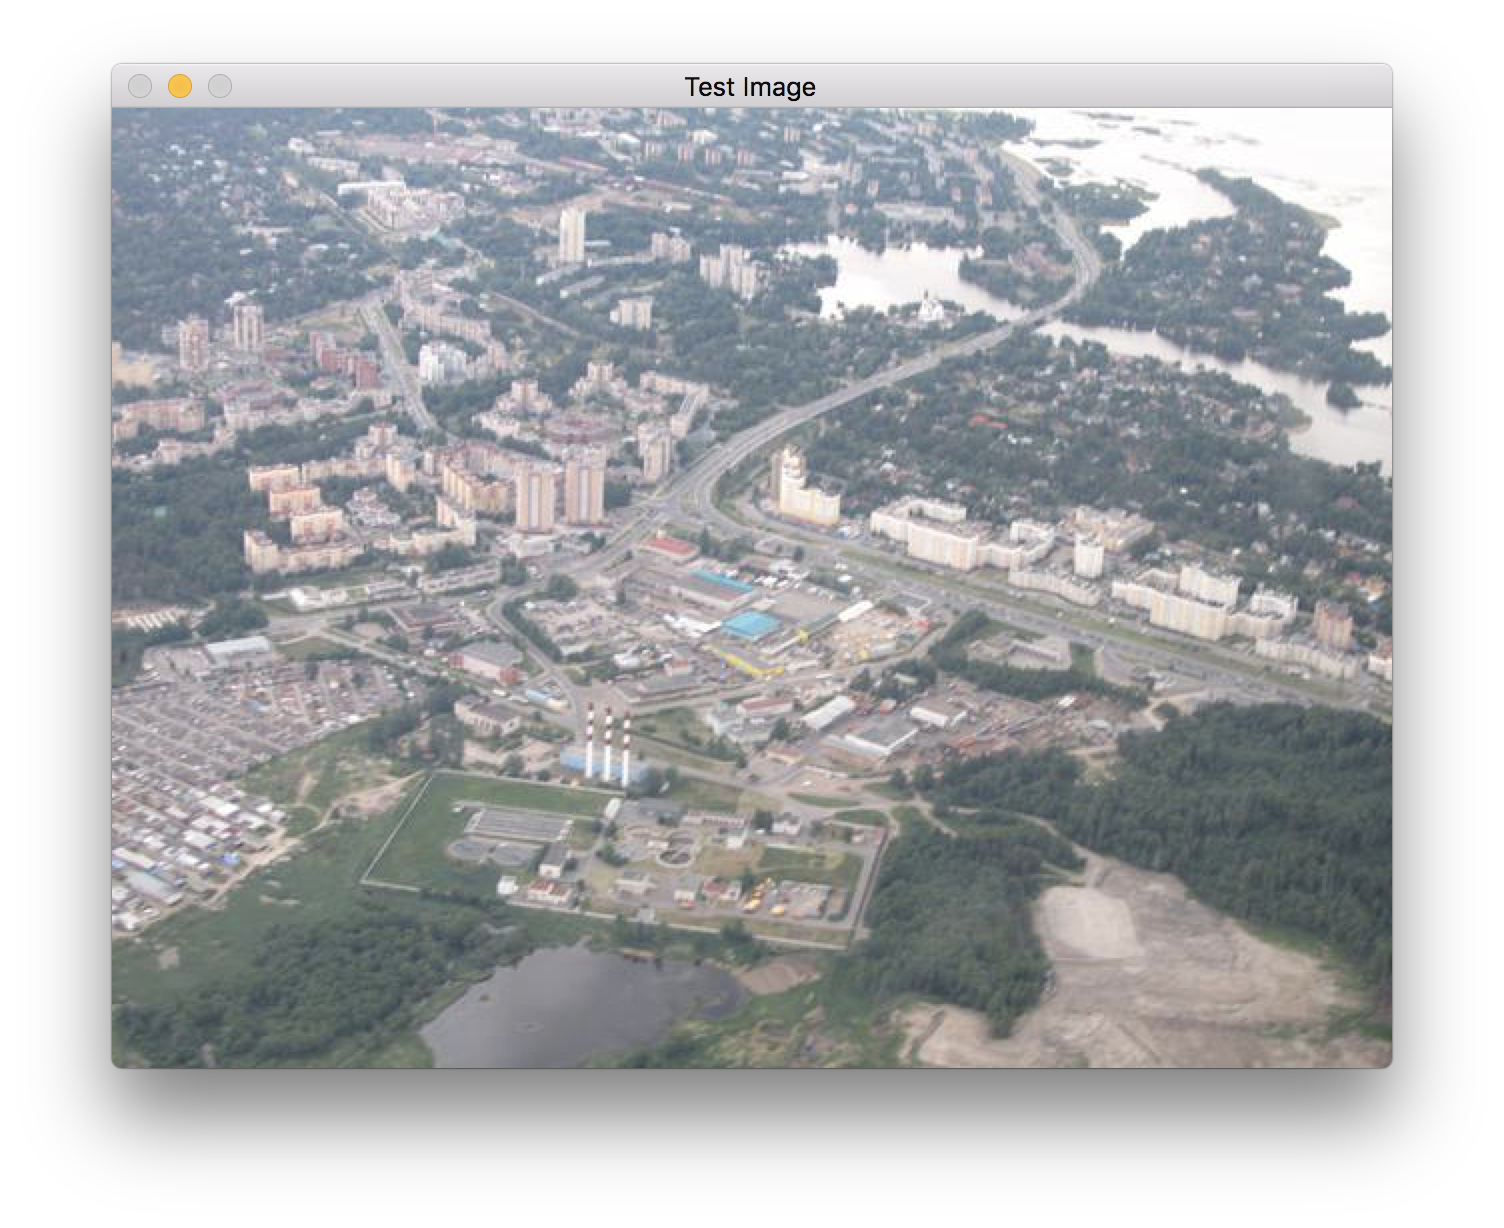
一般情况下使用imshow()来显示图片,图片会闪一下然后消失,下面代码可以是图片一直显示
1 import cv2
2 import numpy
3
4 img = cv2.imread("data/aero1.jpg")
5 cv2.imshow('Test Image', img)
6 cv2.waitKey()
7 cv2.destroyAllWindows()
虽然左上角没有关闭按钮,但是随便按一个按键,都会将其关闭
2.1.7 实时显示摄像头的内容
 1 import cv2
 2 import numpy
 3
 4 clicked = False
 5 def onMouse(event, x, y, flags, param):
 6     global clicked
 7     if event == cv2.EVENT_FLAG_LBUTTON:
 8         clicked = True
 9
10 cameraCapture = cv2.VideoCapture(0)
11 cv2.namedWindow('MyWindow')
12 cv2.setMouseCallback('MyWindow', onMouse)
13
14 print 'Show camera feed. Click window or press any key to stop'
15
16 success, frame = cameraCapture.read()
17 while success and cv2.waitKey(1) == -1 and not clicked:
18     cv2.imshow('MyWindow', frame)
19     success, frame = cameraCapture.read()
20
21 cv2.destroyWindow('MyWindow')
22 cameraCapture.release()
setMouseCallback可以获取鼠标的输入
namedWindow()用来创建窗口
imshow()用来显示窗口
destroyWindow()用来销毁窗口
cameraCapture.release()用来释放摄像头
cv2.waitKey(1) == -1 :
参数为等待键盘触发的时间,返回值-1表示没有按键被按下
OpenCV不能处理窗口,当单击窗口的关闭按钮时,并不能将其关闭
2.3 一个小程序—— Cameo——面向对象的设计
2.3.1 使用 managers.CaptureManager 提取视频流
这里中文版讲的不太通顺,建议看看英文原版


# CaptureManager 高级I/O流接口

import cv2
import numpy
import time


# 初始化CaptureManager类

class CaptureManager(object):

    def __init__(self, capture, previewWindowManager = None,
                 shouldMirrorPreview = False):

        # 更新:前面有下划线的是非公有变量,主要与当前帧的状态与文件写入操作有关
        # self 类似于结构体,里面有很多变量,下面是在初始化这些变量
        # 类比于C++ 中学的"类"来比较
        self.previewWindowManager = previewWindowManager
        self.shouldMirrorPreview = shouldMirrorPreview

        self._capture = capture
        self._channel = 0
        self._enteredFrame = False
        self._frame = None
        self._imageFilename = None
        self._videoFilename = None
        self._videoEncoding = None
        self._videoWriter = None

        self._startTime = None
        self._frameElapsed = long(0)
        self._fpsEstimate = None

    # @ 符号的解释参见:http://gohom.win/2015/10/25/pyDecorator/
    @property
    def channel(self):
        return self._channel

    @channel.setter
    def channel(self, value):
        if self._channel != value
            self._channel = value
            self._frame = None

    @property
    def frame(self):
        if self._enteredFrame and self._frame is None:
            _, self._frame = self._capture.retrieve()
        return self._frame

    @property
    def isWritingImage (self):
        return self._imageFilename is not None

    @property
    def isWrtingVideo(self):
        return self._videoFilename is not None

    def enterFrame(self):
        """Capture the next frame, if any"""
暂停在书Page 30
代码暂时写到这里,因为这里根本不认真讲原理,就是简单的堆砌代码,
感觉学习不到知识,所以就不看了,跳到下一章
第3章 使用OpenCV 3 处理图像
3.2 傅立叶变换
下面是一个高通滤波器和低通滤波器的例子:注意看注释,写的很详细
import cv2
import numpy as np
from scipy import ndimage

# kernel defined by ourself
kernel_3x3 = np.array([[-1, -1, -1],
                       [-1, 8, -1],
                       [-1, -1, -1]])

kernel_5x5 = np.array([[-1, -1, -1, -1, -1],
                       [-1, 1, 2, 1, -1],
                       [-1, 2, 4, 2, -1],
                       [-1, 1, 2, 1, -1],
                       [-1, -1, -1, -1, -1]])

# http://docs.opencv.org/3.1.0/d4/da8/group__imgcodecs.html
# in func "imread", 0 means trans to gray image
img = cv2.imread("data/lena.jpg", 0)

k3 = ndimage.convolve(img, kernel_3x3)
k5 = ndimage.convolve(img, kernel_5x5)

"""Gaussian kernel: The function convolves the source image
 with the specified Gaussian kernel.

 GaussianBlur(src, ksize, sigmaX[, dst[, sigmaY[, borderType]]]) -> dst

 @param ksize Gaussian kernel size. ksize.width and ksize.height can differ but they both must be
    .   positive and odd. Or, they can be zero's and then they are computed from sigma.
 @param sigmaX Gaussian kernel standard deviation in X direction."""

# here is a per-defined Gaussian Blur and the
# kernel is set to 11x11, start in X axis direction
# Attention: GaussianBlur is a low pass filter but the above two are high pass filters
# after minus with the origin image, finally equivalent to a high pass filter
blurred = cv2.GaussianBlur(img, (11, 11), 0)
g_hpf = img - blurred

cv2.imshow("3x3", k3)
cv2.imshow("5x5", k5)
cv2.imshow("g_hpf", g_hpf)
cv2.waitKey()
cv2.destroyAllWindows()
可以看一下处理效果:
原图:
高通滤波器:
3x3 kernel:

5x5 kernel:
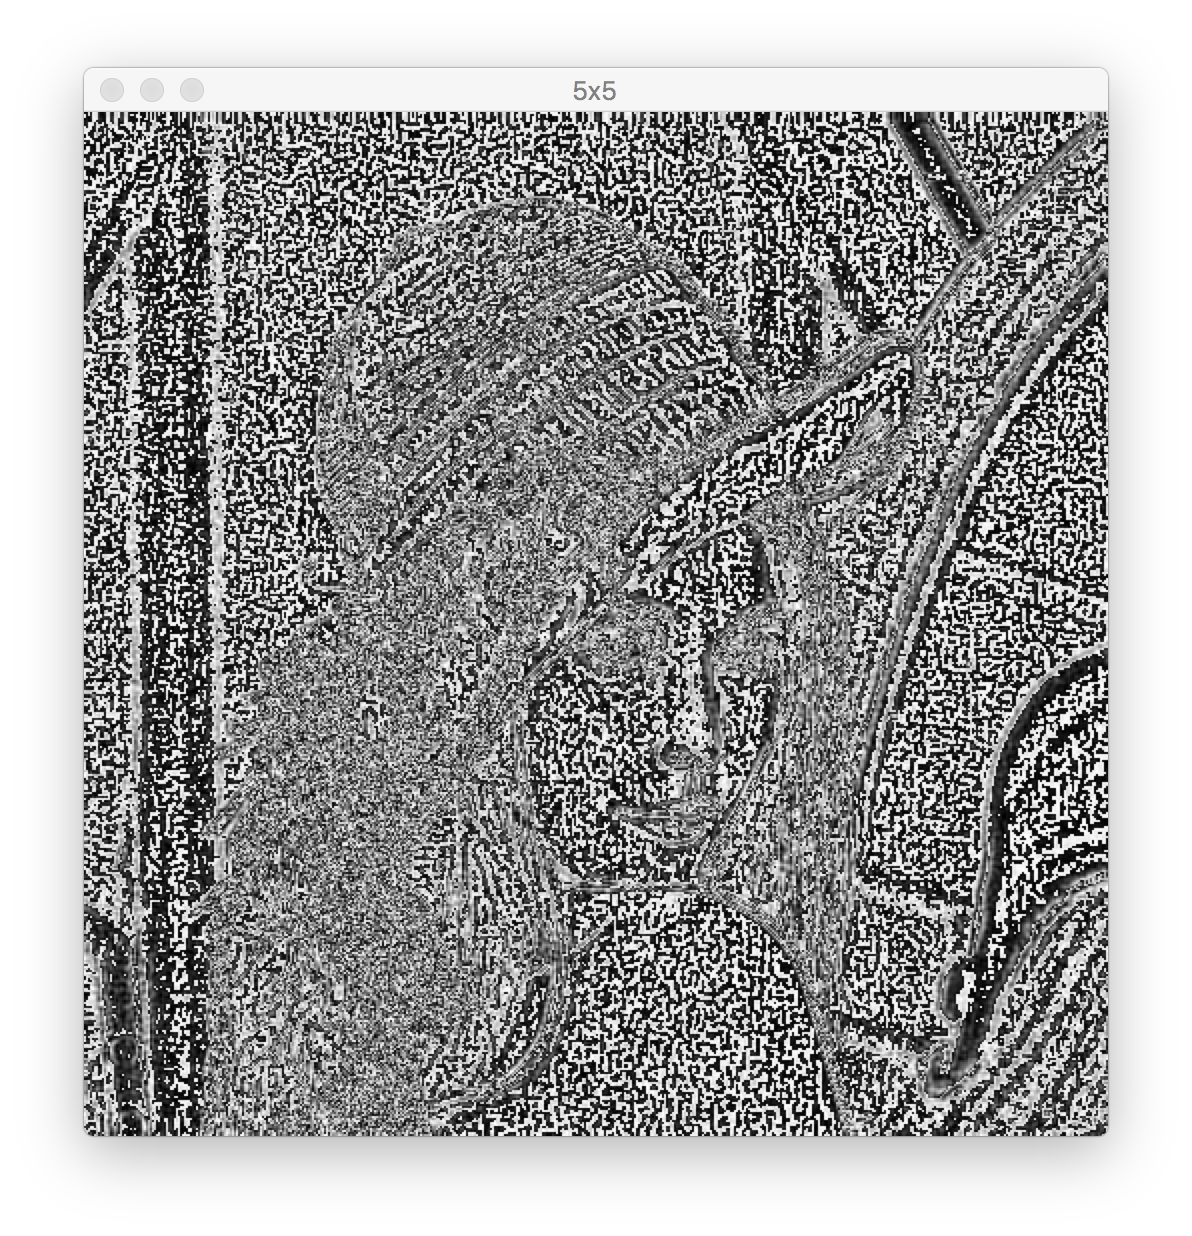
用低通滤波器处理后的图片,与原图相减,得到高通滤波器的效果:(原理待查)
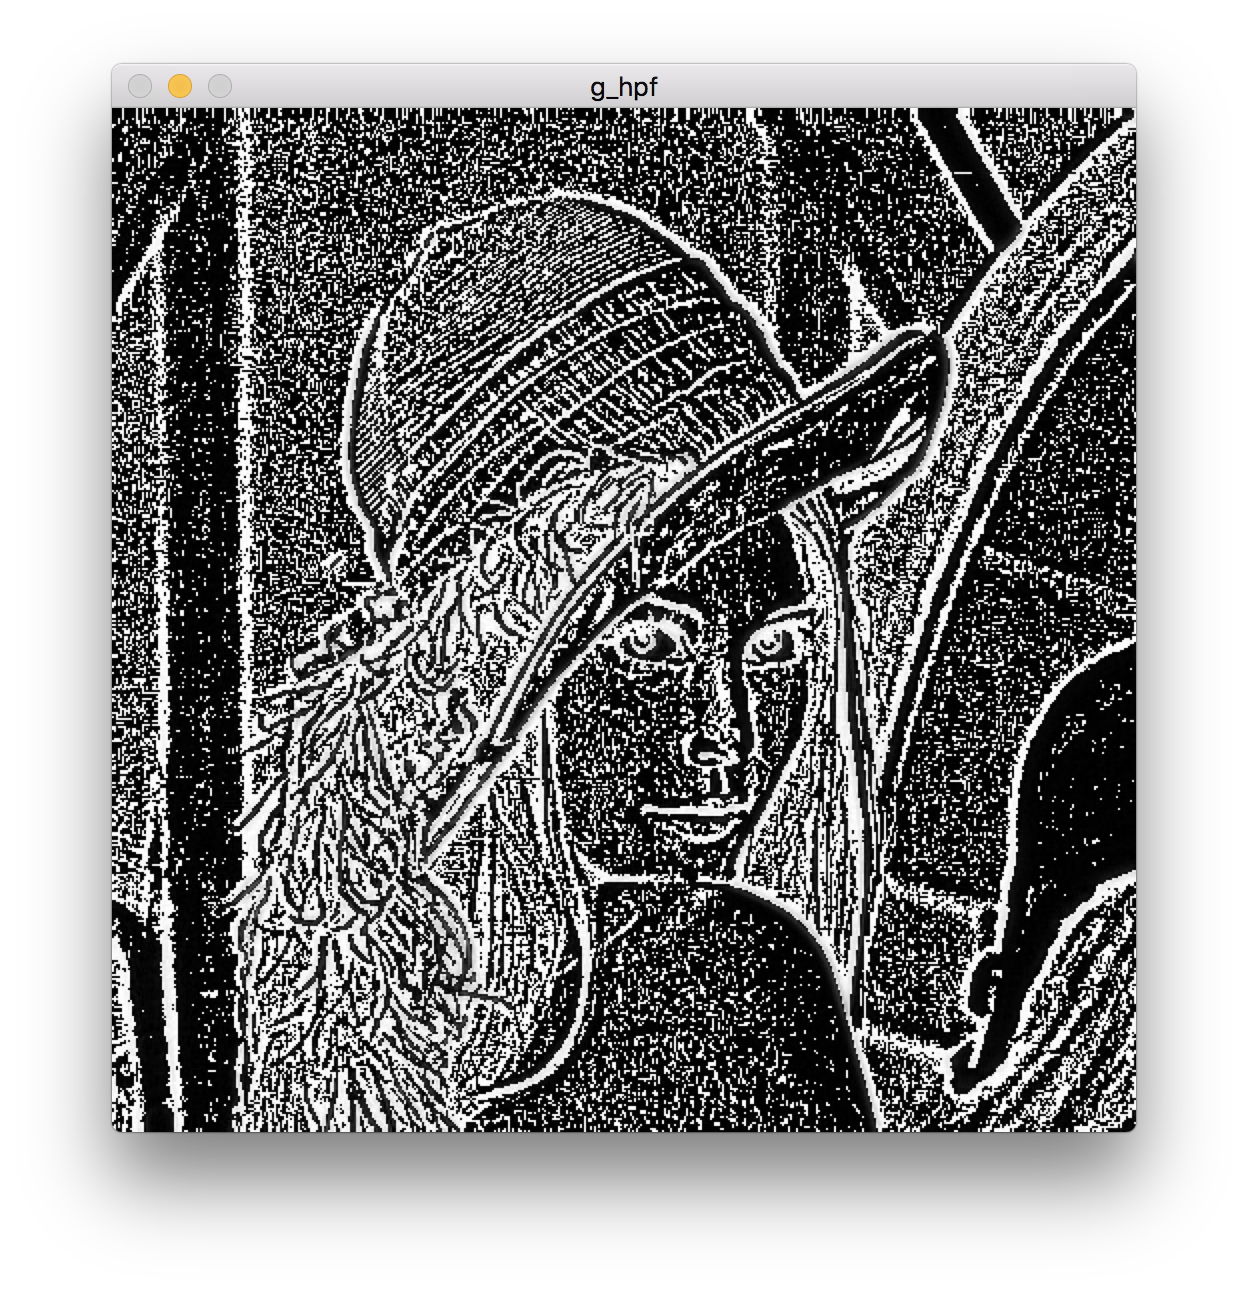
可以发现第三张图的效果最好
中间都跳过去了,书上讲的不好,所以只是大概看了一遍没有敲代码
读完这本书一定要换一本再补充一下
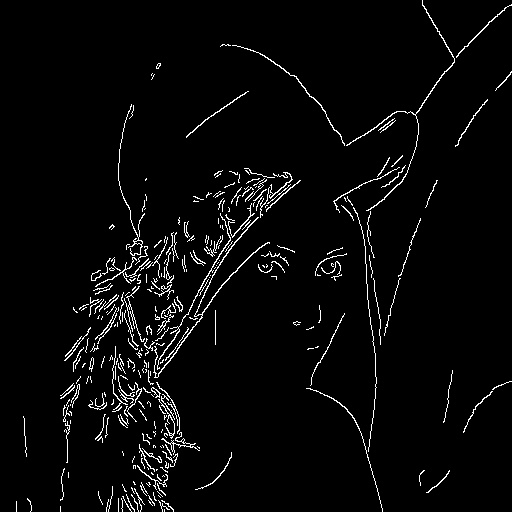
3.7 Canny 边缘检测
Canny函数可以非常方便的识别出边缘,
例子如下:
import cv2
import numpy as np
import filters
from scipy import ndimage


img = cv2.imread("data/lena.jpg", 0)
cv2.imwrite("lena_edge.jpg", cv2.Canny(img, 200, 300))

cv2.imshow("lena", cv2.imread("lena_edge.jpg"))
cv2.waitKey()
cv2.destroyAllWindows()
lena_edge.jpg:
3.8 简单的轮廓检测
首先创建了一个黑色图像,然后在中间放了一个白色方块。然后对方块寻找轮廓并把轮廓标注出来
(其实没有看懂代码)
# -*- coding: utf-8 -*
import cv2
import numpy as np
import filters
from scipy import ndimage

# dark, blank image
img = np.zeros((200, 200), dtype=np.uint8)
# assign the middle square white
img[50:150, 50:150] = 255

# 二值化
ret, thresh = cv2.threshold(img, 127, 255, 0)

image, contours, hierarchy = cv2.findContours(thresh,
                                              cv2.RETR_TREE, cv2.CHAIN_APPROX_SIMPLE)
color = cv2.cvtColor(image, cv2.COLOR_GRAY2BGR)

img = cv2.drawContours(color, contours, -1, (0, 255, 0), 2)

cv2.imshow("contours", color)
cv2.waitKey()
cv2.destroyAllWindows()
结果:

3.9 找到一个图形的边界框、最小矩形区域和最小闭圆的轮廓
# -*- coding: utf-8 -*
import cv2
import numpy as np

img = cv2.pyrDown(cv2.imread("pycv-master/chapter3/hammer.jpg", cv2.IMREAD_UNCHANGED))

ret, thresh = cv2.threshold(cv2.cvtColor(img.copy(), cv2.COLOR_BGR2GRAY) , 127, 255, cv2.THRESH_BINARY)
image, contours, hier = cv2.findContours(thresh, cv2.RETR_EXTERNAL, cv2.CHAIN_APPROX_SIMPLE)

for c in contours:
  # find bounding box coordinates
  x,y,w,h = cv2.boundingRect(c)

  # 画一个正方形
  cv2.rectangle(img, (x,y), (x+w, y+h), (0, 255, 0), 2)

  # 画最贴近的正方形,有一定的旋转
  # find minimum area
  rect = cv2.minAreaRect(c)
  # calculate coordinates of the minimum area rectangle
  box = cv2.boxPoints(rect)
  # normalize coordinates to integers
  box = np.int0(box)
  # draw contours
  cv2.drawContours(img, [box], 0, (0,0, 255), 3)


  # 画一个圆正好包裹住
  # calculate center and radius of minimum enclosing circle
  (x,y),radius = cv2.minEnclosingCircle(c)
  # cast to integers
  center = (int(x),int(y))
  radius = int(radius)
  # draw the circle
  img = cv2.circle(img,center,radius,(0,255,0),2)

cv2.drawContours(img, contours, -1, (255, 0, 0), 1)
cv2.imshow("contours", img)

cv2.waitKey()
cv2.destroyAllWindows()

cv2.imwrite("hammer_contours.jpg", img)
结果:
