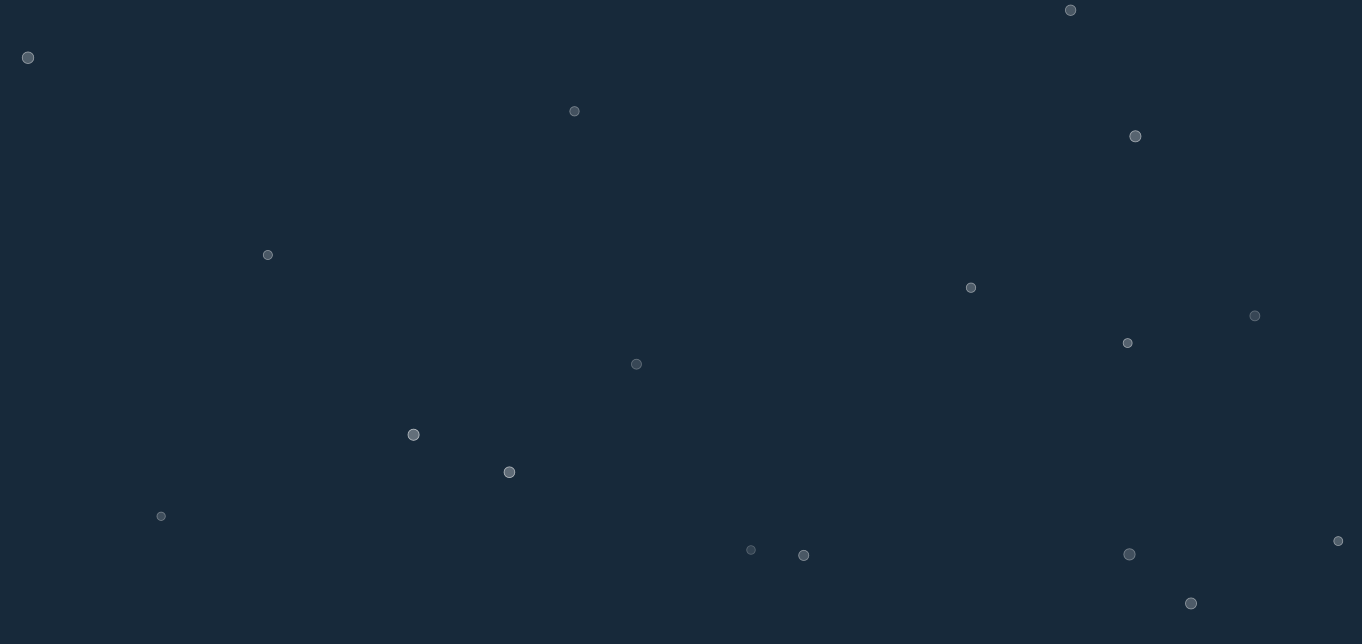
需求:自动生成若干气泡,从海底往上浮;
1、基本的HTML结构:
<!DOCTYPE html>
<html>
<head lang="en">
    <meta charset="UTF-8">
    <title></title>
    <style>
        * {
            margin:0;
            padding:0;
        }
        canvas {
            display:block;
        }
    </style>
</head>
<body>
<canvas></canvas>
</body>
</html>
2、JS代码:
1:创建气泡类Bubble,气泡的大小,上浮的速度,出现的位置,透明度皆随机
创建对象的方法有很多种,这里采用构造函数方法:
var Bubble = function (x, y, radius) {
    this.x = x;   //出现位置的x坐标
    this.y = y;   //出现位置的y坐标
    this.radius = radius;     //气泡的大小
    this.vy = -Math.random() * 5;     //气泡上浮的速度
    this.opacity = 0.2 + Math.random() * 0.5;     //气泡的透明度
}
添加绘制的方法,我们可以将绘制方法添加到构造函数里,但是这里有一个问题,这个方法会随着这个类复制很多次,造成内存加多,所以这里采用原型的方式来添加绘制的方法:
Bubble.prototype.draw = function(){
    //
   //
}
2、接下来开始实现draw的逻辑代码:
Bubble.prototype.draw = function(){
    var strokeColor, fillColor;

    strokeColor = 'rgba(255, 255, 255,' + this.opacity  + ')';      /*描边,气泡外围的颜色*/
    fillColor = 'rgba(255, 255, 255,' + (this.opacity / 2) + ')';       /*填充,气泡内部的颜色*/

    ctx.save();     /*存好当前状态*/
    ctx.lineWidth = 0.8;        /*画笔粗细*/
    ctx.strokeStyle = strokeColor;      /*描边*/
    ctx.fillStyle = fillColor;      /*填充*/
    ctx.beginPath();        /*开始绘制*/
    ctx.arc(this.x, this.y, this.radius, 0, Math.PI * 2, true);     /*绘制气泡*/
    ctx.closePath();        /*关闭路劲*/
    ctx.fill();     /*填充路劲*/
    ctx.stroke();       /*描边*/
    ctx.restore();      /*释放状态*/
}
3、开始生成气泡
function generateBubbles() {
  for (var i = 0; i <= 50; i++) {
    bubbles.push(new Bubble(Math.random() * width, height + Math.random() * height / 2, 4 + Math.random() * 2));
  }
}
4、开始移动气泡:
bubbles.forEach(moveBubble);       //forEach() 方法用于调用数组的每个元素,并将元素传递给回调函数。
function moveBubble(bubble) {
  bubble.y += bubble.vy;
  bubble.draw(ctx);
}
5、刷新画布
function drawFrame() {
  window.requestAnimationFrame(drawFrame, canvas);
  ctx.fillStyle = '#17293a';
  ctx.fillRect(0, 0, width, height);
  bubbles.forEach(moveBubble);
}
6、初始化
init();
function init(){
  canvas = document.querySelector('canvas');
  ctx = canvas.getContext('2d');
  width = canvas.width = window.innerWidth;
  height = canvas.height = window.innerHeight;


  generateBubbles(20);

  drawFrame();
}
完整代码:

<!doctype html>
<html>
<head>
    <meta charset="utf-8">
    <title>HTML5 Canvas深海海藻动画</title>

    <style>
        * {
            margin: 0;
            padding: 0;
        }

        canvas {
            display: block;
        }
    </style>
</head>
<body>
<canvas></canvas>
<script>
    var canvas, ctx, width, height, stems, bubbles;
    stems = [];
    bubbles = [];
    var Bubble = function (x, y, radius) {
        this.x = x;   //出现位置的x坐标
        this.y = y;   //出现位置的y坐标
        this.radius = radius;     //气泡的大小
        this.vy = -Math.random() * 5;     //气泡上浮的速度
        this.opacity = 0.2 + Math.random() * 0.5;     //气泡的透明度
        this.oldY = y;
    };
    Bubble.prototype.draw = function () {
        var strokeColor, fillColor;
        strokeColor = 'rgba(255, 255, 255,' + this.opacity + ')';
        /*描边,气泡外围的颜色*/
        fillColor = 'rgba(255, 255, 255,' + (this.opacity / 2) + ')';
        /*填充,气泡内部的颜色*/
        ctx.save();
        /*存好当前状态*/
        ctx.lineWidth = 0.8;
        /*画笔粗细*/
        ctx.strokeStyle = strokeColor;
        /*描边*/
        ctx.fillStyle = fillColor;
        /*填充*/
        ctx.beginPath();
        /*开始绘制*/
        ctx.arc(this.x, this.y, this.radius, 0, Math.PI * 2, true);
        /*绘制气泡*/
        ctx.closePath();
        /*关闭路劲*/
        ctx.fill();
        /*填充路劲*/
        ctx.stroke();
        /*描边*/
        ctx.restore();
        /*释放状态*/
    }
    init();
    function init() {
        canvas = document.querySelector('canvas');
        ctx = canvas.getContext('2d');
        width = canvas.width = window.innerWidth;
        height = canvas.height = window.innerHeight;
        generateBubbles(20);
        drawFrame();
    }
    function generateBubbles(bubblesLimit) {
        for (var i = 0; i <= bubblesLimit; i++) {
            bubbles.push(new Bubble(Math.random() * width, height + Math.random() * height / 2, 4 + Math.random() * 2));
        }
    }
    function drawFrame() {
        window.requestAnimationFrame(drawFrame, canvas);
        ctx.fillStyle = '#17293a';
        ctx.fillRect(0, 0, width, height);
        bubbles.forEach(moveBubble);
    }
    function moveBubble(bubble) {
        /*当气上浮至超过页面窗口时,也就是消失的时候,将气泡的位置拉回一开始出现的位置,再次上浮,造成次循环的效果*/
        if (bubble.y + bubble.radius <= 0) {
            bubble.y = bubble.oldY;
        }
        bubble.y += bubble.vy;
        bubble.draw(ctx);
    }
</script>
</body>
</html>
