本文链接:https://blog.csdn.net/qq_43467898/article/details/83187698
Django微信小程序后台开发教程
1 申请小程序,创建hello world小程序
2 添加交互框和按钮
3 在服务器配置hello django
4 实现计算器接口
5 配置服务器将后端与微信小程序连接
5.1 uwsgi配置
5.2 http协议(80端口)下的nginx配置
5.3 https协议(443端口)下的nginx配置
5.4 配置微信小程序的服务器信息
1 申请小程序,创建hello world小程序
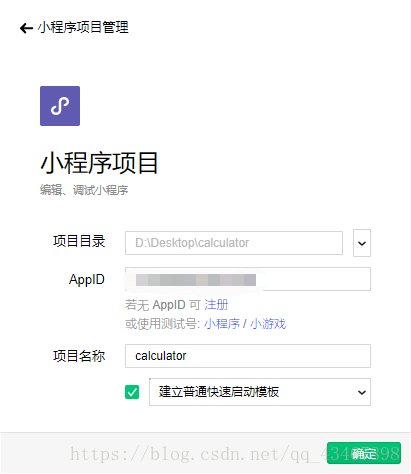
- 在微信开发平台(https://mp.weixin.qq.com)申请小程序并获取APP id

- 下载微信开发者工具(https://developers.weixin.qq.com/miniprogram/dev/devtools/download.html),打开后登录并填入APP id 等信息。
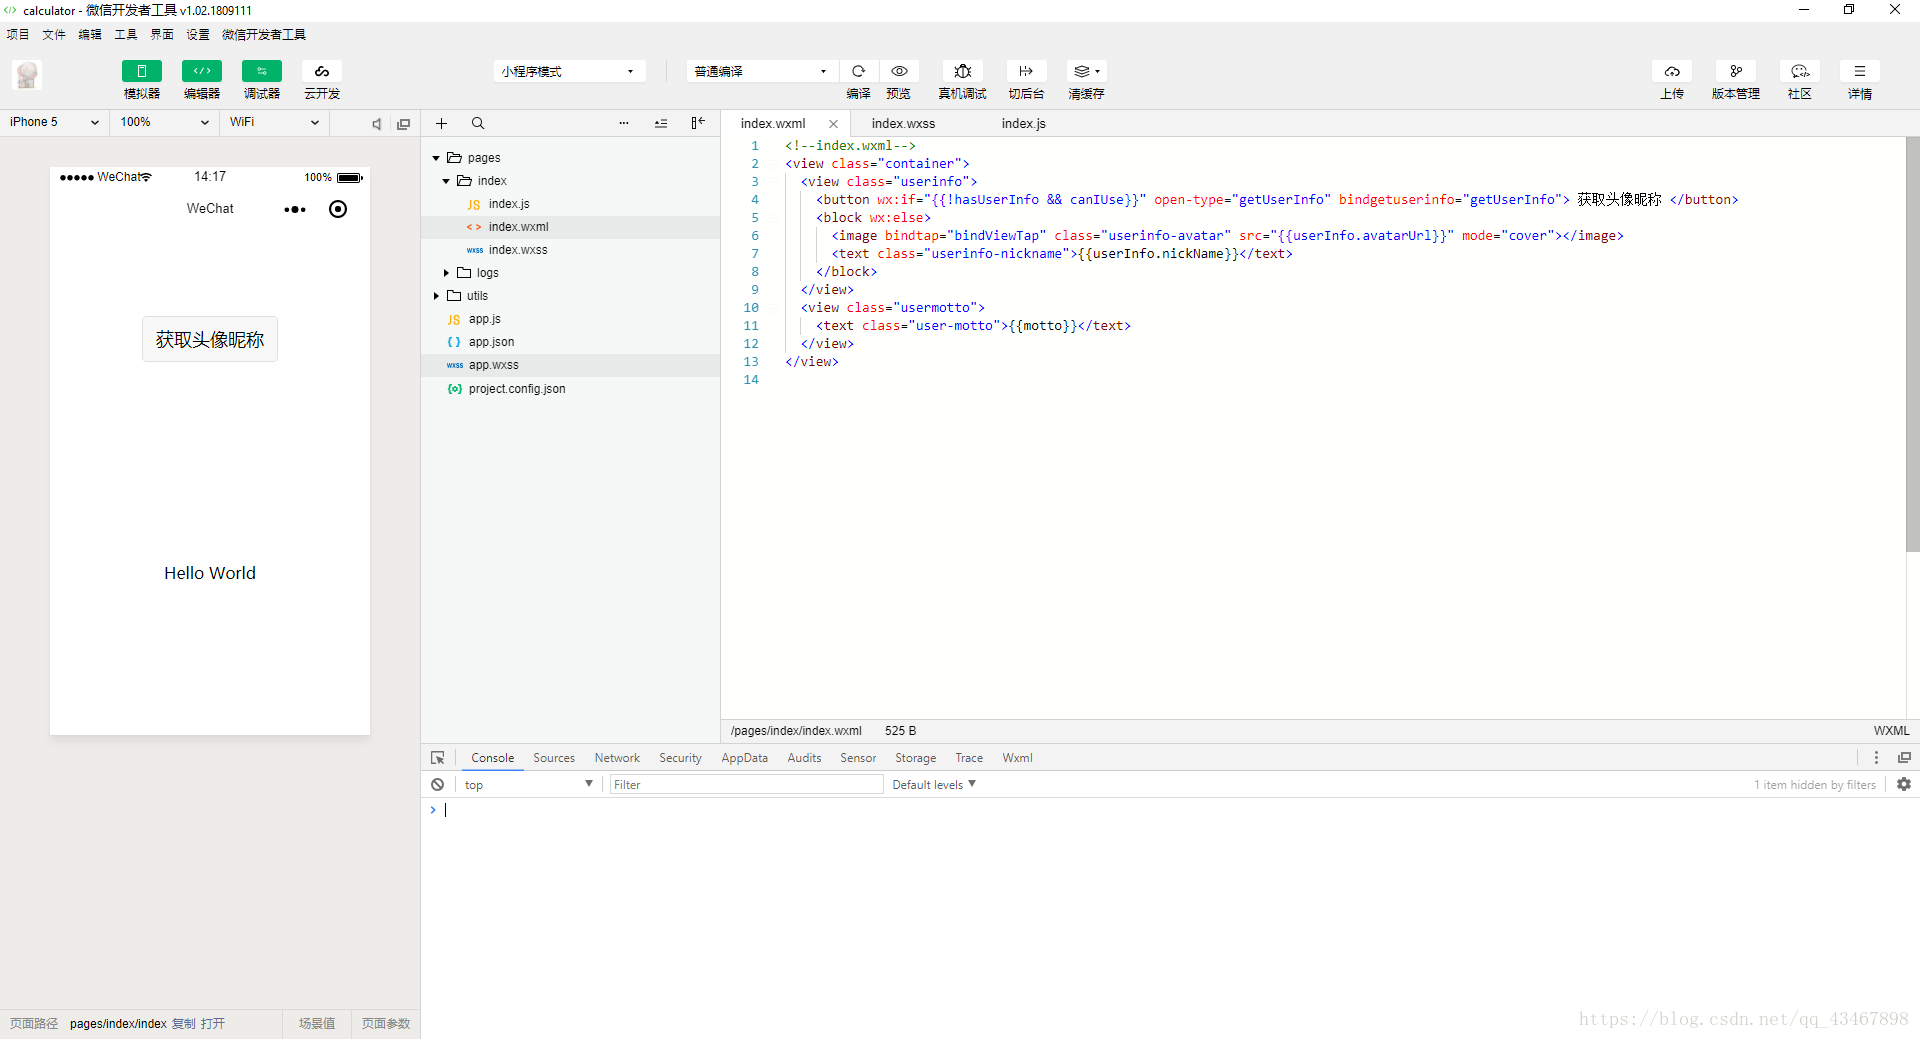
2 添加交互框和按钮
- index. wxml
<!--index.wxml-->
<view class="container">
  <input type="text" class="input" bindinput='input'/>
  <button bindtap="calculate">cal</button>
  <view>{{ result }}</view>
</view>
- index.wxss
/**index.wxss**/
.input {
  border: 1px solid black;
  margin-bottom: 5px;
}
- index.js
//index.js
//获取应用实例
const app = getApp()

Page({
  data: {
    result: "暂无结果",
    formula: ''
  },
  //事件处理函数
  calculate: function () {
    wx.request({
      url: 'https://shatter.xin/calculate',
      data: {
        formula: this.data.formula
      },
      success: res => {
        if (res.statusCode == 200) {
          this.setData({
            result: res.data
          })
        }
      }
    })
  },
  input: function (e) {
    this.setData({
      formula: e.detail.value
    })
  }
})
3 在服务器配置hello django
- 在服务器安装python3和pip3环境,并安装django
pip3 install django
- 创建django项目
django-admin startproject calculator
cd calculator
-
修改calculator/settings.py中的
ALLOWED_HOSTS = []为ALLOWED_HOSTS = ['*'] -
运行hello django项目
cd calculator
python3 manage.py runserver 0.0.0.0:8000
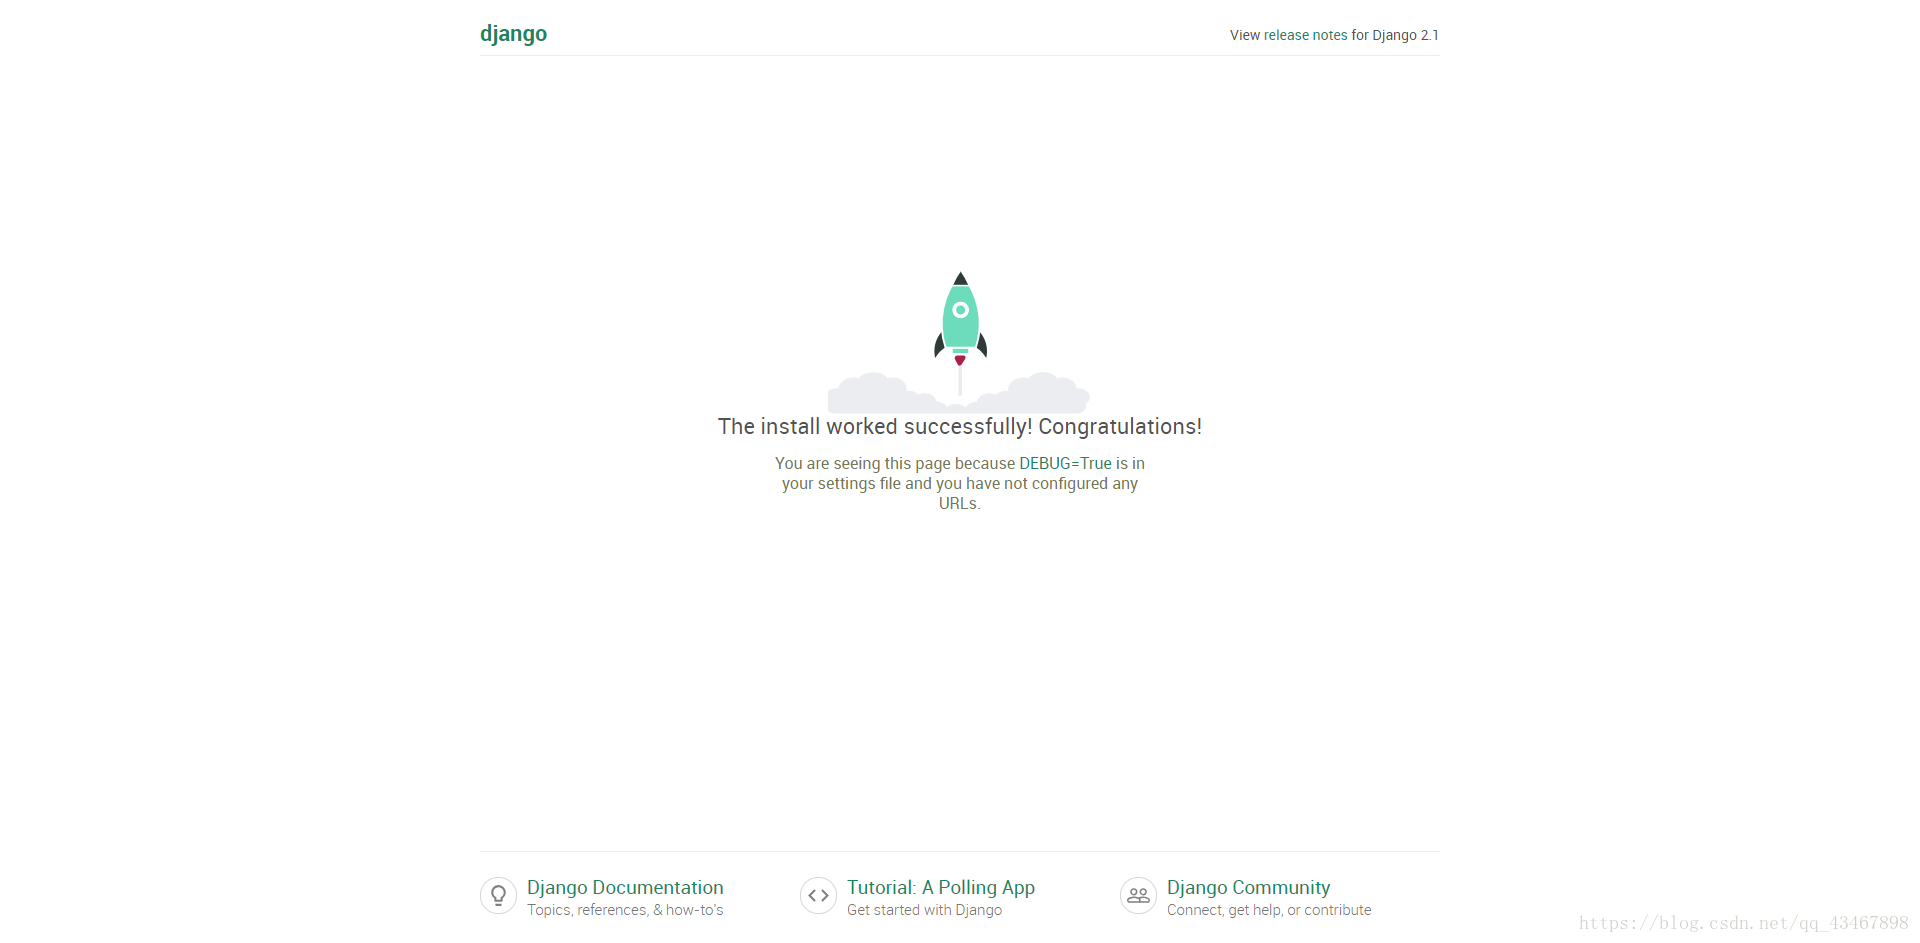
- 访问
http://服务器ip:8000可以看到下图:
4 实现计算器接口
- 创建django app
python3 manage.py startapp CalculateApi
- 在calculator/settings.py的
INSTALLED_APPS中添加CalculateApi如下:
INSTALLED_APPS = [
    'django.contrib.admin',
    'django.contrib.auth',
    'django.contrib.contenttypes',
    'django.contrib.sessions',
    'django.contrib.messages',
    'django.contrib.staticfiles',
    'CalculateApi'
]
- 在calculator/urls.py中将url转发给CalculateApi处理。
from django.contrib import admin
from django.urls import path
from django.conf.urls import url, include

urlpatterns = [
    path('admin/', admin.site.urls),
    url('^', include('CalculateApi.urls')),
]
- 在CalculateApi中新建urls.py文件,处理
/calculate接口。
from django.conf.urls import url
from . import views

urlpatterns = [
    url('calculate', views.calculate)
]
- 在CalculateApi/views.py文件中添加calculate函数用于计算求值并返回。
from django.http import HttpResponse


def calculate(request):
    formula = request.GET['formula']
    try:
        result = eval(formula, {})
    except:
        result = 'Error formula'
    return HttpResponse(result)
- 再次运行服务器,访问
http://服务器ip:8000/calculate?formula=2*3-5即可得到结果1。

5 配置服务器将后端与微信小程序连接
由于微信要求使用https协议进行通讯,我们使用nginx + uwsgi + django来配置https服务器。
5.1 uwsgi配置
- 安装uwsgi
pip3 install uwsgi
- 配置django项目的uwsgi.ini,在calculator文件夹中新建uwsgi.ini文件
touch uwsgi.ini
vi uwsgi.ini
输入以下配置
[uwsgi]
# django项目监听的socket文件(可以使用端口代替)
socket = ./calculator.sock
# django项目所在目录
chdir = .
# django项目wsgi文件
wsgi-file = ./calculator/wsgi.py

master = true
processes = 2
threads = 4
vacuum = true

# 通过touch reload可以重启uwsgi服务器
touch-reload = ./reload
# 日志输出
daemonize = calculator.log
- 运行uwsgi服务器
uwsgi --ini uwsgi.ini
touch reload
5.2 http协议(80端口)下的nginx配置
- 安装nginx
sudo apt-get install nginx
cd /etc/nginx
- 修改nginx用户
vi nginx.conf
将第一行修改为
user root;
- 添加80端口的配置文件
cd conf.d
sudo touch calculator.conf
sudo vi calculator.conf
填入以下配置:
server{
    listen         80;
    server_name    服务器ip;
    charset UTF-8;

    client_max_body_size 75M;

    location ~ ^/calculate {
   		// replace "path" to the path of your project
        uwsgi_pass unix:///"path"/calculator/calculator.sock;
        include /etc/nginx/uwsgi_params;
    }
}
- 重启nginx服务器
sudo service nginx restart
- 访问服务器的80端口即可访问calculate接口,如
http://服务器ip/calculate?formula=2*3-4
5.3 https协议(443端口)下的nginx配置
- 如果有自己的域名和ssl证书,将calculator.conf配置文件修改如下:
server{
    listen         443;
    server_name    your.domain;
    ssl on;
    ssl_certificate path/to/your/ssl.pem;
    ssl_certificate_key path/to/your/ssl.key;
    ssl_session_timeout 5m;
    ssl_ciphers ECDHE-RSA-AES128-GCM-SHA256:ECDHE:ECDH:AES:HIGH:!NULL:!aNULL:!MD5:!ADH:!RC4;
    ssl_protocols TLSv1 TLSv1.1 TLSv1.2;
    ssl_prefer_server_ciphers on;

    charset UTF-8;

    client_max_body_size 75M;

    location ~ ^/calculate {
        uwsgi_pass unix:///path/to/calculator/calculator.sock;
        include /etc/nginx/uwsgi_params;
    }
}
重启nginx服务器,访问服务器的443端口即可访问calculate接口,如https://服务器域名/calculate?formula=2*3-4
如果你只有自己的域名而没有ssl证书,可以去申请免费的ssl证书或者参考此网址配置(https://certbot.eff.org/#ubuntuxenial-nginx)。
如果你没有自己的域名甚至没有自己的服务器,请出门右转阿里云或左转腾讯云自行购买。
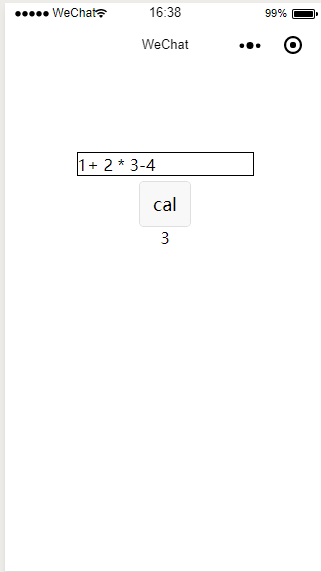
5.4 配置微信小程序的服务器信息

运行小程序,一个简单的计算器就写完啦。
--