1.任务要求:
- 每3秒自动切换到下一张,循环播放
- 鼠标靠近图片停止播放,鼠标离开继续播放
- 左右箭头,可手动切换
- 点击右下角小圆点切换到指定的图片
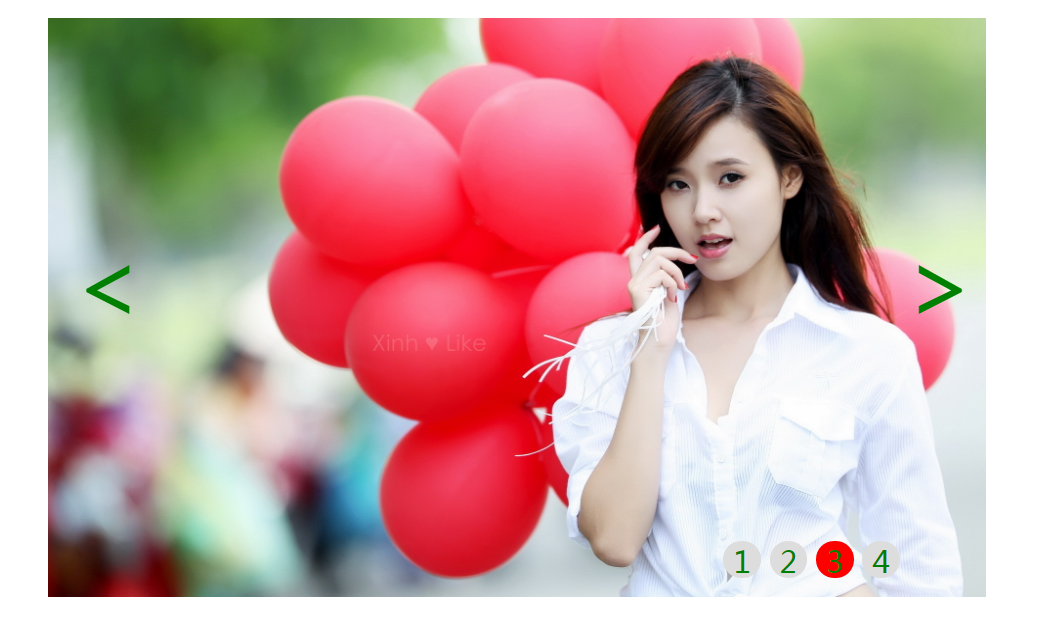
2.效果展示
3.实现的原理和思路分析
3.1 HTML部分
轮播图片采用<div>下嵌套多个<img>来实现,我的用了4张图片轮播;点击跳转的按钮用<div>下嵌套多个<span>可实现,左右切换箭头用<a>实现,< 表示小于号,展现左箭头的效果,同理>表示大于号,展现右箭头的效果。
1 <div id ="container" > 2 <!--轮播图片--> 3 <div id="wrap" style="left:0px"> 4 <img src="./images/11.jpg" alt=""/> 5 <img src="./images/22.jpg" alt=""/> 6 <img src="./images/33.jpg" alt=""/> 7 <img src="./images/44.jpg" alt=""/> 8 </div> 9 <!--跳转按钮--> 10 <div id="dots"> 11 <span class="on">1</span> 12 <span>2</span> 13 <span>3</span> 14 <span>4</span> 15 </div> 16 <!--左右箭头--> 17 <a href="javascript:;" class="arrow arrow_left">< </a> 18 <a href="javascript:;" class="arrow arrow_right">></a> 19 </div>
3.2 CSS代码
 1    <style>
 2
 3
 4         *{
 5             padding: 0px;
 6             margin: 0px;
 7             text-decoration: none;/*清除所有下划线*/
 8         }
 9
10         #container {
11             position: relative;
12             width: 500px;/*整个容器div框与图片的长和宽都设置为相同*/
13             height: 309px;
14             margin: 50px auto;
15             padding: 0px;
16           /*  background-color: #FF5A20;*/
17             overflow: hidden;/*超出隐藏*/
18         }
19         #wrap {
20             position: absolute;
21             width: 2000px;/*   照片数目*宽度=4*500  */
22             height: 309px;
23             z-index: 1;/*设置堆叠显示顺序,图片框在最下面*/
24
25         }
26
27         #wrap img{
28             float: left;
29             width: 500px;
30             height: 309px;
31
32         }
33         #dots{
34             position: absolute;/*只能用绝对显示这里*/
35             right: 40px;
36             bottom: 20px;
37             width: 100px;
38             height: 10px;
39             z-index: 2;/*设置按钮在图片上方*/
40         }
41         #dots span{
42             display: inline-block;
43             width: 20px;
44             height: 20px;
45             border-radius: 50%;
46             background-color: #dddddd;
47             color: green;
48             text-align: center;
49             cursor: pointer;/*鼠标靠近时,光标变为小手*/
50
51         }
52         #dots span.on{
53             background-color: red;/*高亮显示当前播放的图片*/
54         }
55         #container .arrow {
56             position: absolute;
57             top: 35%;
58             color: green;
59             padding:0px 8px;
60             width: 30px;
61             height: 90px;
62             /*border-radius: 50%;*/
63             font-size: 50px;
64             z-index: 2;
65             display: block;
66         }
67
68         #container .arrow_left{
69             left: 5px;
70         }
71
72         #container .arrow_right{
73             right: 5px;
74         }
75
76         #container:hover .arrow{
77             display: block;
78         }
79
80         #container .arrow:hover{
81             background-color: rgba(0,0,0,0.2)/*透明度*/
82         }
83
84     </style>
3.3 JS代码
移动的原理是:改变图片框<div id="wrap" style="left:0px">的left坐标,left=0时图片框和第一张图片对齐,之后left左移,展示的效果就是图片在右移,left和图片的映射关系是{left:Index}=[0:0;-500*1:1,-500*2:2,-500*3:3]。
 1     <script>
 2         var timer = null;/*初始化定时器*/
 3         var index=0;/*当前显示图片的下标*/
 4         var INum;/*用户选择显示的图片下标*/
 5         Autoplay();
 6         /*获取CSS选择器指定的属性节点,定义为全局变量*/
 7         var wrap = document.querySelector("#wrap");
 8         var Next = document.querySelector(".arrow_right");
 9         var Prev = document.querySelector(".arrow_left");
10         var container = document.querySelector("#container");
11         var dots =document.querySelector("#dots").getElementsByTagName("span");
12 /*
13         var wrap = document.getElementById("wrap");
14         var Next = document.getElementsByClassName("arrow_right");
15         var Prev = document.getElementsByClassName("arrow_left");*/
16         //鼠标放入则停止轮播
17         container.onmouseenter = function(){
18             Stopplay();
19         }
20         //鼠标离开则开始轮播
21         container.onmouseleave = function(){
22             Autoplay();
23         }
24         //点击播放下一张
25         Next.onclick = function () {
26             Next_pic();
27         }
28         //点击播放上一张
29         Prev.onclick = function () {
30             Prev_pic();
31         }
32
33         //高亮当前显示的图片
34         function showCurrentDot() {
35             //初始化,所有span的class的值赋值为空,仅使能当前播放图片
36             for(var i=0;i<dots.length;i++){
37                 dots[i].className="";
38             }
39             dots[index].className="on";
40         }
41
42         //点击数字跳转到指定界面
43         for(var i=0;i<dots.length;i++) {
44             (function (i) {
45                     dots[i].onclick = function () {
46                         var delta = (index - i);
47                         //修正最后一张位移差
48                         if(index==3 && parseInt(wrap.style.left)!==-1500){
49                             delta = delta -4;
50                         }
51                         //修正第一张的位移差
52                         if(index==0 && parseInt(wrap.style.left)!==0){
53                             delta = delta +4;
54                         }
55                         //跳转到指定的位置
56                         wrap.style.left = parseInt(wrap.style.left) + delta*500 + "px";
57                         index = i;
58                         showCurrentDot();
59                     }
60                 }
61             )(i);
62         }
63
64
65         function Next_pic() {
66             index++;
67             if(index>3) {
68                 index=0;
69             }
70             showCurrentDot();
71             var Newleft = parseInt(wrap.style.left)-500;
72             if(Newleft==-2000){
73                 Newleft=0;
74             }
75             wrap.style.left = Newleft+"px";
76         }
77         function Prev_pic() {
78             index--;
79             if(index<0) {index=3;}
80             showCurrentDot();
81             var Newleft = parseInt(wrap.style.left)+500;
82             if(Newleft==500){
83                 Newleft=-1500;
84             }
85             wrap.style.left = Newleft+"px";
86         }
87
88         function Autoplay() {
89                 timer = setInterval("Next_pic()",3000);
90             }
91
92         function Stopplay() {
93             clearInterval(timer);
94
95         }
96
97     </script>