Python学习笔记7:文件
对于程序的数据存储,最简单的方式无非是使用文件。其实数据库也是一种特殊的文件系统,它通过一些数据结构,利用文件系统来架构了一个高可靠性高性能的数据存储与读取服务。
文件的基本使用
无需引入其它模块,Python本身就提供内置函数open()以支持对文件的基本操作。
fopen = open(file='main.log', mode='r')
for line in fopen:
    print(line)
fopen.close()
输出
2021-03-05 17:16:34,829 - set.py[line:4] - this is error message1
2021-03-05 17:16:34,831 - set.py[line:5] - this is error message2
open指定了两个参数,file说明了要打开的文件,mode则是打开方式,主要分为以下几种:
- r:只读,如果文件不存在,报错。
- w:写入,会覆盖原有内容。
- a:追加,在原有内容尾部写入新内容。
- x:检测文件是否存在,如果不存在,创建一个新文件。
- 需要说明的是,除了
r模式,其它三种如果文件不存在,都会新建一个文件。- 除了
mod='r'这种指定单个模式,还可以使用mod='r+',这表示同时具有读写模式,还有mod='r+b'表示同时读写二进制文件。
此外,在获取到打开的文件句柄fopen后,我们可以很容易地用for/in的方式逐行获取文件内容,这是Python对文件句柄采取了类似遍历器的设计,而且非常智能地在文件结束后结束循环,对比同类代码在PHP或Java中的写法,无疑非常直观和方便。
但Python所做的优化不仅于此,有过其它语言文件操作经历的开发者应该都清楚,用写入模式打开一个文件后会加文件锁,这是独占式地使用文件,此时其它程序是无法使用这个文件的。所以在写入完毕后你必须及时关闭文件,否则会产生一系列问题。但频繁的文件操作很可能就让开发者忘记在某处关闭文件。对此,Python有个很不错的设计:
with open(file='main.log', mode='r') as fopen:
    for line in fopen:
        print(line, end='')
输出
2021-03-05 17:16:34,829 - set.py[line:4] - this is error message1
2021-03-05 17:16:34,831 - set.py[line:5] - this is error message2
可以看到我们使用with/as的方式进行文件读取,而且省略了文件关闭的操作。实际上这种写法在Python中称作上下文管理,Python会在with后的程序块运行完毕后自动进行相应的扫尾工作,在这个文件读取的场景,自然是自动调用文件关闭操作。是不是相当不错?
此外,在print()中我们指定了一个end参数,这是为了避免在读取文件行输出的时候额外加入换行符,毕竟原始文件每行后是有换行符的,这里可以通过end参数移除或改变print的结束符号。
现在我们已经掌握了基本的文件操作,我们来改进一下上一篇笔记Python学习笔记6:Web应用中的web应用,让这个web应用具有记录和展示http请求信息的功能。
改进web应用
本文改进的web应用最终代码已上传到百度盘:
链接:https://pan.baidu.com/s/17k1OKuKARS9ayWTKRaldOg
提取码:v8hl
复制这段内容后打开百度网盘手机App,操作更方便哦--来自百度网盘超级会员V1的分享
我们需要先审视一下我们想记录哪些http请求信息:
@web.route("/results", methods=["POST"])
def results() -> 'html':
"""展示一个结果页面"""
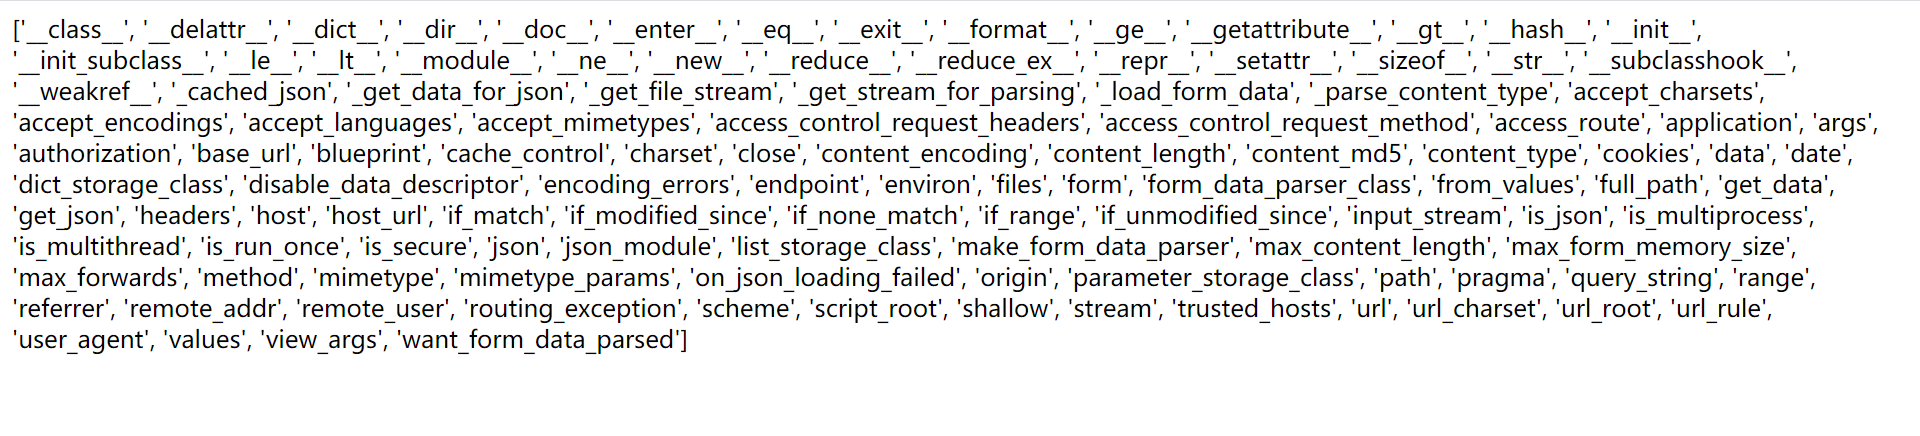
return str(dir(request))
string = request.form['phrase']
search = request.form['letters']
results = set(string).intersection(set(search))
return render_template("results.html", the_phrase=string, the_letters=search, the_results=str(results))
我们在跳转到results页面时候拦截一下request,并输在页面输出,看一下request包含哪些信息:
经过分析我们确定以下三个作为请求信息记录:
    userAgent=request.user_agent
    remoteAddr=request.remote_addr
    formData=request.form
我们现在加入日志写入部分:
from flask import Flask, render_template, request
web = Flask(__name__)


def writeLog(logInfo: list) -> None:
    with open(file="http.log", mode="a") as fopen:
        logStr = "|".join(logInfo)
        print(logStr, file=fopen)


@web.route('/')
def index() -> 'html':
    """展示一个字符串匹配的查询页面"""
    return render_template("entry.html", the_title="字符串匹配")


@web.route("/results", methods=["POST"])
def results() -> 'html':
    """展示一个结果页面"""
    userAgent = request.user_agent
    remoteAddr = request.remote_addr
    formData = request.form
    string = request.form['phrase']
    search = request.form['letters']
    results = set(string).intersection(set(search))
    logInfo = [str(userAgent), str(remoteAddr), str(formData), str(results)]
    writeLog(logInfo)
    return render_template("results.html", the_phrase=string, the_letters=search, the_results=str(results))


web.run(debug=True)
现在再次通过浏览器测试,就能看到项目目录下生成了日志文件:
Mozilla/5.0 (Windows NT 10.0; Win64; x64) AppleWebKit/537.36 (KHTML, like Gecko) Chrome/89.0.4389.82 Safari/537.36|127.0.0.1|ImmutableMultiDict([('phrase', 'sjlfjdskljlkiwerwr'), ('letters', 'aeiou')])|{'i', 'e'}
Mozilla/5.0 (Windows NT 10.0; Win64; x64) AppleWebKit/537.36 (KHTML, like Gecko) Chrome/89.0.4389.82 Safari/537.36|127.0.0.1|ImmutableMultiDict([('phrase', 'sjlfjdskljlkiwerwr'), ('letters', 'sdfdsf')])|{'d', 'f', 's'}
现在日志有了,还需要加一个web页面用于展示,我们新建一个显示日志的模板文件log.html:
{% extends 'base.html' %}

{% block body %}

<h2>{{ the_title }}</h2>


<p>服务器日志http请求日志:</p>
<table>
    <tr>
        <th>浏览器标签</th>
        <th>客户端ip</th>
        <th>表单内容</th>
        <th>返回信息</th>
    </tr>
        <td>firefox</td>
        <td>127.0.0.1</td>
        <td>xxxxxxx</td>
        <td>xxxxxxx</td>
</table>

{% endblock %}
在index.py中加入路径重写并渲染模板:
@web.route('/log')
def showLog() -> 'html':
    """展示日志页面"""
    return render_template("log.html", the_title="服务器日志")
访问页面http://127.0.0.1:5000/log:

现在我们修index.py,准备给模板的数据:
def getLog() -> list:
    lines = []
    with open(file="http.log", mode="r") as fopen:
        for line in fopen:
            lines.append(line.split("|"))
    return lines

@web.route('/log')
def showLog() -> 'html':
    """展示日志页面"""
    logList = getLog()
    return render_template("log.html", the_title="服务器日志", log_list=logList)
修改模板文件,以接收数据,这里可以用模板的循环语句来实现:
{% extends 'base.html' %}

{% block body %}

<h2>{{ the_title }}</h2>


<p>服务器日志http请求日志:</p>
<table>
    <tr>
        <th>浏览器标签</th>
        <th>客户端ip</th>
        <th>表单内容</th>
        <th>返回信息</th>
    </tr>
    {% for log_line in  log_list %}
    <tr>
        {% for log_item in log_line %}
        <td>{{ log_item }}</td>
        {% endfor %}
    </tr>
    {% endfor %}
</table>

{% endblock %}
用浏览器访问日志页面:

OK!