摘要:nginx反向代理的原理:外部通过ip加端口访问nginx,nginx接收到外部请求,通过ip解析访问内部服务器,内部服务器再将数据传回Nginx服务器,而Nginx再把数据传回给外部客户机。
准备三台虚拟机:两台apache服务器192.168.161.25:2020 192.168.161.5:3080,一台Nginx服务器192.168.161.15:8888
首先,centos7搭建Nginx服务器
192.168.161.15配置Nginx服务器
安装gcc-c++(编译nginx源码),pcre,pcre-devel(正则表达式),zlib,zlib-devel(解压方式),openssl,openssl-devel(密码库)
yum -y install gcc-c++ pcre pcre-devel zlib zlib-devel openssl openssl-devel
然后去官网下载nginx包 https://nginx.org/en/download.html
选择版本 我选择最新版
wget https://nginx.org/download/nginx-1.13.8.tar.gz #我下载到/tmp目录下临时文件里面
接着解压
tar -zxvf nginx-1.13.8.tar.gz
进入解压文件
cd nginx-1.13.8
然后编译且安装
./configure && make &&make install
安装完成后启动nginx
nginx默认目录为/usr/local/nginx/sbin/
cd /usr/local/nginx/sbin/
./nginx 表示开启nginx
./nginx -s stop 表示强制kill掉nginx
./nginx -s quit 停止了nginx进行中服务再关掉进程 推荐这样关闭
./nginx -s reload 杀死进程再重启
netstat -nltp|grep nginx #查看nginx端口进程
如图

接着网页打开
http://192.168.161.15 出现如图
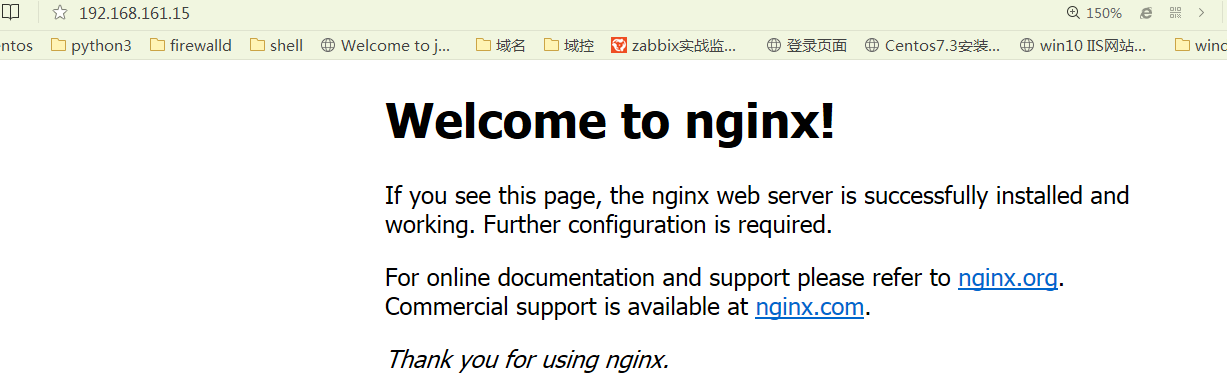
搭建nginx服务器完成
nginx配置信息在 /usr/local/nginx/conf/nginx.conf 或者在该目录自己添加一个 xxx.conf也能实现nginx代理功能
直接使用nginx配置文件
vim /usr/local/nginx/conf/nginx.conf
然后在http{}里面添加
  6 http {
 17     include       mime.types;
 18     default_type  application/octet-stream;
 19
 20     #log_format  main  '$remote_addr - $remote_user [$time_local] "$request"     '
 21     #                  '$status $body_bytes_sent "$http_referer" '
 22     #                  '"$http_user_agent" "$http_x_forwarded_for"';
 23
 24     #access_log  logs/access.log  main;
 25
 26     sendfile        on;
 27     #tcp_nopush     on;
 28     upstream web{                                              #####################
 29         server 192.168.161.25:2020 weight=1;                  ####################
 30         server 192.168.161.5:3080 weight=1;            ####################

 31 }
 38     server {
 39         listen       8888;
 40         server_name  localhost;
 41
 42         #charset koi8-r;
 43
 44         #access_log  logs/host.access.log  main;
 45
 46         location / {
 47             proxy_pass http://web;                              ######################
 48                 root   html;
 49                 index  index.html index.htm;
 50         }
#代表修改的内容地方~ 如图 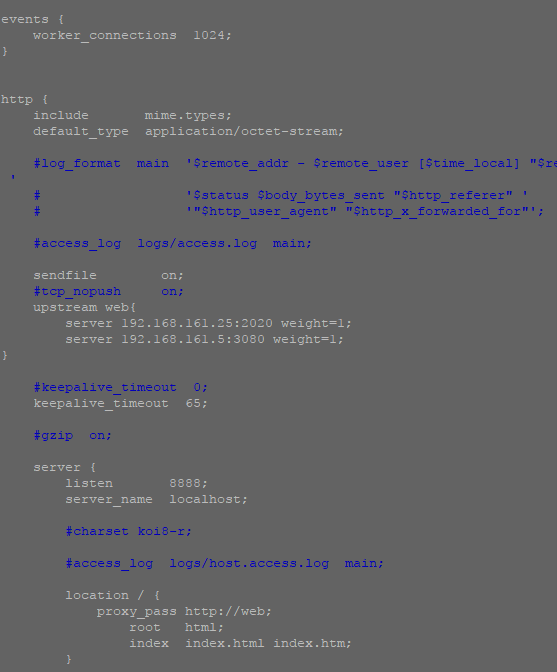
接着重启nginx
/usr/local/nginx/sbin/./nginx -s reload
网页输入 http://192.168.161.15:8888 就能完成访问161.5和161.25的web服务器