用WPF轻松打造iTunes CoverFlow效果
周银辉
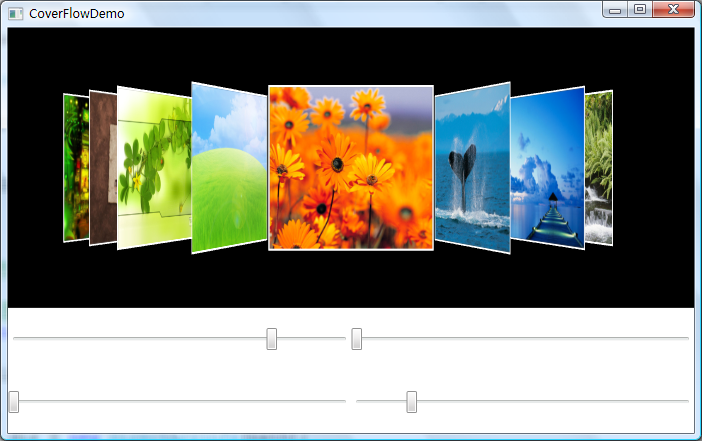
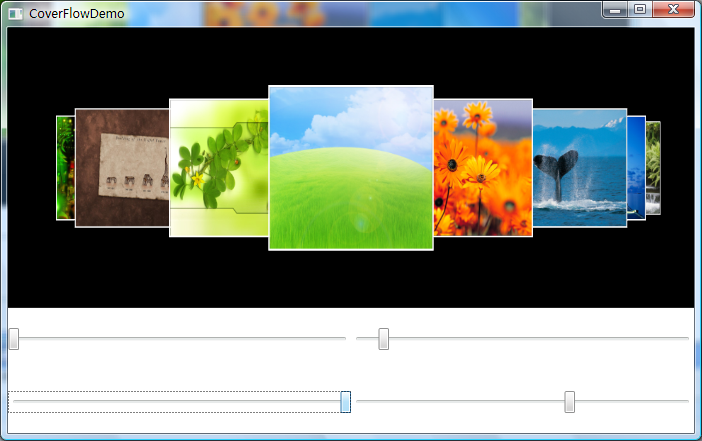
先Show一下:

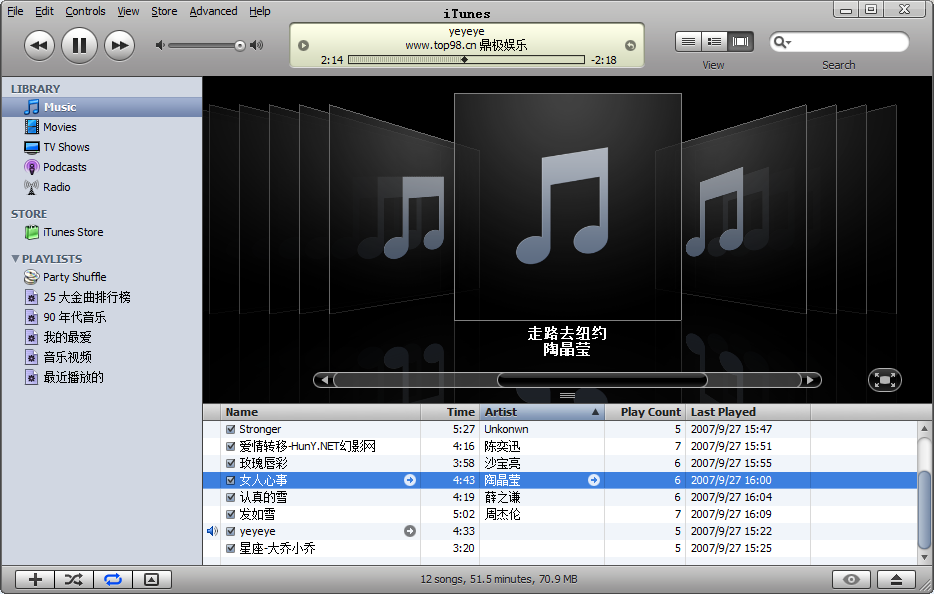
下面这一张是苹果的iTunes软件:
苹果iTunes播放器的CoverFlow效果羡煞旁人,不过有了WPF,我们也可以轻松实现哈,今天费了半天的时间终于搞定,呵呵...
感兴趣的话可以这里下载源代码
(说明:上传源代码时由于图片较大,所以就没传图片了,程序取的是用户" 我的图片"文件夹下的*.jpg图片,你可以修改代码中的路径或在"我的图片"文件夹下放几张jpg图片就可以看到效果了)
图片是使用3DTools 提供的2D到3D映射的方式贴图上去的,每张图片都帖在一个3D模型上,我们只需要让程序来安排这些模型的摆放位置就可以了
3D模型的摆放是按照如下方法进行的,其中3个传出参数angle指定模型源Y轴的旋转角度,offsetX指定模型的X轴方向上的平移量,offsetZ指定模型在Z轴方向上的平移量
 /// <summary>
 /// 依照InteractiveVisual3D在列表中的序号来变换其位置等
 /// </summary>
 /// <param name="index">在列表中的序号</param>
 /// <param name="midIndex">列表中被作为中间项的序号</param>
  private void GetTransformOfInteractiveVisual3D(int index, double midIndex, out double angle, out double offsetX, out double offsetZ)
 {
{ double disToMidIndex = index - midIndex;

 //旋转,两翼的图片各旋转一定的度数
 angle = 0;
 if (disToMidIndex < 0)
 {
{ angle = this.ModelAngle;//左边的旋转N度
 }
} else if (disToMidIndex > 0)
 {
{ angle = (-this.ModelAngle);//右边的旋转-N度
 }
}


 //平移,两翼的图片逐渐向X轴负和正两个方向展开
 offsetX = 0;//中间的不平移
 if (Math.Abs(disToMidIndex) <= 1)
 {
{ offsetX = disToMidIndex * this.MidModelDistance;
 }
} else if (disToMidIndex != 0)
 {
{ offsetX = disToMidIndex * this.XDistanceBetweenModels + (disToMidIndex > 0 ? this.MidModelDistance : -this.MidModelDistance);
 }
}

 //两翼的图片逐渐向Z轴负方向移动一点,造成中间突出(离观众较近的效果)
 offsetZ = Math.Abs(disToMidIndex) * -this.ZDistanceBetweenModels;
 }
}
点击图片或指定当前应该被突出显示的图片时的动画效果是这样实现的,先使用上面的方法计算出决定模型位置的几个便量的新值(即上面的几个传出参数),然后在使用动画(DoubleAnimation)让这几个值由旧值过度到新值.
 /// <summary>
 /// 重新布局3D内容
 /// </summary>
  private void ReLayoutInteractiveVisual3D()
 {
{ int j=0;
 for (int i = 0; i < this.viewport3D.Children.Count; i++)
 {
{ InteractiveVisual3D iv3d = this.viewport3D.Children[i] as InteractiveVisual3D;
 if(iv3d != null)
 {
{ double angle = 0;
 double offsetX = 0;
 double offsetZ = 0;
 this.GetTransformOfInteractiveVisual3D(j++, this.CurrentMidIndex,out angle,out offsetX,out offsetZ);

 NameScope.SetNameScope(this, new NameScope());
 this.RegisterName("iv3d", iv3d);
 Duration time = new Duration(TimeSpan.FromSeconds(0.3));
 DoubleAnimation angleAnimation = new DoubleAnimation(angle, time);
 DoubleAnimation xAnimation = new DoubleAnimation(offsetX, time);
 DoubleAnimation zAnimation = new DoubleAnimation(offsetZ, time);
 Storyboard story = new Storyboard();
 story.Children.Add(angleAnimation);
 story.Children.Add(xAnimation);
 story.Children.Add(zAnimation);
 Storyboard.SetTargetName(angleAnimation, "iv3d");
 Storyboard.SetTargetName(xAnimation, "iv3d");
 Storyboard.SetTargetName(zAnimation, "iv3d");
 Storyboard.SetTargetProperty(
 angleAnimation,
 new PropertyPath("(ModelVisual3D.Transform).(Transform3DGroup.Children)[0].(RotateTransform3D.Rotation).(AxisAngleRotation3D.Angle)"));
 Storyboard.SetTargetProperty(
 xAnimation,
 new PropertyPath("(ModelVisual3D.Transform).(Transform3DGroup.Children)[1].(TranslateTransform3D.OffsetX)"));
 Storyboard.SetTargetProperty(
 zAnimation,
 new PropertyPath("(ModelVisual3D.Transform).(Transform3DGroup.Children)[1].(TranslateTransform3D.OffsetZ)"));
 story.Begin(this);
 }
} }
} }
}

