首先pom文件要指定远程仓库地址

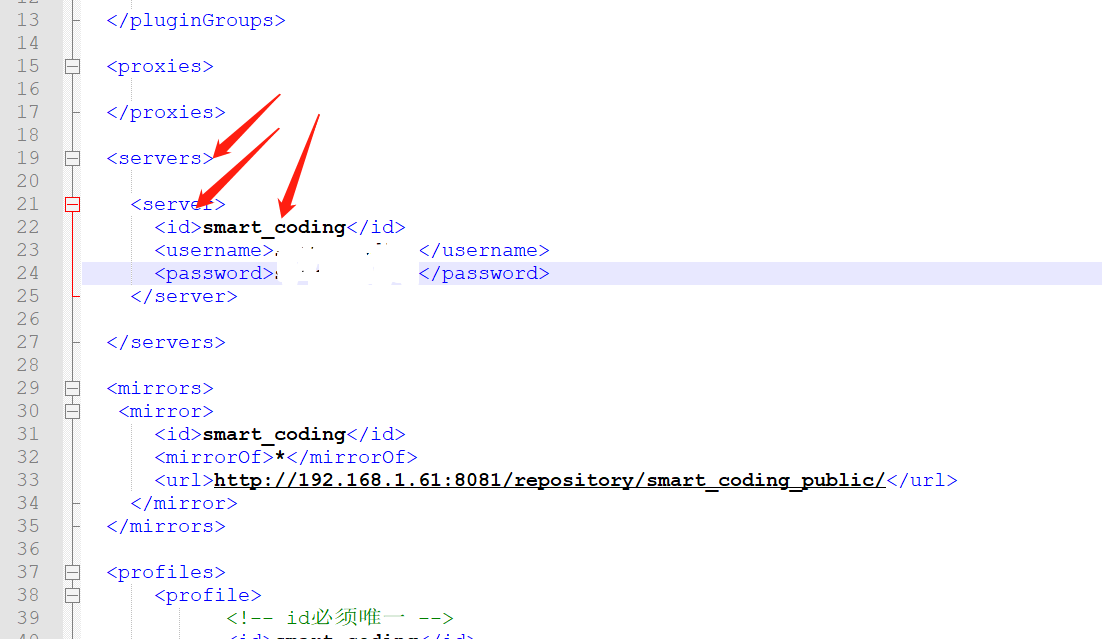
确认maven安装目录下的settings.xml文件中配置的server的id与pom文件中的repository的id一致
win + r 打开 cmd
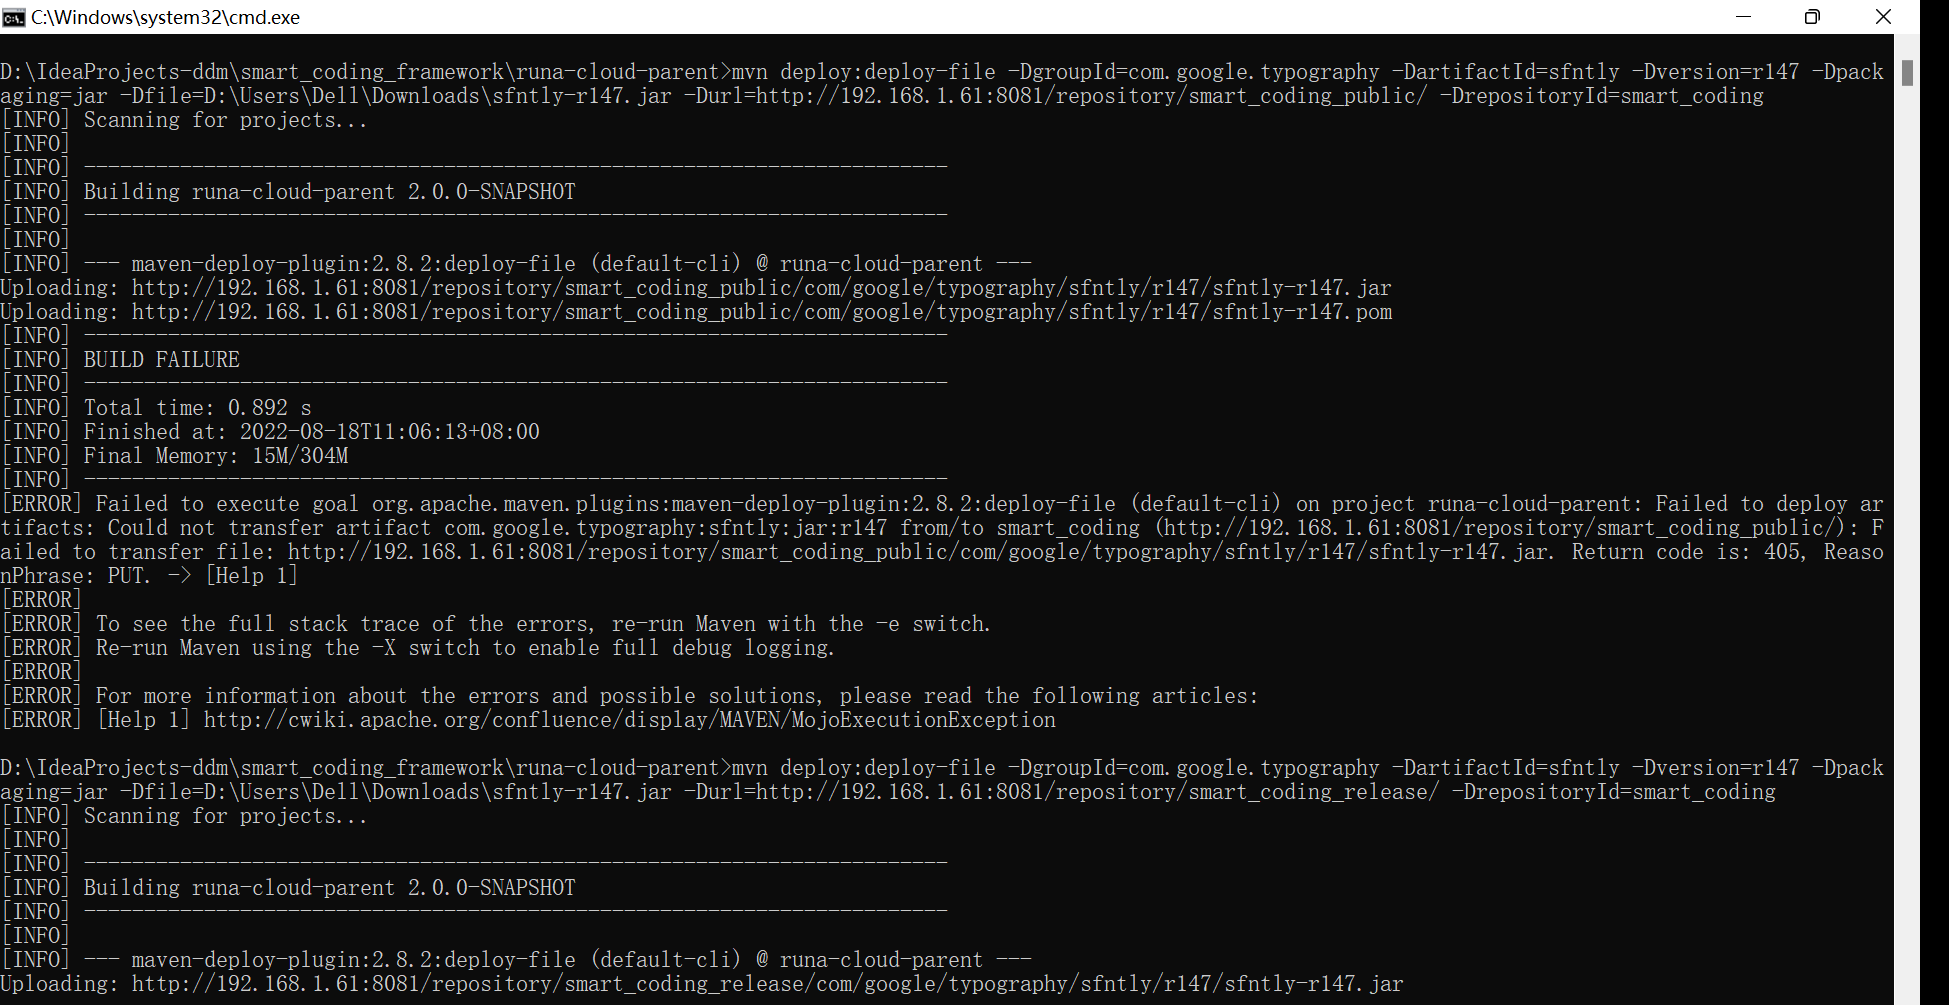
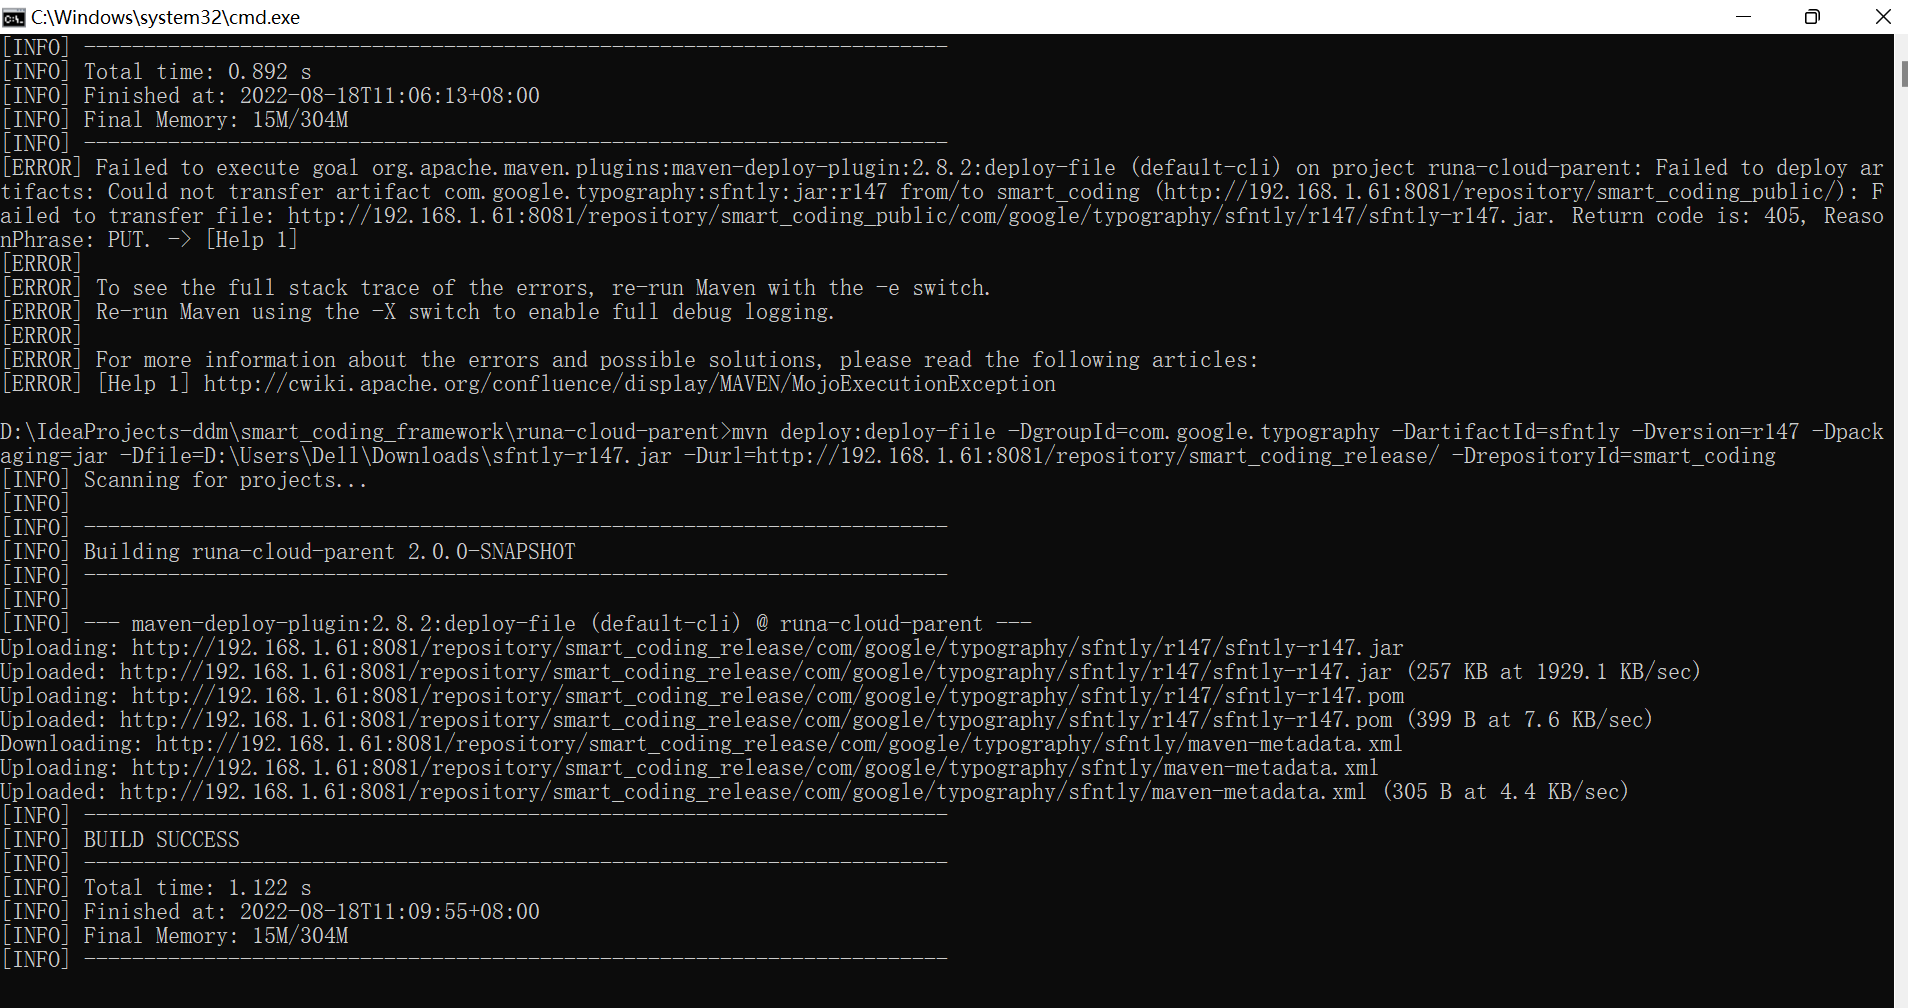
路径切换到pom文件所在路径,执行命令
mvn deploy:deploy-file -DgroupId=com.google.typography -DartifactId=sfntly -Dversion=r147 -Dpackaging=jar -Dfile=D:\Users\Dell\Downloads\sfntly-r147.jar -Durl=http://192.168.1.61:8081/repository/smart_coding_release/ -DrepositoryId=smart_coding
本地安装命令
mvn install:install-file -DgroupId=com.google.typography -DartifactId=sfntly -Dversion=r147 -Dpackaging=jar -Dfile=D:\Users\Dell\Downloads\sfntly-r147.jar