为什么要使用vite
当我们开始构建越来越大型的应用时,
需要处理的 JavaScript 代码量也呈指数级增长。
包含数千个模块的大型项目相当普遍。
这个时候我们会遇见性能瓶颈
使用 JavaScript 开发的工具通常需要很长时间(甚至是几分钟!)才能启动开发服务器,
文件修改后的效果也需要几秒钟才能在浏览器中反映出来。
如此循环往复,迟钝的反馈会极大地影响开发者的开发效率和幸福感。
Vite就是为了就解决这个问题
什么是vite
法语Vite(轻量,轻快)vite 是一个基于单文件组件的非打包开发服务器,
它做到了本地快速开发启动、实现按需编译、不再等待整个应用编译完成的功能作用。
vite的优势
1==>速度快: Vite使用esbuild 预构建依赖(Esbuild 使用 Go 编写),
比 JavaScript 编写的预构建依赖快 10-100 倍

2==>按需提供源码: Vite只需要在浏览器请求源码时,进行转换并按需提供源码。
根据情景动态导入代码,即只在当前屏幕上实际使用时才会被处理。
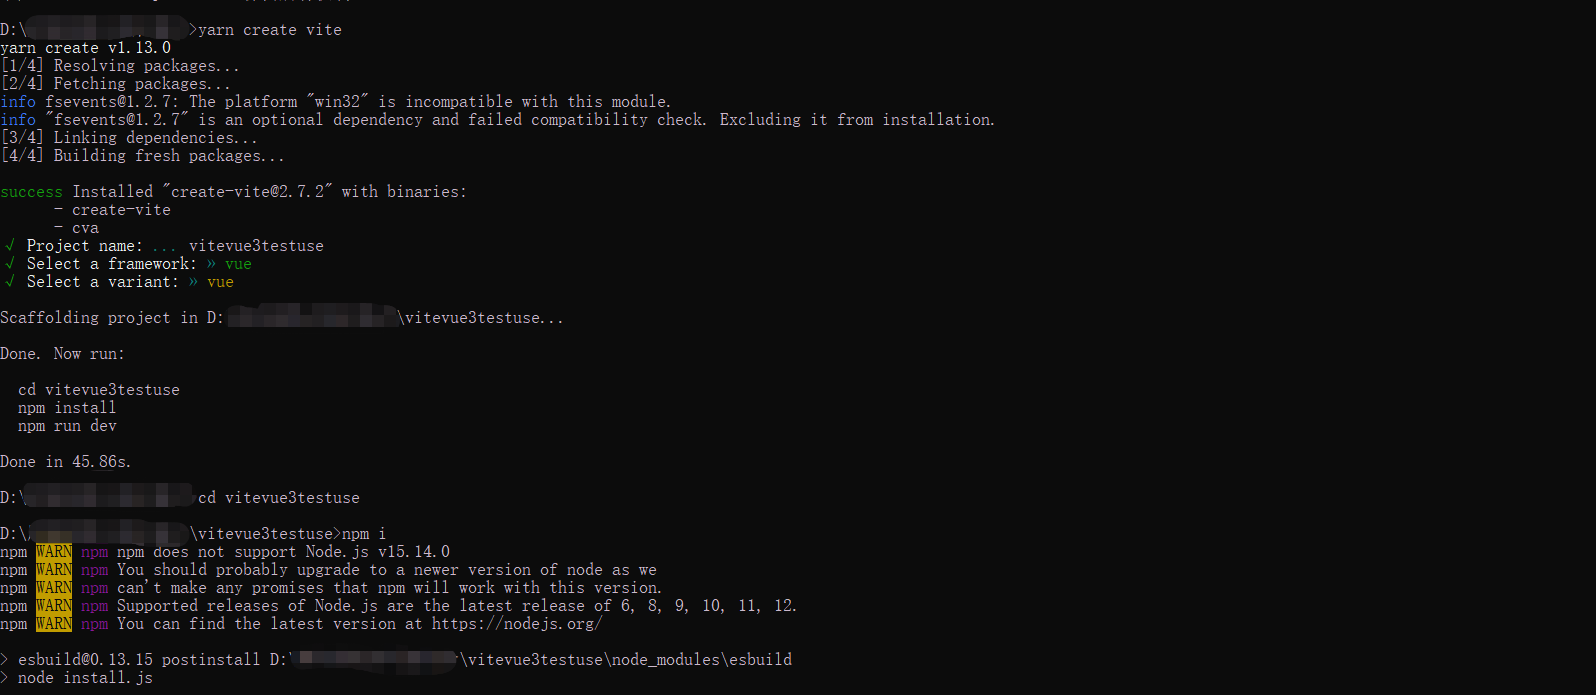
使用vite搭建项目
1. yarn create vite [创建项目]
2. 输入项目名[vitevue3ts]
3. 选择使用的js框架vue
4. 使用使用ts 选择vue-ts
5. cd vitevue3ts
6. npm install
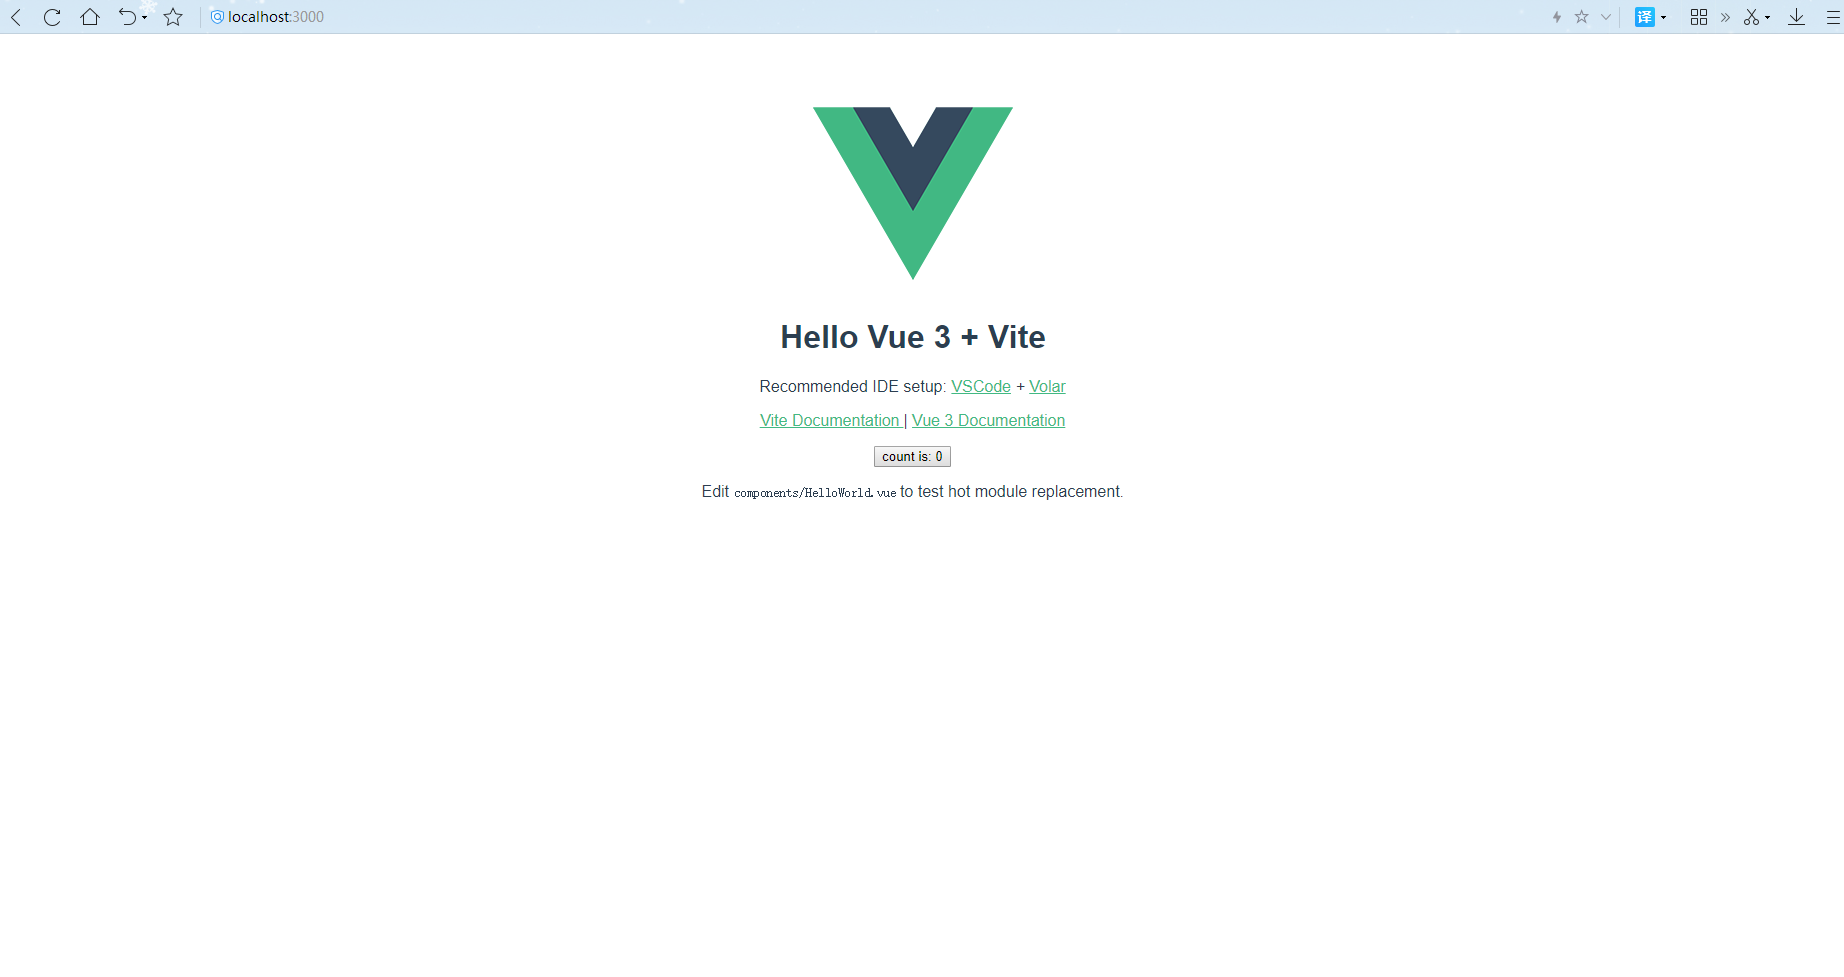
7. npm run dev
自动打开浏览器,将vite.config.ts文件配置如下
import { defineConfig } from 'vite'
import vue from '@vitejs/plugin-vue'

// https://vitejs.dev/config/
export default defineConfig({
  plugins: [vue()],

  // 自动打开浏览器
  server: {
    host: '0.0.0.0', //通过ip的形式访问
    port: 8080, //端口号
    open:true, //自动打开浏览器

    //配置代理,但是我步推荐前端去代理,
    //因为打包后便不会在有代理,上线后是个坑
    proxy: {
      '/api': {
          target: 'http://API网关所在域名',
          changeOrigin: true,
          rewrite: (path) => path.replace(/^\/api/, '')
      },
    }
  }
})
vite配置别名,类似webpack的@
第一步: npm install @types/node --save-dev
cnpm install @types/node --save-dev [仅在开发环境中使用]
或者
yarn add package-name
yarn add package-name --dev [仅在开发环境中使用]


第2步:配置vite.config.ts文件 如下:
import { defineConfig } from 'vite'
import vue from '@vitejs/plugin-vue'
// 配置别名需要的路径模块
import { resolve } from 'path'
// https://vitejs.dev/config/
export default defineConfig({
  plugins: [vue()],
  // 配置别名
  resolve: {
    alias: [
      {
        find: '@', //指向的是src目录
        replacement:resolve(__dirname,'src')
      }
    ]
  },
})

第3步:验证别名是否成功
我们可以将  import HelloWorld from './components/HelloWorld.vue'
更改为  import HelloWorld from './components/HelloWorld.vue'
经过验证时ok的,别名设置成功
配置路由
第1步下载:
官网:https://next.router.vuejs.org/installation.html
npm install vue-router@4
第2步:配置
src下创建文件夹,router文件夹,创建index.ts文件;
代码如下:

import { createRouter, RouteRecordRaw, createWebHashHistory } from 'vue-router'
const routes : Array <RouteRecordRaw> = [
    {
        path: '/a',
        name: 'home',
        component:()=>import('../views/teacher/index.vue'),
    }
]

const router = createRouter({
    history: createWebHashHistory(), //哈希值模式
    routes
})

// 暴露出去
export default router
第3步:在main.ts中注册
import { createApp } from 'vue'
import App from './App.vue'
// 引入路由
import router from './router/index'
// 使用路由
createApp(App).use(router).mount('#app')
第4步:在app.vue中更改
<template>
  <!-- 放置路由容器 -->
 <router-view></router-view>
</template>
<script setup lang="ts">
</script>

整合vuex
第1步:安装vuex
安装vuex: npm install vuex@next --save
或者      yarn add vuex@next --save
第2步:在src下创建store文件夹,store下创建index.ts
import { createStore } from 'vuex'
// 声明接口
export interface State {
  count: number
}
// 创建store实例
const store = createStore({
    state () {
      return {
        count: 0
      }
    },
    mutations: {
      // 更改count
      changeAddoneCount(state:State) {
          state.count++
      },
      changeTenCount(state:State,valueNum) {
          state.count=valueNum
      },
    }
})
export default store;
第3步:在main.ts中注册
import { createApp } from 'vue'
import App from './App.vue'
// 引入路由
import router from './router/index'
// 引入vuex
import store from "./store/index"
// 使用路由,vuex
createApp(App).use(router).use(store).mount('#app')
第4步:在页面上使用
<template>
  <div>
    <div>
      count的初始值{{ store.state.count }}
    </div>
    <button @click="addHander">每次+1</button>
    <button @click="changeHander">直接更改为10</button>
  </div>
</template>

<script setup lang="ts">
import { useStore} from 'vuex'
let store=useStore()
// 更改vuex中的值,通过commit去触发vuex中mutations中对应的方法
const addHander=()=>{
  store.commit('changeAddoneCount')
}
const changeHander=()=>{
  store.commit('changeTenCount',10)
}
</script>

ts中使用@号引入
看见这个标题,有的小伙伴会说,刚刚不是已经配置过别名了嘛?
在vite配置别名,类似webpack的@中。这种我们可以引入组件
但是去这样引入  import store from "@/store/index" 会报错
我们需要去解决这个问题
第1步: 在tsconfig.json配置如下
在12行下添加==>如下
"baseUrl": ".",
"paths": {
  "@/*":["src/*"]
}
第2步: 用main.ts来验证是否正确
之前是
import router from './router/index'
import store from "./store/index"
更改为
import router from '@/router/index'
import store from "@/store/index"
这样没有报错了,说明我们的配置成功了
npm run build报错vue-tsc --noEmit && vite buils
在tsconfig.json配置如下
"exclude": ["node_modules"]  //忽略node_modules下的文件
"skipLibCheck": true         //忽略所有声明的ts文件

项目中全局使用scss
第1步:安装
npm install sass --save
npm install sass-loader --save-dev
第2步:vite.config.ts中配置
css: {
  // css预处理器
  preprocessorOptions: {
    scss: {
      charset: false,
      //需要在assets下创建对应的文件global.scss
      additionalData: '@import "./src/assets/style/global.scss";',
    },
  },
}
第3步:验证
//global.scss文件
$main:#ccc;
$c:pink

<template>
  <div class="home">
      <h1 class="h1">全局使用scss</h1>
  </div>
</template>
<style lang="scss" scoped>
.home{
  height: 40px;
  //使用全局变量
  background: $main;
  .h1{
    color:$c
  }
}
</style>

使用Vant进行按需加载
第1步:下载ui库和按需引入的插件
个人不推荐使用这方式我推荐使用下面那一种方式。
因为这一种方式在build的时候,可能会报错哈。
npm i vant  下载ui库
npm install vite-plugin-imp -D 按需引入的插件
第2步:vite.config.js配置
import vitePluginImp from 'vite-plugin-imp'

plugins: [
  vue(),
  // 按需引入的插件
  vitePluginImp({
    libList: [
      {
        libName: 'vant',
        style(name) {
          if (/CompWithoutStyleFile/i.test(name)) {
            return false
          }
          return `vant/es/${name}/style/index.js`
        }
      }
    ]
  })
],
第3步,注册main.ts
// 引入组件
import { Button,Image as VanImage } from 'vant';
createApp(App).use(router).use(store).use(Button).use(VanImage).mount('#app')
第4步,使用
<template>
  <div class="home">
      <van-button type="primary">主要按钮</van-button>
      <van-button type="success">成功按钮</van-button>
      <van-button type="default">默认按钮</van-button>
      <van-button type="warning">警告按钮</van-button>
      <van-button type="danger">危险按钮</van-button>
      <van-image width="100" height="100" src="https://img.yzcdn.cn/vant/cat.jpeg" />
  </div>
</template>
按需加载完成

按照官方的方式进行按需加载(推荐 build不会报错)
1.安装插件
通过 npm 安装
npm i vite-plugin-style-import -D

通过 yarn 安装
yarn add vite-plugin-style-import -D
第2步:vite.config.js配置
import styleImport from 'vite-plugin-style-import'

styleImport({
  libs: [
    {
      libraryName: "vant",
      esModule: true,
      resolveStyle: (name) => `vant/es/${name}/style`,
    },
  ],
}),
3.注册组件 main.ts
import { Button,Image as VanImage } from 'vant';
createApp(App).use(router).use(store).use(Button).use(VanImage).mount('#app')
第4步,使用
<template>
  <div class="home">
      <van-button type="primary">主要按钮</van-button>
      <van-button type="success">成功按钮</van-button>
      <van-button type="default">默认按钮</van-button>
      <van-button type="warning">警告按钮</van-button>
      <van-button type="danger">危险按钮</van-button>
      <van-image width="100" height="100" src="https://img.yzcdn.cn/vant/cat.jpeg" />
  </div>
</template>
按需加载完成
尾声
如果你觉得我写的不错的话,可以给我推荐、打赏、评论!
上一个给我打赏的小伙伴都已经找到女朋友了!
咦!你不信,不信你给我打赏看一下!
保准你追到到喜欢的Ta!
你不会追,哎!难受。

我教你,你可以这样说:
小生不才,斗胆-问,不知姑娘是否心系他人。
感情之事,在下不敢儿戏!
如若姑娘早已心系他人。那在下便不再打扰。
如若有所唐突还望姑娘多加体谅!
若姑娘非我良人,那在下就不庸人自恼。
在下怕越陷越深,还望姑娘尽早告知!话已至此,我便先在此谢过!
拿去不谢!回头告诉我结果啊!
咦!抓住一个没有打赏的小伙伴!

