一. 在webpack中配置vue
了解了webpack的原理和用法以后, 我们来引入Vue
webpack原理和用法详解链接: cnblogs.com/ITPower/p/14467745.html
第一步: 需要在webpack中引入vue.js
如何引入呢?
npm install vue --save
我们之前下载模块的时候, 都是使用--save-dev. 表示开发模式.
现在我们使用的是--save, 表示的是运行模式. 因为我们最终需要在线上使用vue, 所以 这里下载的时候指定为运行时模式
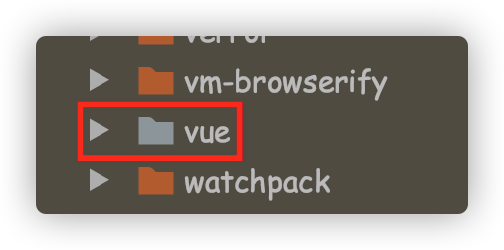
这样就在webpack中安装了vue, 在node_modules中就会增加一个文件夹vue
第二步: 使用import引入vue
import Vue from 'vue'
第三步: 构建vue对象并调用
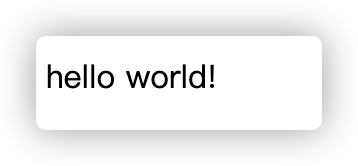
const app = new Vue({
    el: "#app",
    data: {
        message: "hello world!"
    }
})
然后在页面调用message
<body>
    <div id="app">
        <p>{{message}}</p>
    </div>
    <script src="./dist/bundle.js" ></script>
</body>
第四步: 运行看效果
发现报异常.
[Vue warn]: You are using the runtime-only build of Vue where the template compiler is not available. Either pre-compile the templates into render functions, or use the compiler-included build.
这里提示说: 现在使用的runtime-only 构建template是无效的.
这句话是什么意思呢?
vue在发布的时候, 构建了两个版本
- 一个是: runtime-only: 使用这个版本, 代码里面不可以有template模板, 因为没有对应的编译器
- 另一个是: runtime-compiler: 代码中可以有template模板, 因为有对应的编译器来编译tempalte模板
解决这个问题, 我们需要修改webpack.config.js配置,增加
resolve:{
    alias: {
       // 这段代表表示: 给vue指定了一个别名. 如果在代码中使用到了vue, 那么会去找node_module/vue/dist/vue.esm.js文件进行编译
        'vue$': 'vue/dist/vue.esm.js'
    }
}
这段代表表示: 给vue指定了一个别名. 如果在代码中使用到了vue, 那么会去找node_module/vue/dist/vue.esm.js文件进行编译
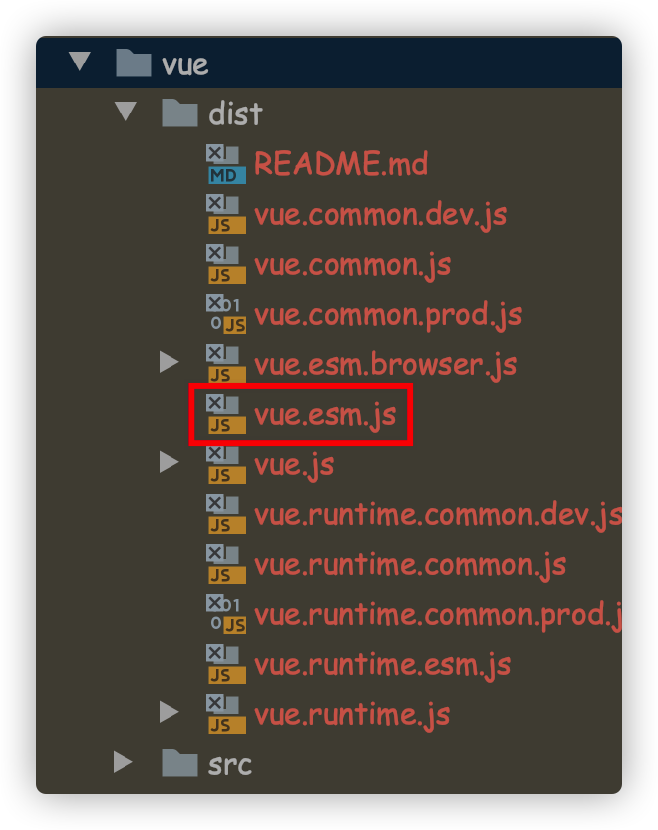
当我们使用vue/dist/vue.esm.js文件的时候, 就表示使用的是runtime-compiler的方式进行编译, 这样就可以有tempalte了
然后再来看效果:
二. vue模板的写法
1. el和template的关系
我们之前写代码的时候都是怎么写的呢? 来看看
首先有一个main.js文件
import Vue from 'vue'const app = new Vue({
    el: "#app",
    data: {
        message: "hello world!",
        week:"今天是3月第一周"
    }
})
这里指定了el, 表示当前vue作用于id=app的dom元素
<!DOCTYPE html>
<html lang="en">
<head>
    <meta charset="UTF-8">
    <title>Title</title>

</head>
<body>
    <div id="app">
        <p>{{message}}</p>
    </div>
    <script src="./dist/bundle.js"></script>
</body>
</html>
然后我们就可以在页面上获取data的的变量了
但通常实际中, 我们不会这么写, 因为这样不方便扩展. 我们只会在index.html中写一个
<!DOCTYPE html>
<html lang="en">
<head>
    <meta charset="UTF-8">
    <title>Title</title>

</head>
<body>
    <div id="app">
    </div>
    <script src="./dist/bundle.js"></script>
</body>
</html>
然后将页面要渲染的内容写到main.js中
const app = new Vue({
    el: "#app",
    template: `
        <div>
            <h2>{{message}}</h2>
            <h2>{{name}}</h2>
        </div>
    `,
    data: {
        message: "hello world!",
        week:"今天是3月第一周"
    }
})
如上, 使用template标签来接收模板的内容. 这样, 我们重新npm run build, 这时可以看到, template中的内容覆盖了el元素的内容
来看看页面渲染的效果

我们发现, 之前id="app"的div元素没有了, 而是被template中的内容替换了.
总结:
el和template的关系是: template中的内容会替换el中的内容
2. 优化
当然了, 如果页面有很多东西, 把template放在new Vue()对象里就有些不合适了. 我们可以像之前一样, 把他提取出来
import Vue from 'vue'

let comp1 = `
        <div>
            <h2>{{message}}</h2>
            <h2>{{week}}</h2>
        </div>
    `

const app = new Vue({
    el: "#app",
    template: comp1,
    data: {
        message: "hello world!",
        week:"今天是3月第一周"
    }
})
把template单独提取出来, 如上写法. 这样在app中就没有大段的代码块了. 看这清晰了很多.
2.再优化
继续来优化, 模板中的变量, 是不是也可以提取到模板里面呢? 这样, 让vue对象直接引用这个模板就可以了
let comp1 = Vue.component("comp1", {
    template: `
        <div>
            <h2>{{message}}</h2>
            <h2>{{week}}</h2>
        </div>
    `,
    data() {
        return {
            message: "hello world!",
            week:"今天是3月第一周"
        }
    }
})

const app = new Vue({
    el: "#app",
    template: '<comp1/>',
    components: {
        comp1
    }
})
这里就是将html和data整合成一个组件了,然后我们在vue中直接引入组件就可以了.
template: '<comp1/>',
这句话的含义是, 用comp1组件的内容替换id="app"的div的内容
4. 终极写法
继续将上面的内容进行优化. 我们将模板, 数据进行分离. 创建vue模板.
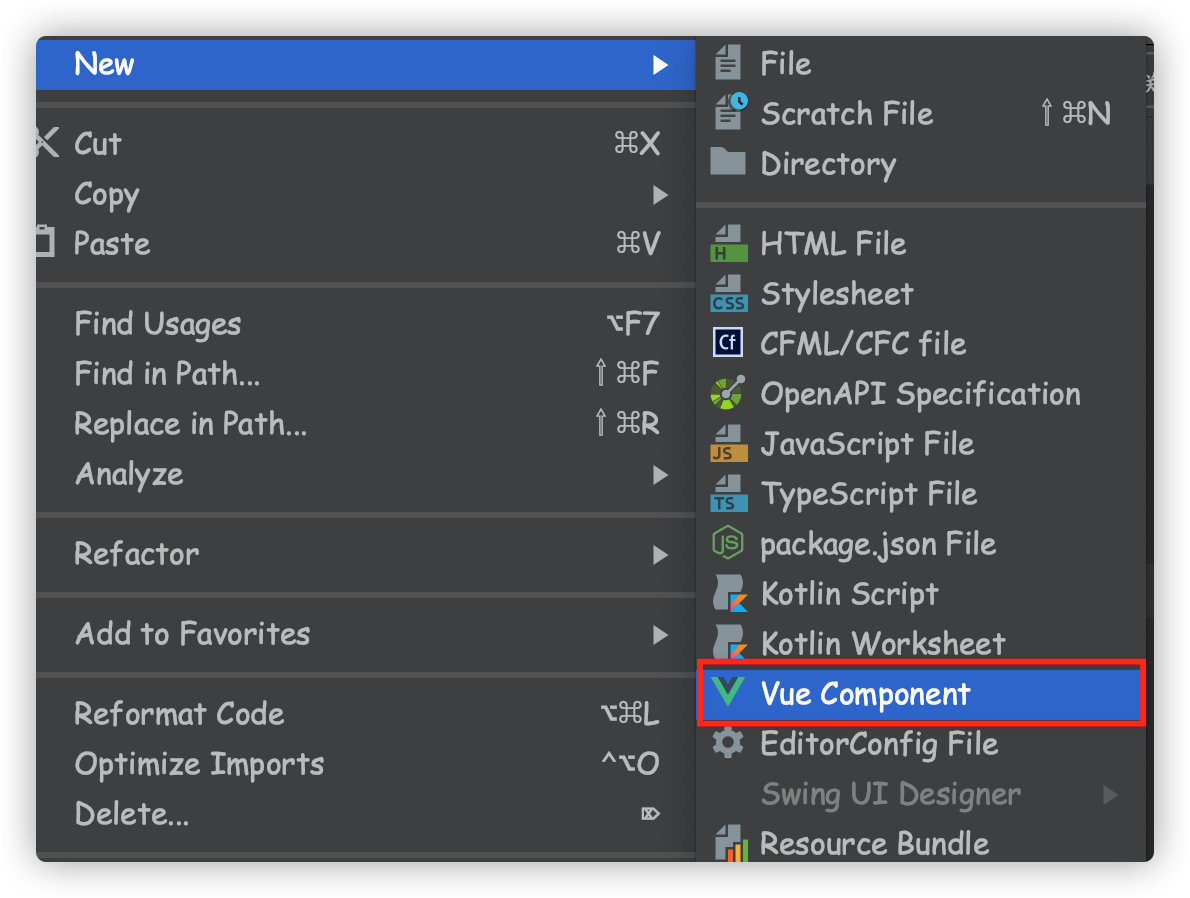
第一步: 创建一个vue component文件. 命名为app.vue
<template>

</template>

<script>
    export default {

    }
</script>

<style scoped></style>
我们看到vue模板包含三个部分, template, script和style
- template: 用来放模板部分的内容
- script: 用来存放脚本数据
- style: 用来存放样式
这就是一个模板了.
<template>
    <div class="background">
        <h2>{{message}}</h2>
        <h2>{{week}}</h2>
    </div>
</template>

<script>
    export default {
        name: "app",
        data() {
            return {
                message: "hello world!",
                week: "今天是3月第一周"
            }
        }
    }
</script>

<style scoped>
    .background {
        background-color: #085e7d;
    }
</style>
模板写好了, 接下来我们导入模板
第二步:导入模板
import app from "./vue/app.vue"

const comp1 = new Vue({
    el: "#app",
    template: '<comp1/>',
    components: {
        comp1
    }
})
第三步: 构建
npm run build
构建的时候报错了

因为我们引入了vue格式的文件, 所以需要安装vue类型的loader
第四步: 安装vue类型的loader
安装vue-loader和vue-template-compiler
npm install --save-dev vue-loader vue-template-compiler
第五步: 配置webpack.config.js
module: {
        rules: [
            {
                test: /.vue$/,
                use: ['vue-loader']
            }
        ]
    },
然后在执行npm run build
依然报错

这是因为vue-loader的版本过高引起的. vue13以后的版本都会要求安装一个plugin.
我们可以修改vue-loader的版本, 将其降低一点
"devDependencies": {
    "css-loader": "^2.1.1",
    "file-loader": "^2.0.0",
    "less": "^3.9.0",
    "less-loader": "^4.1.0",
    "style-loader": "^2.0.0",
    "url-loader": "^2.3.0",
    "vue-loader": "^13.0.0",
    "vue-template-compiler": "^2.6.12",
    "webpack": "^3.6.0"
  },
然后重新安装一下
npm install
安装完成以后, 再去执行npm run build, 就成功了

5. 在组件中引入其他组件
现在的目标, 我们在定义一个新的组件comp2, 然后在app.vue中引入comp2组件. 看看如何实现
第一步: 定义一个comp2.vue
<template>
    <div class="bg">
        <h2>我是第二个组件</h2>
    </div>
</template>

<script>
    export default {
        name: "Comp2",
        data() {
            return {
                message: "大家好, 欢迎来到第二组件区"
            }
        }
    }
</script>

<style scoped>
.bg {
    background: deeppink;
}
</style>
第二步: 在app.vue中引入comp2.vue
import comp2 from './Comp2.vue'
第三步: 将组件注册到new Vue()实例中
export default {
        name: "app",
        data() {
            return {
                message: "hello world!",
                week: "今天是3月第一周"
            }
        },
        components: {
            comp2
        }
    }
第四步: 调用comp2组件
<template>
    <div class="background">
        <h2>{{message}}</h2>
        <h2>{{week}}</h2>
        <div>
            <comp2></comp2>
        </div>
    </div>
</template>
第五步: 重新编译
npm run build
第六步: 查看效果