一、基本介绍
Quartz 2D是一个二维绘图引擎,Quartz 2D的API是C语言,来自CoreGraphics框架,没有面向对象的思想。
1.作用:绘制图形:线条、三角形、矩形、圆、弧等
绘制文字
绘制、生成图片(图形)
读取、生成PDF
截图、裁剪图片
自定义UI控件
2.图形上下文(Graphics Context):是一个CGContextRef类型的数据
图形上下文的作用:1.保存绘图信息、绘图状态
2.决定绘制的输出目标(绘制到什么地方,输出目标可以是PDF文件、Bitmap或者显示器的窗口上)
二、Quartz 2D基本图形绘制
1.线段、矩形、三角形的绘制
新建工程,新建 DrawLine 类继承UIView,在storyboard拖拽一个View,关联DrawLine类,在DrawLine中实现图形绘制代码
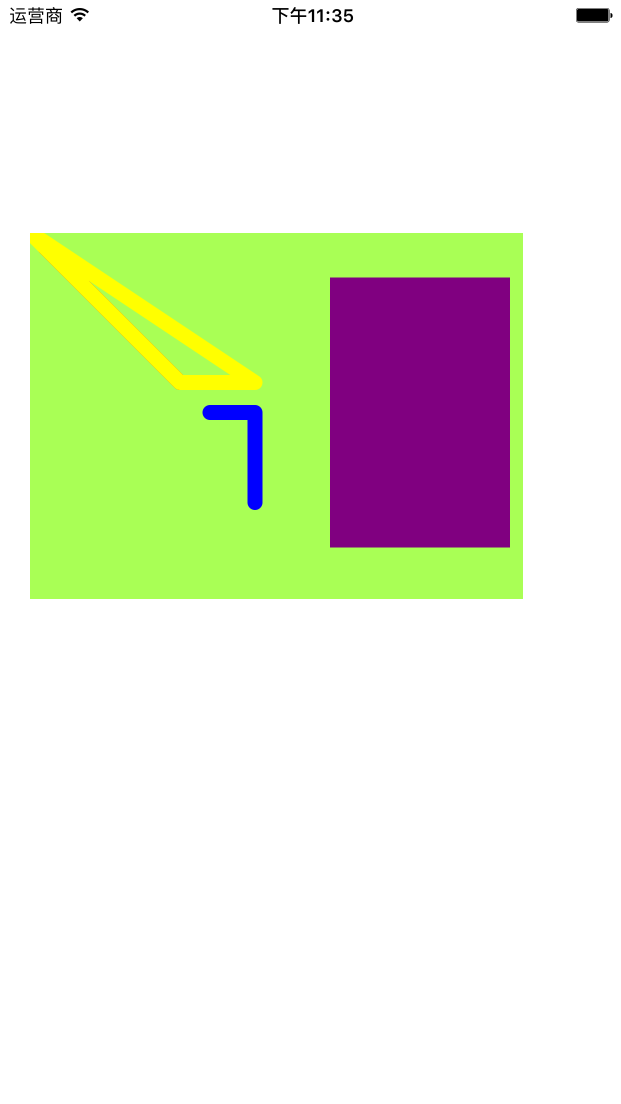
  1 #import "DrawLine.h"
  2
  3 @implementation DrawLine
  4
  5
  6 // Only override drawRect: if you perform custom drawing.
  7 // An empty implementation adversely affects performance during animation.
  8
  9
 10 //系统自动调用 drawRect 方法,当视图显示在屏幕上的时候调用,并且只会被调用一次
 11 //而当它的内容需要更新的时候,也会被调用,那个调用需要通过setNeedsDisplayInRect
 12 - (void)drawRect:(CGRect)rect {
 13
 14     //画一条线段
 15     drawline();
 16
 17     //画两条线段
 18     drawline2();
 19
 20     //画矩形
 21     drawR();
 22
 23     //画三角形
 24     drawTriangle();
 25
 26 }
 27
 28
 29 /** Quartz 2D的API是C语言,所以要用C的ff */
 30
 31 //画线
 32
 33 //画一条线段
 34 void drawline(){
 35     //1.获得图形上下文
 36     CGContextRef context = UIGraphicsGetCurrentContext();
 37
 38     //2.绘制图形
 39
 40     //2.1 设置线段的宽度
 41     //参数1:图形上下文
 42     //参数2:宽度
 43     CGContextSetLineWidth(context, 10);
 44
 45     //2.2 设置线条的颜色
 46     //空心的颜色
 47     CGContextSetRGBStrokeColor(context, 1, 0, 0, 1);
 48
 49     //2.3 设置起点
 50     //参数1:图形上下文
 51     //参数2:起点x坐标
 52     //参数3:起点y坐标
 53     CGContextMoveToPoint(context, 10, 10);
 54
 55     //画线(添加线条)
 56     CGContextAddLineToPoint(context, 100, 100);
 57
 58     //3.将绘制的图形显示到View上
 59     //以空心的方式画出
 60     CGContextStrokePath(context);
 61 }
 62
 63 //画两条线段
 64 void drawline2(){
 65     //获得图形上下文
 66     CGContextRef context = UIGraphicsGetCurrentContext();
 67
 68     //设置线段的宽度
 69     //参数1:图形上下文
 70     //参数2:宽度
 71     CGContextSetLineWidth(context, 10);
 72
 73
 74     //2条线条
 75     [[UIColor blueColor] set];
 76
 77     //设置线条头尾部的样式
 78     //参数2:头尾部的样式
 79     //kCGLineCapButt,线条头尾部比较大
 80     //kCGLineCapRound,线条头尾部圆形
 81     //kCGLineCapSquare,线条头尾部是方形
 82     CGContextSetLineCap(context, kCGLineCapRound);
 83
 84     //设置线段转折点样式
 85     //参数2:转折点样式
 86     //kCGLineJoinMiter,
 87     //kCGLineJoinRound,
 88     //kCGLineJoinBevel
 89     CGContextSetLineJoin(context, kCGLineJoinRound);
 90
 91     //设置起点
 92     CGContextMoveToPoint(context, 100, 100);
 93     //画线(添加线条)
 94     CGContextAddLineToPoint(context, 150, 120);
 95     CGContextAddLineToPoint(context, 150, 180);
 96     CGContextStrokePath(context);
 97 }
 98
 99 //画矩形,系统提供了方法
100 void drawR(){
101     //1.获得图形上下文
102     CGContextRef context = UIGraphicsGetCurrentContext();
103
104     //2.绘制四边形
105     //参数1:图形上下文
106     //参数2:CGRect rect
107     CGContextAddRect(context,  CGRectMake(200, 30, 120, 180));//这个系统提供的绘制四边形的方法,四边形的边会与x,y轴平行。我们可以通过旋转View,或者用CGContextAddLineToPoint方法自定义
108
109     //设置颜色
110     [[UIColor purpleColor] setFill];//实心颜色
111
112     //3.显示在View上
113     CGContextFillPath(context);//实心图案
114 }
115
116
117 //画三角形
118 void drawTriangle(){
119     //1.获取图形上下文
120     CGContextRef context = UIGraphicsGetCurrentContext();
121
122     //2.绘制三角形
123     //确定起点
124     CGContextMoveToPoint(context, 0, 0);
125     //添加线条
126     CGContextAddLineToPoint(context, 100, 100);
127     CGContextAddLineToPoint(context, 150, 100);
128
129     //调用系统提供的方法关闭路径
130     CGContextClosePath(context);
131
132     //设置一下颜色
133     [[UIColor yellowColor] set];
134
135     //显示到view上
136     CGContextStrokePath(context);
137
138 }
139
140
141 @end
以上代码输出样式:
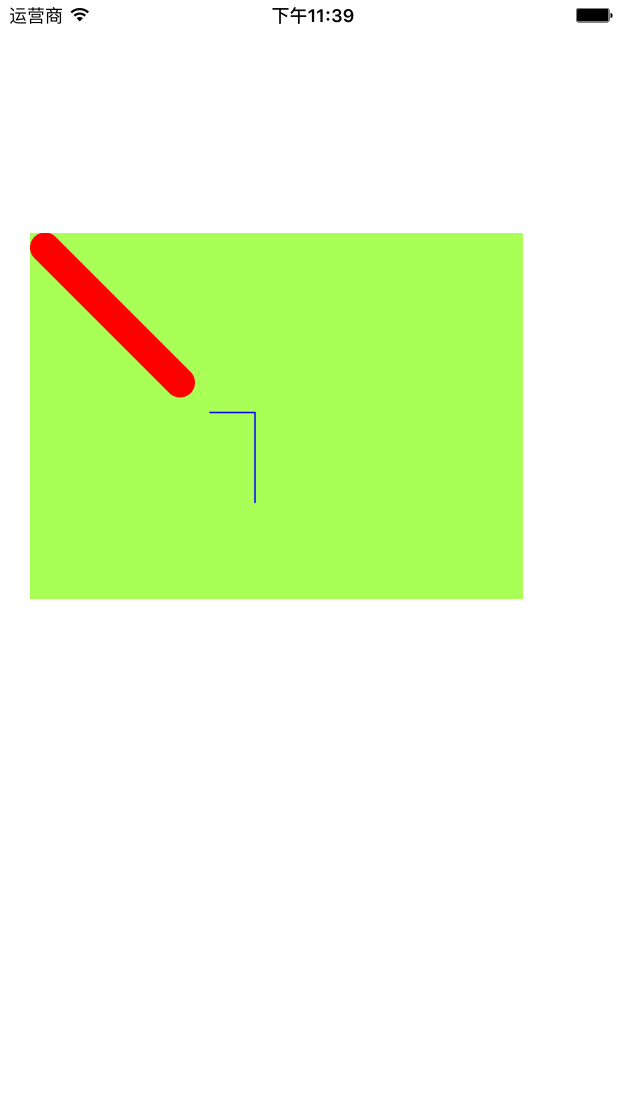
另外利用图形上下文栈,可以控制线条的样式,代码如下:
 1 //画一条线段
 2 void drawline(){
 3     //1.获得图形上下文
 4     CGContextRef context = UIGraphicsGetCurrentContext();
 5
 6     //将上下文拷贝一份放到栈中
 7     CGContextSaveGState(context);
 8
 9     //2.绘制图形
10     //第1条线
11     //2.1 设置线段的宽度
12     //参数1:图形上下文
13     //参数2:宽度
14     CGContextSetLineWidth(context, 20);
15
16     //设置线条头尾部的样式
17     CGContextSetLineCap(context, kCGLineCapRound);
18
19     //2.2 设置线条的颜色
20     //空心的颜色
21     CGContextSetRGBStrokeColor(context, 1, 0, 0, 1);
22
23     //2.3 设置起点
24     //参数1:图形上下文
25     //参数2:起点x坐标
26     //参数3:起点y坐标
27     CGContextMoveToPoint(context, 10, 10);
28
29     //画线(添加线条)
30     CGContextAddLineToPoint(context, 100, 100);
31
32     //3.将绘制的图形显示到View上
33     //以空心的方式画出
34     CGContextStrokePath(context);
35
36     //将图形上下文出栈,替换当前的上下文
37     CGContextRestoreGState(context);
38
39     //2条线条
40     [[UIColor blueColor] set];
41
42     //设置线条头尾部的样式
43     //参数2:头尾部的样式
44     //kCGLineCapButt,线条头尾部比较大
45     //kCGLineCapRound,线条头尾部圆形
46     //kCGLineCapSquare,线条头尾部是方形
47     CGContextSetLineCap(context, kCGLineCapRound);
48
49     //设置线段转折点样式
50     //参数2:转折点样式
51     //kCGLineJoinMiter,
52     //kCGLineJoinRound,
53     //kCGLineJoinBevel
54     CGContextSetLineJoin(context, kCGLineJoinRound);
55
56     //设置起点
57     CGContextMoveToPoint(context, 120, 120);
58     //画线(添加线条)
59     CGContextAddLineToPoint(context, 150, 120);
60     CGContextAddLineToPoint(context, 150, 180);
61     CGContextStrokePath(context);
62 }
图片效果:
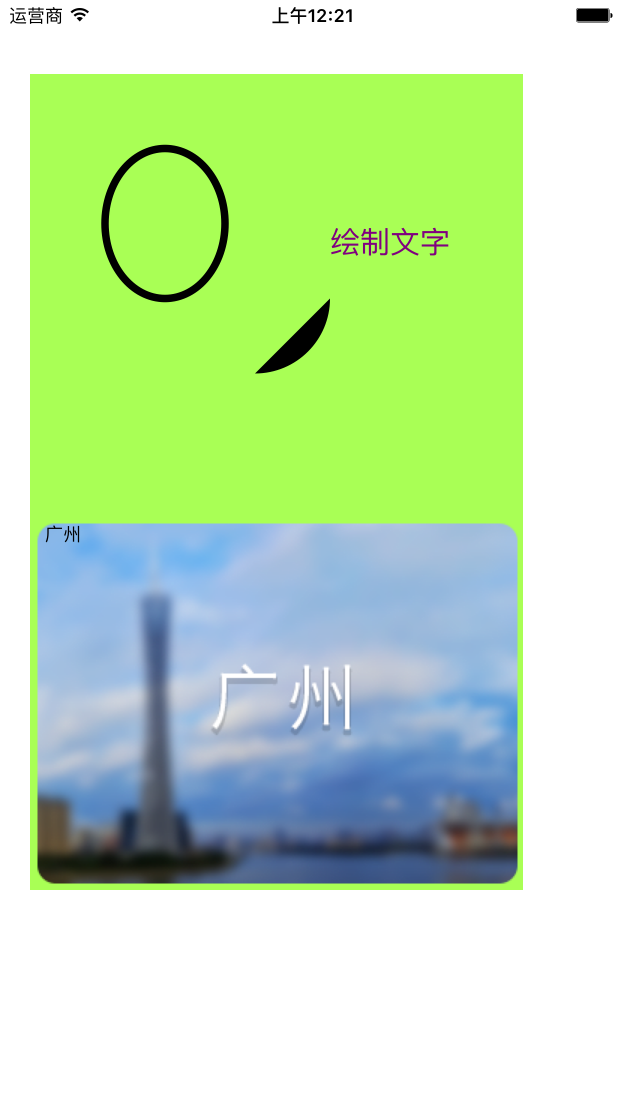
2.圆形、弧形、文字、图片的绘制
新建一个类 DrawCircle 继承 UIView ,把storyboard里的View关联该类,然后实现代码
  1 #import "DrawCircle.h"
  2
  3 //求弧度的方法
  4 CGFloat arc(CGFloat angle){
  5     return angle * (M_PI / 180);
  6 }
  7
  8 @implementation DrawCircle
  9
 10
 11 - (void)drawRect:(CGRect)rect {
 12
 13     //圆形
 14     drawCircle();
 15
 16     //画圆弧
 17     drawArc();
 18
 19     //文字
 20     drawText();
 21
 22     //图片
 23     //绘制图片
 24     drawImg();
 25 }
 26
 27 //圆形
 28 void drawCircle(){
 29     //1.获取图形上下文
 30     CGContextRef context = UIGraphicsGetCurrentContext();
 31
 32     //2.绘制图形
 33     //系统画椭圆的方法,如果把宽度和高度设为一样就是圆形了
 34     //参数1:图形上下文
 35     //参数2:CGRect rect
 36     CGContextAddEllipseInRect(context, CGRectMake(50, 50, 80, 100));
 37     //设置线条的宽度
 38     CGContextSetLineWidth(context, 5);
 39     //3.显示在View上
 40     CGContextStrokePath(context);
 41
 42 }
 43
 44 //弧形
 45 void drawArc(){
 46     //1.获取图形上下文
 47     CGContextRef context = UIGraphicsGetCurrentContext();
 48
 49     //2.绘制图形
 50     //系统提供画圆弧的方法
 51     //参数1:图形上下文
 52     //参数2:圆心所在的x坐标
 53     //参数3:圆心所在的y坐标
 54     //参数4:半径
 55     //参数5:开始的角度
 56     //参数6:结束的角度
 57     //参数7:旋转方向,1-->顺时针,0-->逆时针
 58     CGContextAddArc(context, 150, 150, 50, arc(0), arc(90), 0);
 59
 60     //3.显示
 61     CGContextFillPath(context);
 62 }
 63
 64 //绘制文字
 65 void drawText(){
 66
 67     NSString * str = @"绘制文字";
 68
 69     NSMutableDictionary * attributes = [NSMutableDictionary dictionary];
 70     attributes[NSFontAttributeName] = [UIFont systemFontOfSize:20];//设置文字大小
 71     attributes[NSForegroundColorAttributeName] = [UIColor purpleColor];//设置文字的颜色
 72
 73     //在这里中,绘制文字的方法是直接调用OC中的方法,所以不需要获得图形上下文,直接调用
 74     //参数1:文字的位置和宽高
 75     //参数2:字典
 76     [str drawInRect:CGRectMake(200, 100, 100, 100) withAttributes:attributes];
 77
 78 }
 79
 80 //绘制图片
 81 void drawImg(){
 82     //1.因为绘制图片也是调用OC的方法,所以不需要拿到图形上下文,只需要拿到图片即可
 83     //取得图片
 84     UIImage * img = [UIImage imageNamed:@"广州.png"];
 85
 86     //2.画图片
 87     [img drawAtPoint:CGPointMake(5, 300)];//在哪个点画图片
 88
 89     //3.该方法规定了图片的高度和宽度
 90 //    img drawInRect:CGRectMake(<#CGFloat x#>, <#CGFloat y#>, <#CGFloat width#>, <#CGFloat height#>)
 91
 92     //4.这个方法规定了 按图片高度和宽度来使用填充
 93 //    img drawAsPatternInRect:CGRectMake(<#CGFloat x#>, <#CGFloat y#>, <#CGFloat width#>, <#CGFloat height#>)
 94
 95     //在图片上绘制文字,即水印
 96     NSString * str = @"广州";
 97     [str drawInRect:CGRectMake(10, 300, 100, 40) withAttributes:nil];
 98 }
 99
100
101
102 @end
运行效果:
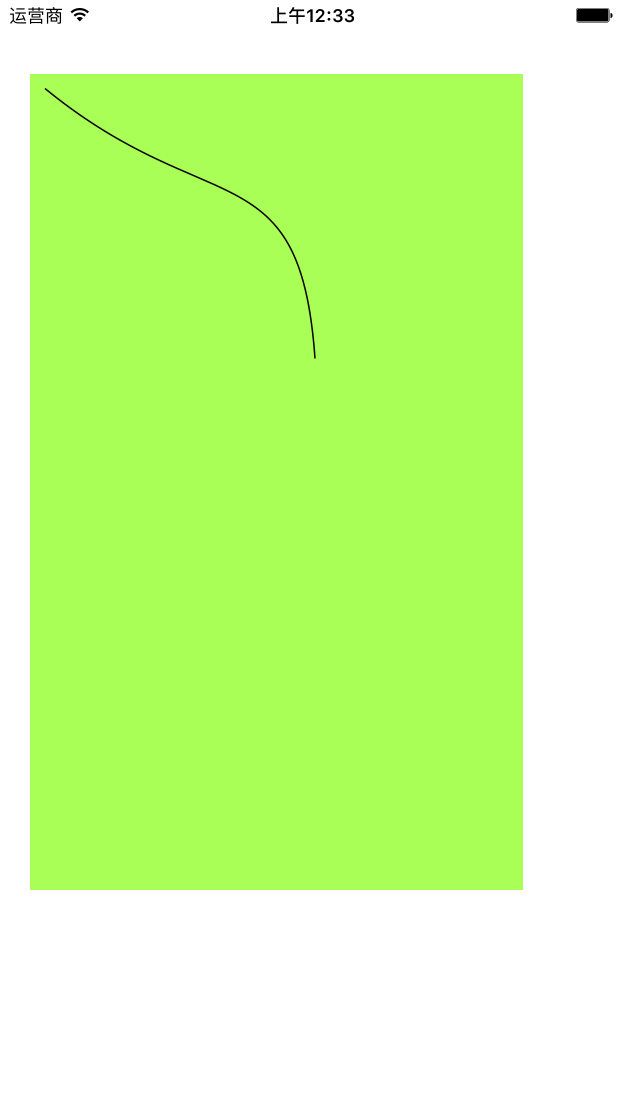
3.补充:贝塞尔曲线
贝塞尔曲线:是由线段和节点构成的,它的节点是可以移动的,线段就像橡皮筋一样随着节点和变化
示例代码:
 1 //贝塞尔曲线:是由线段和节点构成的,它的节点是可以移动的,线段就像橡皮筋一样随着节点和变化
 2 void drawBezier(){
 3     //1.取得图形上下文
 4     CGContextRef context = UIGraphicsGetCurrentContext();
 5
 6     //贝塞尔曲线有四个节点,一个起点,一个终点,还有两个控制点
 7
 8     //设置起点
 9     CGContextMoveToPoint(context, 10, 10);
10
11     //添加2个控制点
12     //参数1:图形上下文
13     //参数2:第一个控制点的x坐标
14     //参数3:第一个控制点的y坐标
15     //参数4:第二个控制点的x坐标
16     //参数5:第二个控制点的y坐标
17     //参数6:终点的x坐标
18     //参数7:终点的y坐标
19     CGContextAddCurveToPoint(context, 120, 100, 180, 50, 190, 190);
20
21     //系统中还有一个方法添加1个控制点
22     //参数1:图形上下文
23     //参数2:第一个控制点的x坐标
24     //参数3:第一个控制点的y坐标
25     //参数4:终点的x坐标
26     //参数5:终点的y坐标
27 //    CGContextAddQuadCurveToPoint(context, 150, 200, 200, 100);
28
29     //显示到View上
30     CGContextStrokePath(context);
31 }
运行效果:
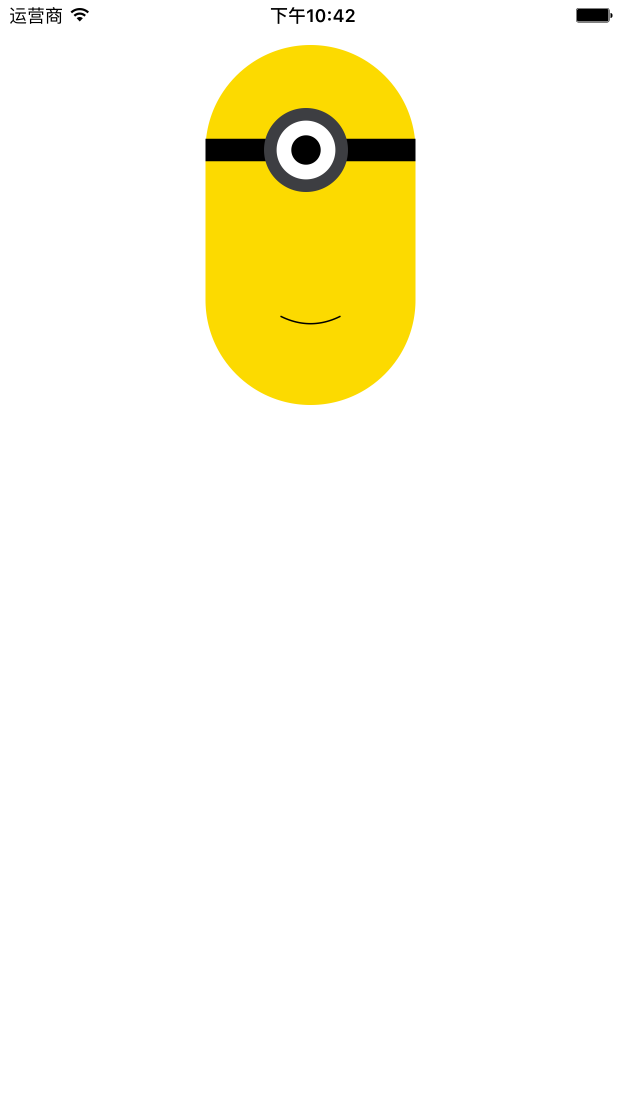
三、使用Quartz 2D绘制小黄人
在storyboard中的View关联创建的 DrawHuman 类,实现代码
  1 #import "DrawHuman.h"
  2
  3 //半径
  4 #define JKRadius 70
  5 //Y坐标
  6 #define JKTopY 100
  7 //颜色
  8 #define JKColor(r,g,b) [UIColor colorWithRed:(r)/255.0 green:(g)/255.0 blue:(b)/255.0 alpha:1]
  9
 10 @implementation DrawHuman
 11
 12
 13 // Only override drawRect: if you perform custom drawing.
 14 // An empty implementation adversely affects performance during animation.
 15 - (void)drawRect:(CGRect)rect {
 16
 17     //1.图形上下文
 18     CGContextRef context = UIGraphicsGetCurrentContext();
 19
 20     //画身体
 21     drawBody(context,rect);
 22
 23     //画嘴巴
 24     drawMouse(context,rect);
 25
 26     //画眼睛
 27     drawEyes(context,rect);
 28 }
 29
 30 //画身体
 31 void drawBody(CGContextRef context,CGRect rect){
 32     //1.上半圆的画法
 33     CGFloat topX = rect.size.width * 0.5;
 34     CGFloat topY = JKTopY;
 35     CGFloat topRadius = JKRadius;
 36     //圆心坐标,topX,topY
 37     //半径,topRadius
 38     //开始角度,0
 39     //结束角度,M_PI
 40     //方向,1顺时针
 41     CGContextAddArc(context, topX, topY, topRadius, 0, M_PI , 1);
 42
 43
 44     //2.向下延伸 的直线
 45     CGFloat middleX = topX - topRadius;//向下延伸的X坐标
 46     CGFloat middleH = JKTopY;//向下延伸的高度
 47     CGFloat middleY = JKTopY + 100;//Y轴的高度
 48     //添加一条直线
 49     CGContextAddLineToPoint(context, middleX, middleY);
 50
 51
 52     //3.下半圆
 53     CGFloat bottomX = topX;
 54     CGFloat bottomY = middleY;
 55     CGFloat bottomRadius = topRadius;
 56     CGContextAddArc(context, bottomX, bottomY, bottomRadius, M_PI, 0, 1);
 57
 58     //合并路径
 59     CGContextClosePath(context);
 60
 61
 62     //设置颜色
 63     [JKColor(252,218,0) set];
 64
 65     //显示在View上
 66     CGContextFillPath(context);
 67 }
 68
 69 //画嘴巴
 70 void drawMouse(CGContextRef context,CGRect rect){
 71     //设置一个控制点
 72     CGFloat controlX = rect.size.width * 0.5;
 73     CGFloat controlY = rect.size.height * 0.3;
 74
 75     //设置当前点
 76     // x y 轴的距离
 77     CGFloat marginX = 20;
 78     CGFloat marginY = 10;
 79     //当前点,即贝塞尔曲线的起点位置
 80     CGFloat currentX = controlX - marginX;
 81     CGFloat currentY = controlY - marginY;
 82     CGContextMoveToPoint(context, currentX, currentY);
 83
 84     //结束点
 85     CGFloat endX = controlX + marginX;
 86     CGFloat endY = currentY;
 87
 88     //贝塞尔曲线
 89     CGContextAddQuadCurveToPoint(context, controlX, controlY, endX, endY);
 90
 91     //设置颜色
 92     [[UIColor blackColor] set];
 93
 94     //显示到View上
 95     CGContextStrokePath(context);
 96 }
 97
 98 //画眼睛
 99 void drawEyes(CGContextRef context,CGRect rect){
100
101     //1.黑色绑带
102     CGFloat startX = rect.size.width * 0.5 - JKRadius;
103     CGFloat startY = JKTopY;
104     //将线段移动到起点
105     CGContextMoveToPoint(context, startX, startY);
106
107     //设置终点的值
108     CGFloat endx = startX + 2*JKRadius;
109     CGFloat endY = JKTopY;
110
111     //画线
112     CGContextAddLineToPoint(context, endx, endY);
113     CGContextSetLineWidth(context, 15);
114     [[UIColor blackColor] set];
115
116     //显示到View上
117     CGContextStrokePath(context);
118
119     //灰色镜框
120     [JKColor(61,62,66) set];
121     CGFloat kuangRadius = JKRadius * 0.4;
122     CGFloat kuangY = startY;
123     CGFloat kuangX = rect.size.width * 0.5 - kuangRadius;
124     CGContextAddArc(context, kuangX + 25, kuangY, kuangRadius, 0, M_PI * 2, 0);
125     CGContextFillPath(context);
126
127     //里面的白色框
128     [[UIColor whiteColor] set];
129     CGFloat whiteRadius = kuangRadius * 0.7;
130     CGFloat whiteY = kuangY;
131     CGFloat whiteX = kuangX;
132     CGContextAddArc(context, whiteX + 25, whiteY, whiteRadius, 0, M_PI * 2, 0);
133     CGContextFillPath(context);
134
135     //眼睛
136     [[UIColor blackColor]set];
137     CGFloat blackRadius = whiteRadius * 0.5;
138     CGFloat blackX = whiteX;
139     CGFloat blackY = whiteY;
140     CGContextAddArc(context, blackX + 25, blackY, blackRadius, 0, M_PI * 2, 0);
141     CGContextFillPath(context);
142
143 }
144
145
146 @end
运行效果: