1、概述:给一条大MSDN的链接关于Stopwatch类最详细的教程 ,然后看着教程自己手动敲一边,加深映象,好记性不如烂键盘,哈哈,开个玩笑!
2、类位置:这个类在哪里,这个是重点,虽然C#IDE很强大,但是我们还是得简单的了解下。通过一段代码来说明:
using System;
namespace System.Diagnostics{
public class Stopwatch:System.Object
{
}
}
是不是一目了然!
3、类属性介绍
下面是Stopwatch类的所有的属性以及属性的用法以及每个属性会配上一段代码实例来阐述这个属性到底是怎么用的:
Elapsed 表示当前实例(线程)测量出的总运行时间
public TimeSpan Elapsed{get;} //该属性只读
using System;
using System.Threading;
using System.Diagnostics;
namespace Mulithreading{
    class StopwatchStudy{
        static void Main(string[] args){
           Stopwatch sw=new Stopwatch();
           sw.Start();//开始计时
           Thread.Sleep(3000);
           sw.Stop();//计时结束
           TimeSpan ts=sw.Elapsed;//获取当前实例(主线程)总共的运行时间
           string Elapsed=string.Format("{0:00}:{1:00}:{2:00}:{3:00}",ts.Hours,ts.Minutes,ts.Seconds,ts.Milliseconds);//转换成字符串"{0:00}"表示对应的变量值以2位显示
           Console.Write(Elapsed);
        }
    }
}
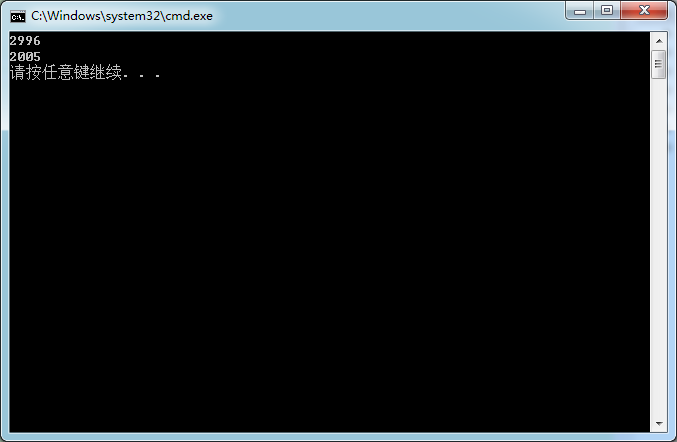
ElapsedMillseconds 获取当前实例(线程)的总运行时间(以毫秒为单位) 返回值类型为long;
using System;
using System.Threading;
using System.Diagnostics;
namespace Mulithreading
{
    class StopwatchStudy
    {
        static void Main(string[] args)
        {
            Stopwatch sw = new Stopwatch();
            sw.Start();//开始计时
            Thread.Sleep(3000);
            sw.Stop();//计时结束
            long ts = sw.ElapsedMilliseconds;
            Console.WriteLine(ts);
            sw.Restart();
            Thread.Sleep(2000);
            sw.Stop();
            long ts2 = sw.ElapsedMilliseconds;
            Console.WriteLine(ts2);
        }
    }
}

ElapsedTicks 一个只读长整型,表示当前实例测量得出的计时器刻度总数。
isRunning 返回一个bool值表示计时器是否正在运行,同样也是只读
4、方法介绍
Start() 这里就不做代码演示了,最基础的
Stop() 上同
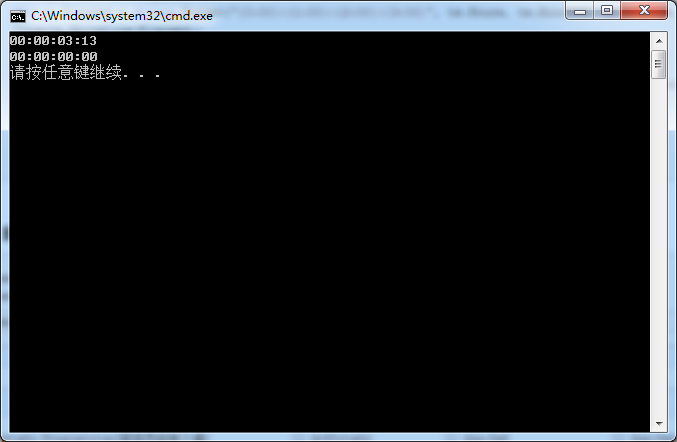
Rsest() 方法 停止时间间隔测量,将运行时间重置为0
代码如下:
using System;
using System.Threading;
using System.Diagnostics;
namespace Mulithreading
{
    class StopwatchStudy
    {
        static void Main(string[] args)
        {
            Stopwatch sw = new Stopwatch();
            sw.Start();//开始计时
            Thread.Sleep(3000);
            sw.Stop();//计时结束
            TimeSpan ts = sw.Elapsed;
            string Elapsed = string.Format("{0:00}:{1:00}:{2:00}:{3:00}", ts.Hours, ts.Minutes, ts.Seconds, ts.Milliseconds);
            Console.WriteLine(Elapsed);
            sw.Reset();//重置时间
            TimeSpan ts2 = sw.Elapsed;//获取重置之后的总运行时间
            string Elapsed1 = string.Format("{0:00}:{1:00}:{2:00}:{3:00}", ts2.Hours, ts2.Minutes, ts2.Seconds, ts2.Milliseconds);
            Console.WriteLine(Elapsed1);
        }
    }
}

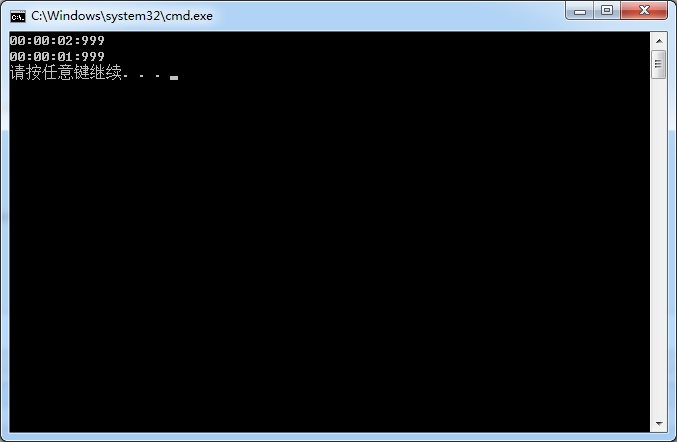
ReStart() 重置时间之后在开始重新测量时间相当于ReSet之后在Start
using System;
using System.Threading;
using System.Diagnostics;
namespace Mulithreading
{
    class StopwatchStudy
    {
        static void Main(string[] args)
        {
            Stopwatch sw = new Stopwatch();
            sw.Start();//开始计时
            Thread.Sleep(3000);
            sw.Stop();//计时结束
            TimeSpan ts = sw.Elapsed;
            string Elapsed = string.Format("{0:00}:{1:00}:{2:00}:{3:00}", ts.Hours, ts.Minutes, ts.Seconds, ts.Milliseconds);
            Console.WriteLine(Elapsed);
            sw.Restart();
            Thread.Sleep(2000);
            sw.Stop();
            TimeSpan ts2 = sw.Elapsed;
            string Elapsed1 = string.Format("{0:00}:{1:00}:{2:00}:{3:00}", ts2.Hours, ts2.Minutes, ts2.Seconds, ts2.Milliseconds);
            Console.WriteLine(Elapsed1);
        }
    }
}

StartNew() 将运行时间设置为0,然后开始测量运行时间,也就是重新开始一个新的实例,通过类名调用(上面的其他例子都通过对象实例调用)
需要注意的是该方法是Stopwatch的静态方法
public static void StartNew()