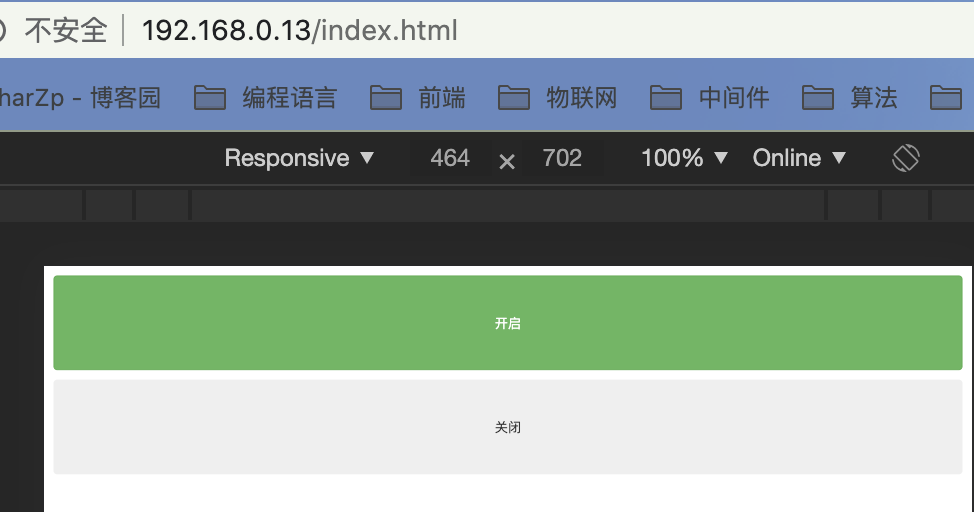
以ESP8266为服务端,当用户的访问设备与ESP8266在同一个Wi-Fi下时,可以通过ESP8266的IP地址来访问控制灯光开关的页面。
使用方法:
第一步、将下面的代码修改过Wi-Fi名称和密码后烧录到ESP中;
第二步、打开串口调试工具,查看该ESP的IP地址;

第三步、访问 IP地址/index.html 页面,通过页面的两个按钮控制灯的开关;

代码如下:
#include <ESP8266WiFi.h>

const char* ssid = "Wi-Fi名称";
const char* password = "Wi-Fi密码";

WiFiServer server(80);

void setup() {
  pinMode(D4, OUTPUT);
  Serial.begin(115200);
  delay(10);

  WiFi.begin(ssid, password);

  while (WiFi.status() != WL_CONNECTED) {
    delay(500);
    Serial.print(".");
  }
  Serial.println("");
  Serial.println("WiFi connected");

  // Start the server
  server.begin();
  Serial.println("Server started");

  // Print the IP address
  Serial.println(WiFi.localIP());
}

void loop() {
  // Check if a client has connected
  WiFiClient client = server.available();
  if (!client) {
    return;
  }

  // Wait until the client sends some data
  Serial.println("new client connected");
  while(!client.available()){
    delay(1);
  }

  // Read the first line of the request
  String req = client.readStringUntil('
');
  Serial.println(req);

  client.flush();
  // Prepare the response
  String page = "HTTP/1.1 200 OK
Content-Type: text/html

<!DOCTYPE HTML>
<html>
<head>";
  page += "<meta charset='utf-8'>";
  page += "
<link href='https://cdn.staticfile.org/twitter-bootstrap/3.3.7/css/bootstrap.min.css' rel='stylesheet'>";
  page += "
<script src='https://cdn.bootcdn.net/ajax/libs/jquery/3.5.1/jquery.js'></script>";
  page += "
</head>
<body style='padding:10px'>";
  page += "
<button class='btn btn-success zp-open' style='100%; height:100px;'>开启</button><br>";
  page += "
<button class='btn zp-close' style='100%; margin-top:10px; height:100px;'>关闭</button>";
  page += "
<script>
";
  page += "$('.zp-open').click(function(){$.post('/gpio/1', {}, function(){alert('开启成功');})});";
  page += "
";
  page += "$('.zp-close').click(function(){$.post('/gpio/0', {}, function(){alert('关闭成功');})});";
  page += "
</script>";
  page += "
</body>
</html>
";

  String json = "HTTP/1.1 200 OK
Content-Type: text/html

 success";

  // Match the request
  int val;
  if (req.indexOf("/gpio/0") != -1) {
    val = 0;
  } else if (req.indexOf("/gpio/1") != -1) {
    val = 1;
  } else if (req.indexOf("/index.html") != -1) {
    client.print(page);
    return;
  } else {
    Serial.println("invalid request");
    client.stop();
    return;
  }
  digitalWrite(D4, val);
  client.print(json);
  delay(1);
}