authentication
认证是干嘛的已经不需要多说。而前后端未分离的认证基本是用cookie或者session,前后端分离的一般用token
全局认证
先创建一个django项目,项目名为drfversion,app名为DRF,设置简单的数据库表,并迁移:
model:

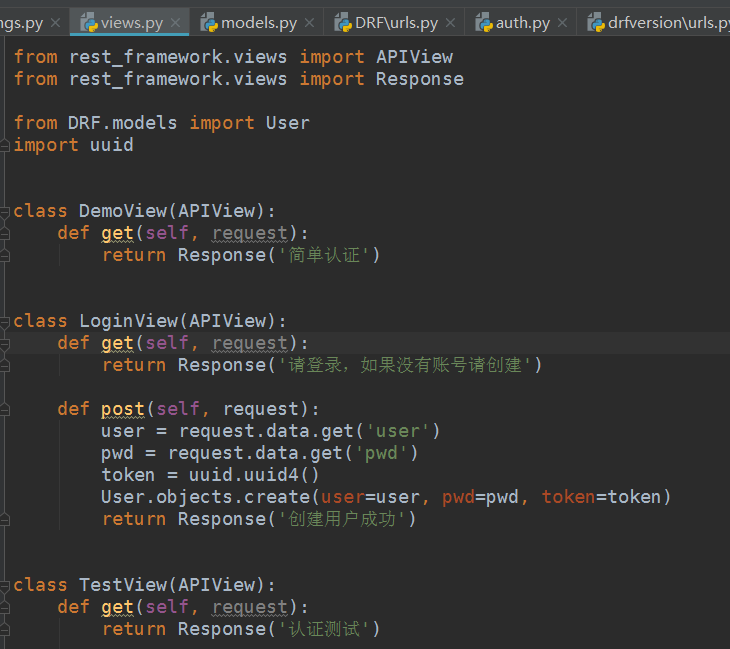
view:
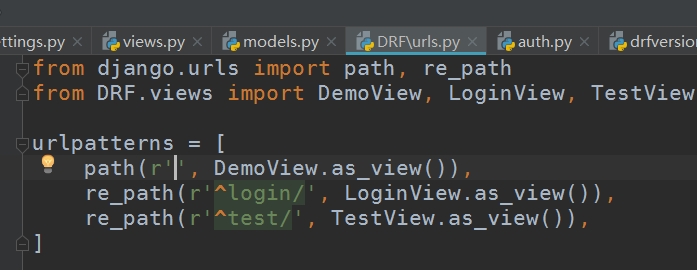
url:

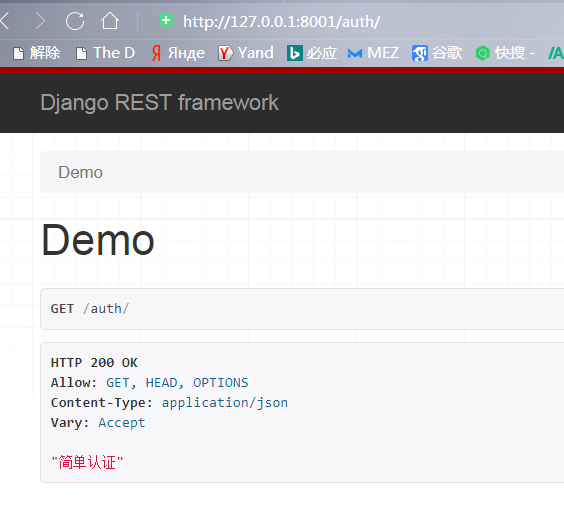
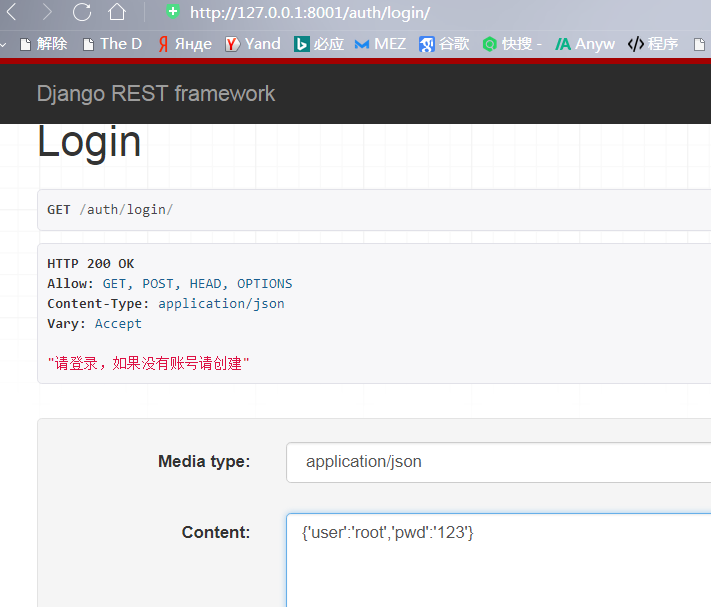
启动项目,访问测试,先创建一个用户root,密码123:


写入一个认证类,读源码可知,自定义的认证类必须要定义这个方法:

在项目根目录创建一个utils文件夹,创建auth文件,定义一个认证类,必须继承BaseAuthentication,注意我的代码获取token是通过url的条件而得,通过request.query_params获取:

同样,要应用此认证类,读源码可知,需要在配置文件里作如下配置:

重启项目测试:
第一次,没有带值

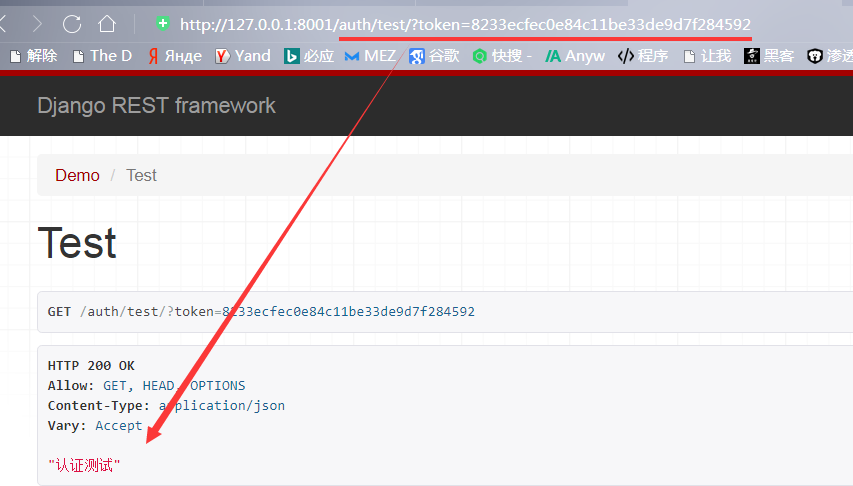
从数据库中复制该token值再次测试:

跳转到其他网页查看:
login登录页面也可以:

但是按开发逻辑,登录页面不应该验证token对吧?还没登录怎么能有token呢?是吧,所以不带token:

但是不带token此时又提示必须要带,所以这就是全局认证的弊端
局部认证
先在配置文件里注释掉全局认证:

在视图类里导入自定义的认证类,在需要认证的视图类添加一个类属性 :authentication_classes = [自定义认证类名,]
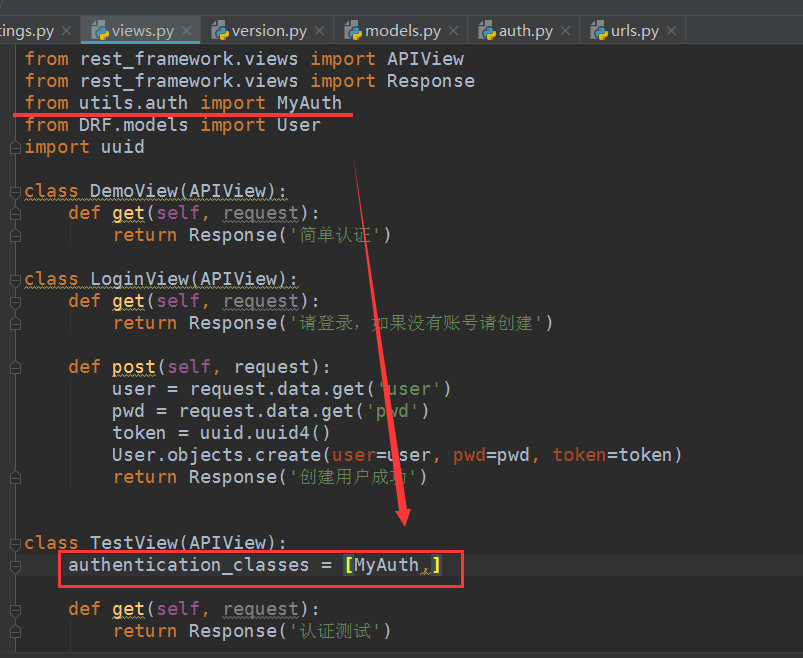
其他都不用修改,启动测试:
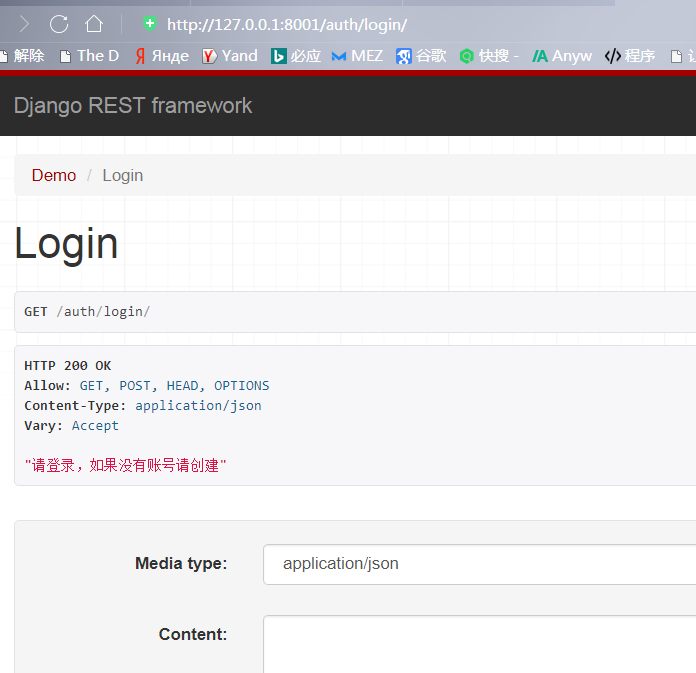
登录页面:
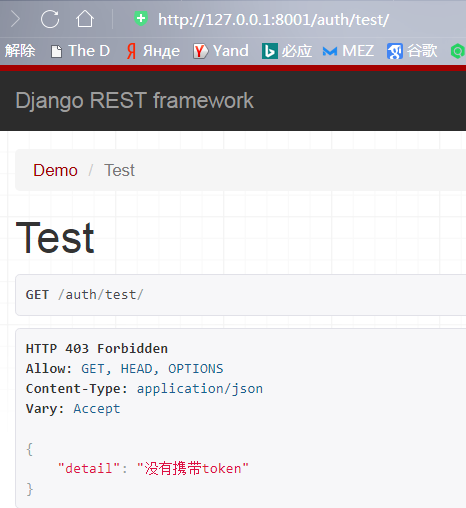
test页面,不带token:
test页面,带上token:

DRF自带的认证类
看了源码,其实还有很多DRF自带的认证类,都在rest_framework.authentication里面,也可以根据需求直接选用DRF自带的认证类

以上项目主要的代码:
根url:
from django.contrib import admin
from django.urls import path, re_path, include

urlpatterns = [
    path('admin/', admin.site.urls),
    re_path(r'auth/', include(('DRF.urls'))),
]
app下url:
from django.urls import path, re_path
from DRF.views import DemoView, LoginView, TestView

urlpatterns = [
    path(r'', DemoView.as_view()),
    re_path(r'^login/', LoginView.as_view()),
    re_path(r'^test/', TestView.as_view()),
]
view:

from rest_framework.views import APIView
from rest_framework.views import Response
from utils.auth import MyAuth
from DRF.models import User
import uuid

class DemoView(APIView):
    def get(self, request):
        return Response('简单认证')

class LoginView(APIView):
    def get(self, request):
        return Response('请登录,如果没有账号请创建')

    def post(self, request):
        user = request.data.get('user')
        pwd = request.data.get('pwd')
        token = uuid.uuid4()
        User.objects.create(user=user, pwd=pwd, token=token)
        return Response('创建用户成功')


class TestView(APIView):
    authentication_classes = [MyAuth,]

    def get(self, request):
        return Response('认证测试')
model:
from django.db import models


# Create your models here.

class User(models.Model):
    user = models.CharField(max_length=32, verbose_name='用户名', null=True, blank=True)
    pwd = models.CharField(max_length=32, verbose_name='密码', null=True, blank=True)
    token = models.UUIDField()
auth:
from rest_framework.authentication import BaseAuthentication
from rest_framework.exceptions import AuthenticationFailed
from DRF.models import User


class MyAuth(BaseAuthentication):
    def authenticate(self, request):
        # 认证token
        token = request.query_params.get('token')
        if not token:
            raise AuthenticationFailed('没有携带token')
        user_obj = User.objects.filter(token=token)
        if not user_obj:
            raise AuthenticationFailed('非法用户')
        return (user_obj, token)
settings:
REST_FRAMEWORK = {
    "DEFAULT_VERSIONING_CLASS": "utils.version.MyVersion",
    "DEFAULT_VERSION": "v1",
    "ALLOWED_VERSIONS": "v1, v2",
    "VERSION_PARAM": "ver",
    # "DEFAULT_AUTHENTICATION_CLASSES": ["utils.auth.MyAuth", ]
}
总结
- 自定义类,必须继承DRF定义好的认证类,需要用什么就继承什么,且根据继承的类不同,必须要定义该基类里明确规定需要的方法或者属性
- 全局认证直接在配置文件里的REST_FRAMEWORK里配置字段"DEFAULT_AUTHENTICATION_CLASSES": ["自定义认证类", ],配置全局认证即表示每个页面都要验证
- 局部认证直接在需要认证的视图类添加属性authentication_classes = [自定义认证类名,]
- 认证可以再url添加条件参数,可以再请求头,可以再请求体,根据认证类的认证类型,在认证时做不同的处理
