Netty的入门基本使用流程代码,不做具体分析。使用版本为Netty 4.x版本。
服务端调用示例:
绑定端口号为8080端口
 1 package com.cllover;
 2
 3 import com.sun.webkit.EventLoop;
 4 import io.netty.bootstrap.ServerBootstrap;
 5 import io.netty.channel.ChannelFuture;
 6 import io.netty.channel.EventLoopGroup;
 7 import io.netty.channel.nio.NioEventLoopGroup;
 8 import io.netty.channel.socket.nio.NioServerSocketChannel;
 9
10 public class Server {
11     public static void main(String[] args) {
12
13         //接受连接
14         EventLoopGroup parentEventLoopGroup = new NioEventLoopGroup();
15         EventLoopGroup childEventLoopGroup = new NioEventLoopGroup();
16
17         try {
18             //入口
19             ServerBootstrap serverBootstrap = new ServerBootstrap();
20             serverBootstrap.group(parentEventLoopGroup,childEventLoopGroup).
21                 channel(NioServerSocketChannel.class).childHandler(new Init());
22         //绑定运行端口
23             ChannelFuture channelFuture = serverBootstrap.bind(8080).sync();
24             channelFuture.channel().closeFuture().sync();
25         } catch (InterruptedException e) {
26             e.printStackTrace();
27         }finally {
28             //连接关闭
29             parentEventLoopGroup.shutdownGracefully();
30             childEventLoopGroup.shutdownGracefully();
31         }
32
33
34     }
35 }
Init:初始化类
 1 package com.cllover;
 2
 3 import io.netty.channel.ChannelInitializer;
 4 import io.netty.channel.ChannelPipeline;
 5 import io.netty.channel.socket.SocketChannel;
 6 import io.netty.handler.codec.http.HttpServerCodec;
 7
 8 public class Init extends ChannelInitializer<SocketChannel> {
 9
10     @Override
11     protected void initChannel(SocketChannel ch) throws Exception {
12         ChannelPipeline pipeline = ch.pipeline();
13         pipeline.addLast("httpServerCode",new HttpServerCodec());
14         pipeline.addLast("httpServerHandler",new HttpServerHandler());
15
16     }
17 }
HttpServerHandler:自定义服务端处理器
1 package com.cllover; 2 3 import io.netty.buffer.ByteBuf; 4 import io.netty.buffer.Unpooled; 5 import io.netty.channel.ChannelHandlerContext; 6 import io.netty.channel.SimpleChannelInboundHandler; 7 import io.netty.handler.codec.http.*; 8 import io.netty.util.CharsetUtil; 9 10 11 public class HttpServerHandler extends SimpleChannelInboundHandler<HttpObject> { 12 13 /* 14 * 数据处理方法 15 * */ 16 @Override 17 protected void channelRead0(ChannelHandlerContext ctx, HttpObject msg) throws Exception { 18 19 if (msg instanceof HttpRequest) { 20 ByteBuf byteBuf = Unpooled.copiedBuffer("Hello World!", CharsetUtil.UTF_8); 21 FullHttpResponse fullHttpResponse = new DefaultFullHttpResponse(HttpVersion.HTTP_1_1, 22 HttpResponseStatus.OK, byteBuf); 23
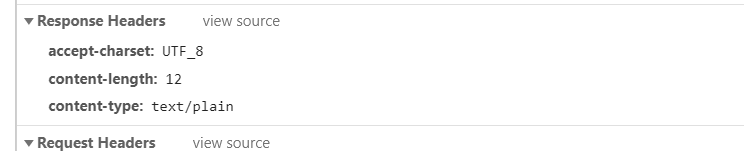
//加入头信息 24 fullHttpResponse.headers().set(HttpHeaderNames.ACCEPT_CHARSET, "UTF_8"); 25 fullHttpResponse.headers().set(HttpHeaderNames.CONTENT_TYPE, "text/plain"); 26 fullHttpResponse.headers().set(HttpHeaderNames.CONTENT_LENGTH, byteBuf.readableBytes()); 27 ctx.writeAndFlush(fullHttpResponse); 28 } 29 } 30 }
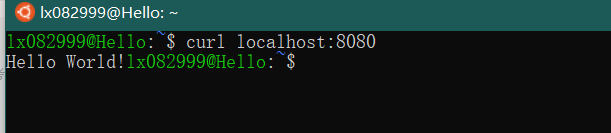
运行方式:
- 在本机windows/子系统linux上输入:curl locaclhost:8080
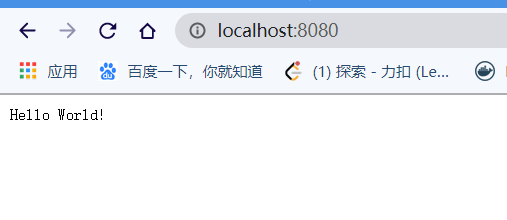
2.在浏览器输入localhost:8080
头信息: