WordPress 是一款常用的搭建个人博客网站软件,该软件使用 PHP 语言和 MySQL 数据库开发。
以 Linux 系统 CentOS 6.x 为例,搭建一个 WordPress 个人站点,具体操作方法如下:
1、搭建LNMP环境,即Linux、Nginx、Mysql、Php
2、初始化环境配置
3、WordPress下载、安装、配置
1、搭建LNMP环境,Nginx、Mysql、Php
yum install nginx mysql-server php php-mysql php-fpm -y
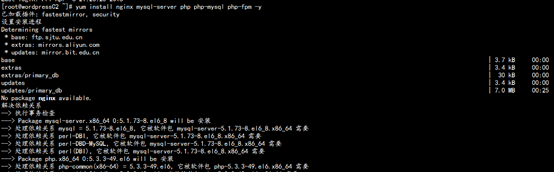

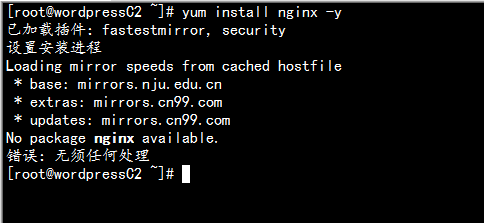
如上图,没有显示Nginx安装成功,单独yum安装,显示没有可用的nginx包,这是因为没有Nginx的yum源
解决方法:下载安装nginx源
rpm -ivh http://nginx.org/packages/centos/6/noarch/RPMS/nginx-release-centos-6-0.el6.ngx.noarch.rpm
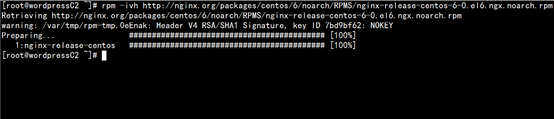
再次yum安装
yum install nginx -y
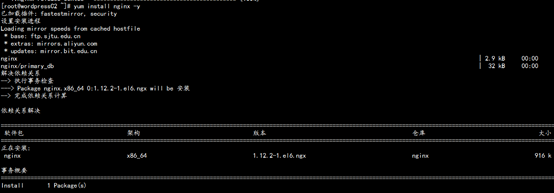
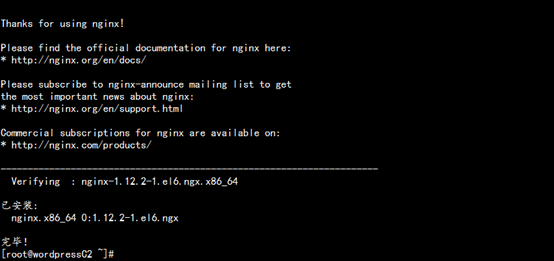
成功!!!
2、初始化环境配置
2.1 配置nginx
vim /etc/nginx/conf.d/default.conf


server {
    listen       80;
    root         /usr/share/nginx/html;
    server_name  localhost;

    #charset koi8-r;
    #access_log  /var/log/nginx/host.access.log  main;

    location / {
        index  index.php index.html index.htm;
    }

    #error_page  404              /404.html;

    # redirect server error pages to the static page /50x.html
    #
    error_page   500 502 503 504  /50x.html;
    location = /50x.html {
        root   /usr/share/nginx/html;
    }

    # proxy the PHP scripts to Apache listening on 127.0.0.1:80
    #
    #location ~ .php$ {
    #    proxy_pass   http://127.0.0.1;
    #}

    # pass the PHP scripts to FastCGI server listening on 127.0.0.1:9000
    #
    location ~ .php$ {
        fastcgi_pass   127.0.0.1:9000;
        fastcgi_index  index.php;
        fastcgi_param  SCRIPT_FILENAME  $document_root$fastcgi_script_name;
        include        fastcgi_params;
    }

    # deny access to .htaccess files, if Apache's document root
    # concurs with nginx's one
    #
    #location ~ /.ht {
    #    deny  all;
    #}
}
启动Nginx服务
/etc/init.d/nginx start
测试:打开浏览器,输入linux系统的IP
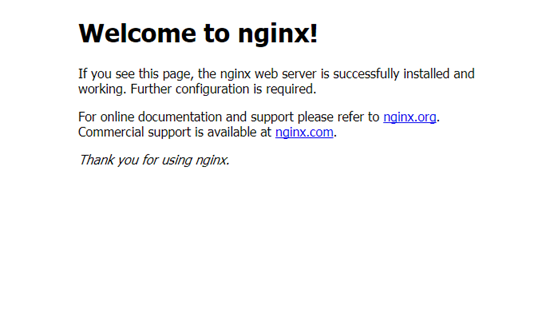
成功!!!
2.2 配置php
/etc/php-fpm start
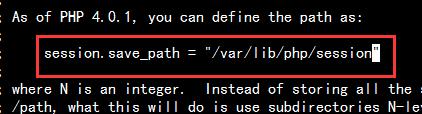
vim /etc/php.ini
/session.save_path 定位到相应行
session.save_path = "/var/lib/php/session"
更改/var/lib/php/session目录下所有文件的属组都改成 nginx 和 nginx
chown -R nginx: /var/lib/php/session/

验证环境变量
vim /usr/share/nginx/html/index.php

测试:打开浏览器,输入linux系统的:IP/index.php

成功!!!
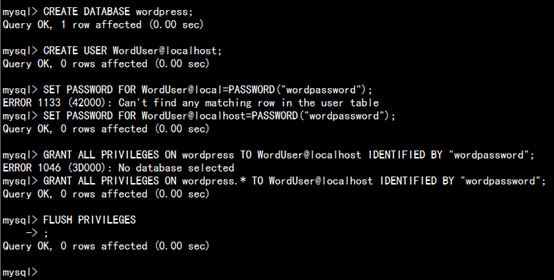
2.3 配置mysql
登录mysql
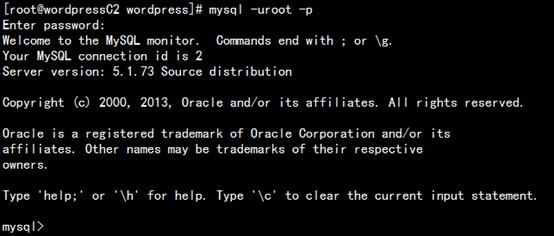
创建数据库,创建用户名密码及其权限
3、WordPress下载、安装、配置
下载软件
cd
wget https://cn.wordpress.org/wordpress-4.9.4-zh_CN.tar.gz
解压、配置
tar -zxvf wordpress-4.9.4-zh_CN.tar.gz
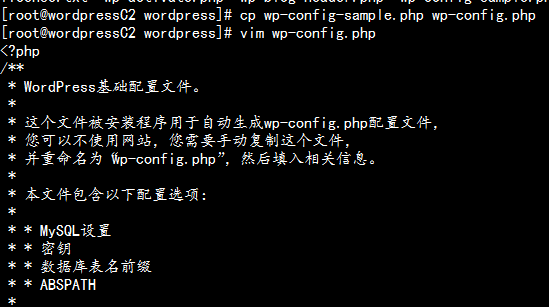
cd wordpress
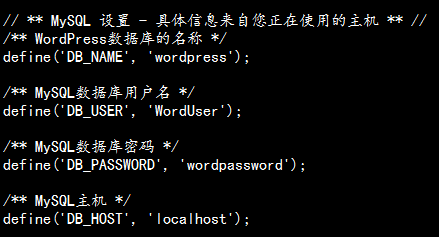
cp wp-config-sample.php wp-config.php
vim wp-config.php
将WordPress站点文件拷贝到/usr/share/nginx/html/目录下
cp -r ./* /usr/share/nginx/html/
测试:打开浏览器,输入linux系统的IP
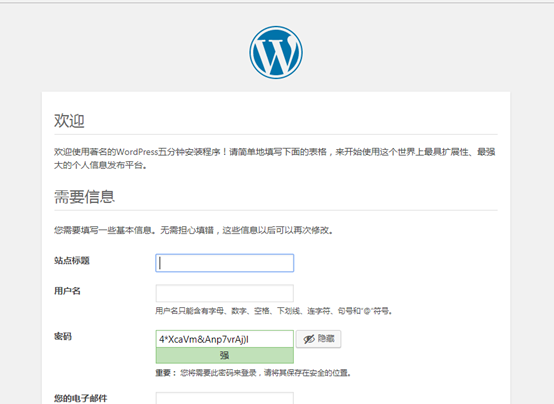
搭建成功,后续注册安装即可使用!!!
PS:添加开机自启动
chkconfig | grep -E "nginx |php-fpm|mysqld"|awk -F ' ' '{print "chkconfig",$1,"on"}'|bash