<!DOCTYPE html>
<html>
<head>
    <title>三里屯SOHO商盟</title>
    <meta charset="utf-8" />
    <meta name="viewport" content="width=device-width, initial-scale=1.0, minimum-scale=1.0, maximum-scale=1.0, user-scalable=no"/>
    <meta name="apple-mobile-web-app-status-bar-style" content="black"/>
    <meta name="apple-mobile-web-app-title" content=""/>
    <meta name="apple-touch-fullscreen" content="YES" />
    <meta name="apple-mobile-web-app-capable" content="yes" />
    <meta name="format-detection" content="telephone=no" />
    <meta name="HandheldFriendly" content="true" />
    <meta http-equiv="x-rim-auto-match" content="none" />
    <meta name="format-detection" content="telephone=no" />
    <!-- This is to force IE into the latest version mode, overriding 'compatibility' mode which breaks everything. -->
    <meta http-equiv="X-UA-Compatible" content="IE=edge" />
    <link rel="apple-touch-icon-precomposed" sizes="57x57" href="" />
    <link rel="apple-touch-icon-precomposed" sizes="72x72" href="" />
    <link rel="apple-touch-icon-precomposed" sizes="114x114" href="" />
    <link rel="apple-touch-icon-precomposed" sizes="144x144" href="" />
    <link href="assets/css/reset.css" rel="stylesheet" type="text/css">
    <link href="assets/css/base.css" rel="stylesheet" type="text/css">
    <!--feature-->
    <link href="assets/css/index.css" rel="stylesheet" type="text/css">
    <style type="text/css">

    </style>
</head>
<body>
    <section class="doc doc--bg2" style=" 400px;height: 400px;margin: 0 auto;border-radius: 400px;position: relative;border:1px#efefef solid;overflow: hidden;">
        <canvas id="canvas" style="position:absolute;top:0px;left:0px;z-index:1;"></canvas>
    </section>
    <script type="text/javascript">
        var canvas = document.getElementById('canvas');
        var ctx = canvas.getContext('2d');
        canvas.width = canvas.parentNode.offsetWidth;
        canvas.height = canvas.parentNode.offsetHeight;


        //如果浏览器支持requestAnimFrame则使用requestAnimFrame否则使用setTimeout
        window.requestAnimFrame = (function(){
        return  window.requestAnimationFrame       ||
                window.webkitRequestAnimationFrame ||
                window.mozRequestAnimationFrame    ||
                function( callback ){
                  window.setTimeout(callback, 1000 / 60);
                };
        })();
        //初始角度为0
        var step = 0;
        //定义三条不同波浪的颜色
        var lines = ["rgba(0,222,255, 0.2)",
                       "rgba(157,192,249, 0.2)",
                       "rgba(0,168,255, 0.2)"];
        function loop(){
            ctx.clearRect(0,0,canvas.width,canvas.height);
            step++;
            //画3个不同颜色的矩形
            for(var j = lines.length - 1; j >= 0; j--) {
                ctx.fillStyle = lines[j];
                //每个矩形的角度都不同,每个之间相差45度
                var angle = (step+j*45)*Math.PI/180;
                var deltaHeight   = Math.sin(angle) * 50;
                var deltaHeightRight   = Math.cos(angle) * 50;
                ctx.beginPath();
                ctx.moveTo(0, canvas.height/2+deltaHeight);
                ctx.bezierCurveTo(canvas.width /2, canvas.height/2+deltaHeight-50, canvas.width / 2, canvas.height/2+deltaHeightRight-50, canvas.width, canvas.height/2+deltaHeightRight);
                ctx.lineTo(canvas.width, canvas.height);
                ctx.lineTo(0, canvas.height);
                ctx.lineTo(0, canvas.height/2+deltaHeight);
                ctx.closePath();
                ctx.fill();
            }
            requestAnimFrame(loop);
        }
        loop();
    </script>
</body>
</html>
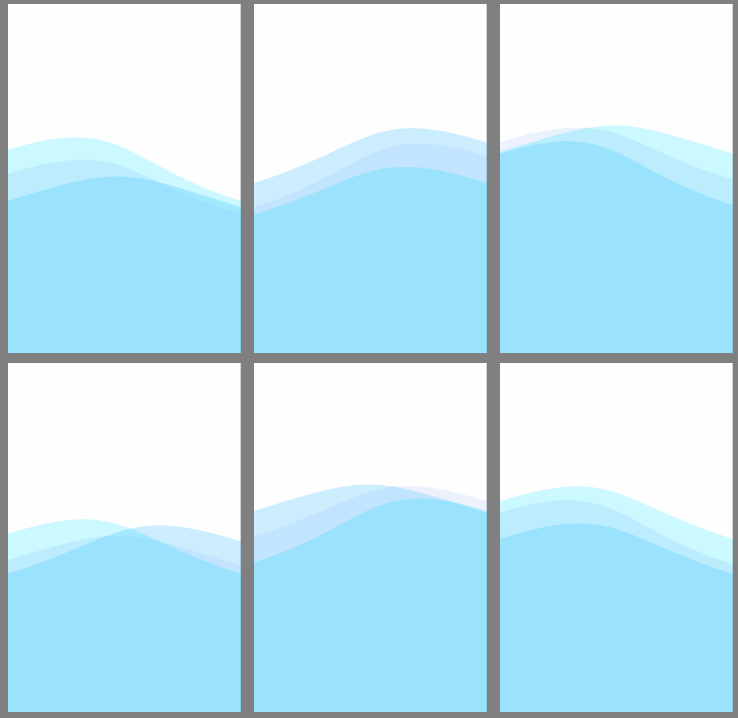
首先来看下效果图。
要实现这样的动画普通的CSS3是鞭长莫及了,只能使用Canvas。好在使用canvas也非常简单。
Step1.
新建一个画布(<canvas>)元素,并放在在所有按钮和logo的下方以免遮挡前面的元素。
|
1
|
<canvas id="canvas" style="position:absolute;top:0px;left:0px;z-index:1;"></canvas> |
将Canvas的宽高设定成其父元素的宽高,以充满他的父元素。也可以直接使用window.innerHeight,window.innerWidth。使其充满整个屏幕。
|
1
2
3
4
|
var canvas = document.getElementById('canvas');var ctx = canvas.getContext('2d');canvas.width = canvas.parentNode.offsetWidth;canvas.height = canvas.parentNode.offsetHeight; |
Step2.
在画布中画一个充满半个屏幕的矩形。
我们只需要找到矩形的四个定点的坐标,使用Canvas的绘制路径并填充这个路径。四个点分别是:
(0, 画布高度t/2)
(画布宽度, 画布高度t/2)
(画布宽度 画布高度t/2)
(0, 画布高度t/2)
注意:坐标的(0,0)在画布的左上角。
|
1
2
3
4
5
6
7
8
9
10
11
12
13
14
15
16
17
18
|
//填充颜色ctx.fillStyle = "rgba(0,222,255, 0.2)";//开始绘制路径ctx.beginPath();//左上角ctx.moveTo(0, canvas.height/2);//右上角ctx.lineTo(canvas.width, canvas.height/2);//右下角ctx.lineTo(canvas.width, canvas.height);//左下角ctx.lineTo(0, canvas.height);//左上角ctx.lineTo(0, canvas.height/2);//闭合路径ctx.closePath();//填充路径ctx.fill(); |
运行代码:
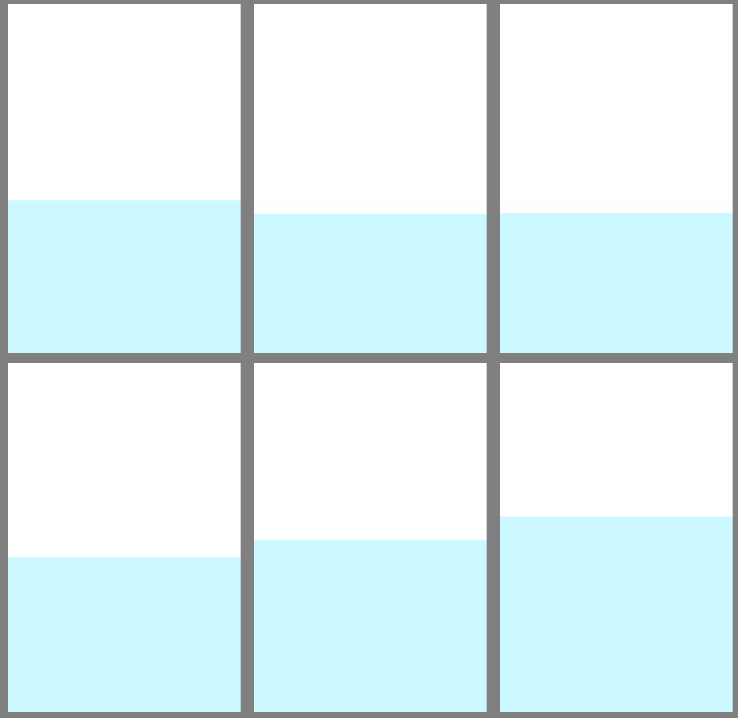
Step3.
让矩形动起来。要做动画我们需要持续的清空画布并重新绘制新的矩形,就像电影每秒播放24张图片。我们新建一个loop函数,用来绘制每一帧的图像,并使用requestAnimFrame来告诉浏览器每一帧都要使用loop来绘制。
|
1
2
3
4
5
6
7
8
9
10
11
12
13
|
//如果浏览器支持requestAnimFrame则使用requestAnimFrame否则使用setTimeoutwindow.requestAnimFrame = (function(){return window.requestAnimationFrame || window.webkitRequestAnimationFrame || window.mozRequestAnimationFrame || function( callback ){ window.setTimeout(callback, 1000 / 60); };})();function loop(){ requestAnimFrame(loop);}loop(); |
把之前绘制矩形的代码放到loop中,并在绘制矩形的代码之前清空画布中所有的图形。
|
1
2
3
4
5
6
7
8
9
10
11
12
13
14
15
|
function loop(){ //清空canvas ctx.clearRect(0,0,canvas.width,canvas.height); //绘制矩形 ctx.fillStyle = "rgba(0,222,255, 0.2)"; ctx.beginPath(); ctx.moveTo(0, canvas.height/2); ctx.lineTo(canvas.width, canvas.height/2); ctx.lineTo(canvas.width, canvas.height); ctx.lineTo(0, canvas.height); ctx.lineTo(0, canvas.height/2); ctx.closePath(); ctx.fill(); requestAnimFrame(loop);} |
接下来我们更改每一帧中的矩形的高度来模拟波浪的形态,波浪其实是在波峰与波谷之间做周期性运动。我们假设波峰与波谷间都是50px,那么矩形的高度的变化值应该在-50px到50px之间。为了达到周期性的效果我们采用正弦函数sin(x),因为不管x值怎么变化sin(x)的值始终在-1与1之间。我们新建一个变量 var step =0 使其在每一帧中自增,表示每一帧角度增加一度,并用Math.sin()取他的正弦值。JS中的sin使用的弧度值,我们需要把step转换成弧度值,var angle = step*Math.PI/180; 取角度的正弦值乘以50得到了矩形高度的变化量。将变化量加在矩形的左上与右上两个顶点的y坐标上。
|
1
2
3
4
5
6
7
8
9
10
11
12
13
14
15
16
17
18
19
20
21
22
|
//初始角度为0var step = 0;function loop(){ ctx.clearRect(0,0,canvas.width,canvas.height); ctx.fillStyle = "rgba(0,222,255, 0.2)"; //角度增加一度 step++; //角度转换成弧度 var angle = step*Math.PI/180; //矩形高度的变化量 var deltaHeight = Math.sin(angle) * 50; ctx.beginPath(); //在矩形的左上与右上两个顶点加上高度变化量 ctx.moveTo(0, canvas.height/2+deltaHeight); ctx.lineTo(canvas.width, canvas.height/2+deltaHeight); ctx.lineTo(canvas.width, canvas.height); ctx.lineTo(0, canvas.height); ctx.lineTo(0, canvas.height/2+deltaHeight); ctx.closePath(); ctx.fill(); requestAnimFrame(loop);} |
运行代码:
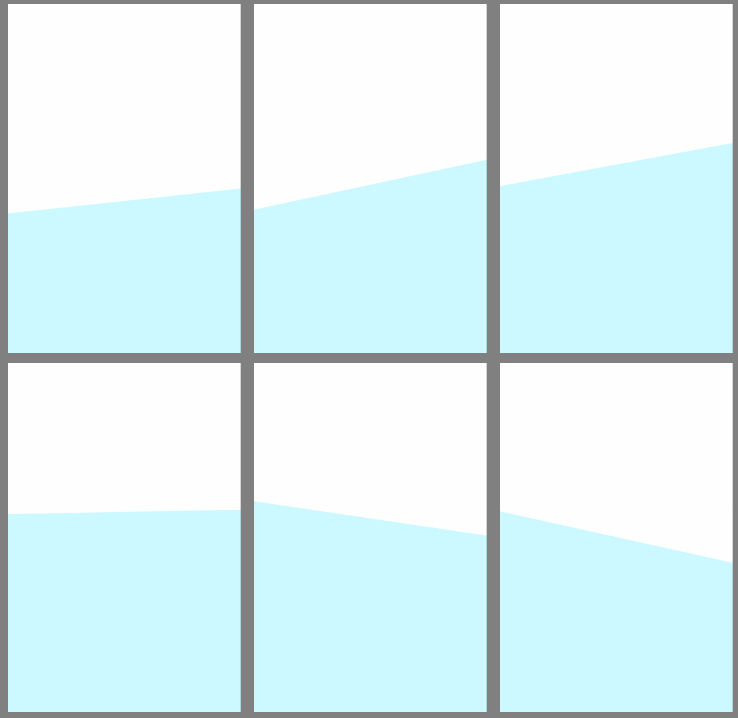
将右上顶点的变化值改为角度的余弦,使其左右不同步。var deltaHeightRight = Math.cos(angle) * 50;
|
1
2
3
4
5
6
7
8
9
10
11
12
13
14
15
16
17
18
19
20
21
22
23
24
|
//初始角度为0var step = 0;function loop(){ ctx.clearRect(0,0,canvas.width,canvas.height); ctx.fillStyle = "rgba(0,222,255, 0.2)"; //角度增加一度 step++; //角度转换成弧度 var angle = step*Math.PI/180; //矩形高度的变化量 var deltaHeight = Math.sin(angle) * 50; //矩形高度的变化量(右上顶点) var deltaHeightRight = Math.cos(angle) * 50; ctx.beginPath(); ctx.moveTo(0, canvas.height/2+deltaHeight); //右上顶点 ctx.lineTo(canvas.width, canvas.height/2+deltaHeightRight); ctx.lineTo(canvas.width, canvas.height); ctx.lineTo(0, canvas.height); ctx.lineTo(0, canvas.height/2+deltaHeight); ctx.closePath(); ctx.fill(); requestAnimFrame(loop);} |
运行代码:
Step4
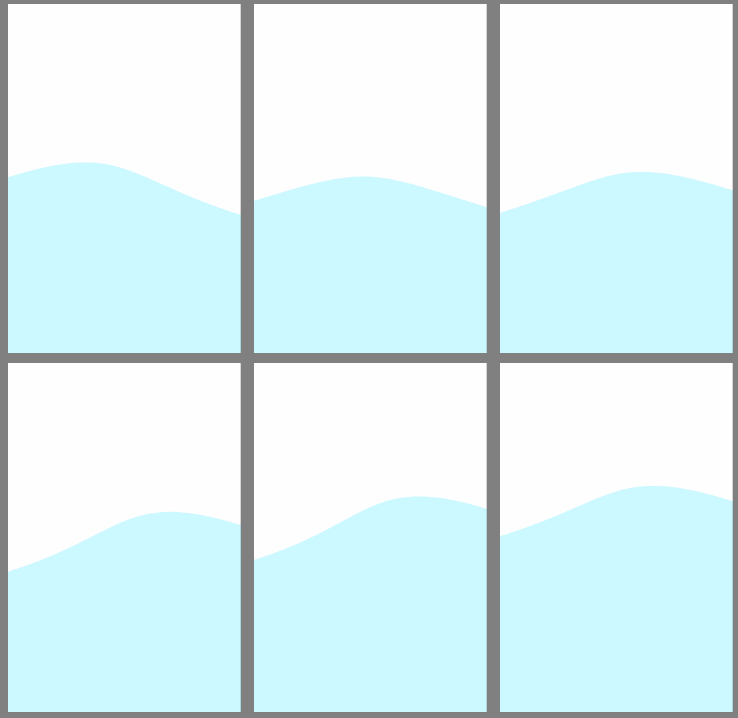
将矩形的顶上的边变成曲线。
在上面的代码中我们用lineTo来绘制矩形的边,为了要绘制曲线我们需要
bezierCurveTo(cpX1, cpY1, cpX2, cpY2, x, y)
函数。绘制的起点是矩形的左上顶点,结束点为右上顶点。bezierCurveTo函数的参数中(cpX1,cpY1)与(cpX2,cpY2)分别是起点与结束点的控制点,(x,y)为结束点。我们将两个控制点的x值设定在画布的正中心,y值在起始点与终点的y值上面减去50;(canvas.width /2, canvas.height/2+deltaHeight-50),(canvas.width / 2,canvas.height/2+deltaHeightRight-50),可以根据效果调整。
|
1
2
3
4
5
6
7
8
9
|
ctx.beginPath();ctx.moveTo(0, canvas.height/2+deltaHeight);//ctx.lineTo(canvas.width, canvas.height/2+deltaHeightRight);//画曲线ctx.bezierCurveTo(canvas.width /2, canvas.height/2+deltaHeight-50, canvas.width / 2, canvas.height/2+deltaHeightRight-50, canvas.width, canvas.height/2+deltaHeightRight);ctx.lineTo(canvas.width, canvas.height);ctx.lineTo(0, canvas.height);ctx.lineTo(0, canvas.height/2+deltaHeight);ctx.closePath(); |
运行代码:
Step5
一个波浪画好了。我们只需要同时画3个不同颜色的波浪,并且使不同波浪的角度不同就可以得到效果图中的效果了。
|
1
2
3
4
5
6
7
8
9
10
11
12
13
14
15
16
17
18
19
20
21
22
23
24
25
|
//定义三条不同波浪的颜色var lines = ["rgba(0,222,255, 0.2)", "rgba(157,192,249, 0.2)", "rgba(0,168,255, 0.2)"];function loop(){ ctx.clearRect(0,0,canvas.width,canvas.height); step++; //画3个不同颜色的矩形 for(var j = lines.length - 1; j >= 0; j--) { ctx.fillStyle = lines[j]; //每个矩形的角度都不同,每个之间相差45度 var angle = (step+j*45)*Math.PI/180; var deltaHeight = Math.sin(angle) * 50; var deltaHeightRight = Math.cos(angle) * 50; ctx.beginPath(); ctx.moveTo(0, canvas.height/2+deltaHeight); ctx.bezierCurveTo(canvas.width /2, canvas.height/2+deltaHeight-50, canvas.width / 2, canvas.height/2+deltaHeightRight-50, canvas.width, canvas.height/2+deltaHeightRight); ctx.lineTo(canvas.width, canvas.height); ctx.lineTo(0, canvas.height); ctx.lineTo(0, canvas.height/2+deltaHeight); ctx.closePath(); ctx.fill(); } requestAnimFrame(loop);} |
运行代码:
Step6
添加好按钮与logo的HTML代码就大功告成了。


