echarts是我们项目中常用的插件,在这要封装一个echarts组件,在项目中能够复用
我们先安装依赖
npm install echarts
安装成功以后在main.js中引入
import echart from 'echarts'
Vue.prototype.$echarts = echart
在components文件夹下创建c-bar文件夹,c-bar文件夹创建c-bar.vue以及index.js文件

c-bar.vue文件写入
<template>
    <div class="bar">
      <div :id="id" class="bar_canvas"></div>
    </div>
</template>
<script>
export default {
  name: "c-bar",
  props: ["propData", "id"],
  data() {
    return {
      myChart: null
    };
  },
  mounted() {
    if (this.id) {
      let myChart = this.$echarts.init(document.getElementById(this.id));
      this.myChart = myChart;
      this.myChart.setOption(this.propData);
    }
  }
};
</script>
<style scoped lang="scss">
.bar {
   100%;
  height: 100%;
  position:absolute;
}
.bar_canvas {
   100%;
  height: 100%;
}
</style>
index.js文件写入
import cBar from './c-bar.vue';

cBar.install = function (Vue) {
    Vue.component(cBar.name, cBar);
};
export default cBar;
然后在main.js中引入组件
import cBar from '@/components/c-bar';
cBar.install(Vue)
这样我们就可以全局使用组件了
我们在使用时
<template>
<div>
<div class="bar">
<c-bar :propData="dataArr" id="canvans" class="bar_canvas"></c-bar>
</div>
<div class="bar1">
<c-bar :propData="option" id="can_view" class="bar_canvas1"></c-bar>
</div>
</div>
</template>
<script>
export default {
data() {
return {
myChart: null,
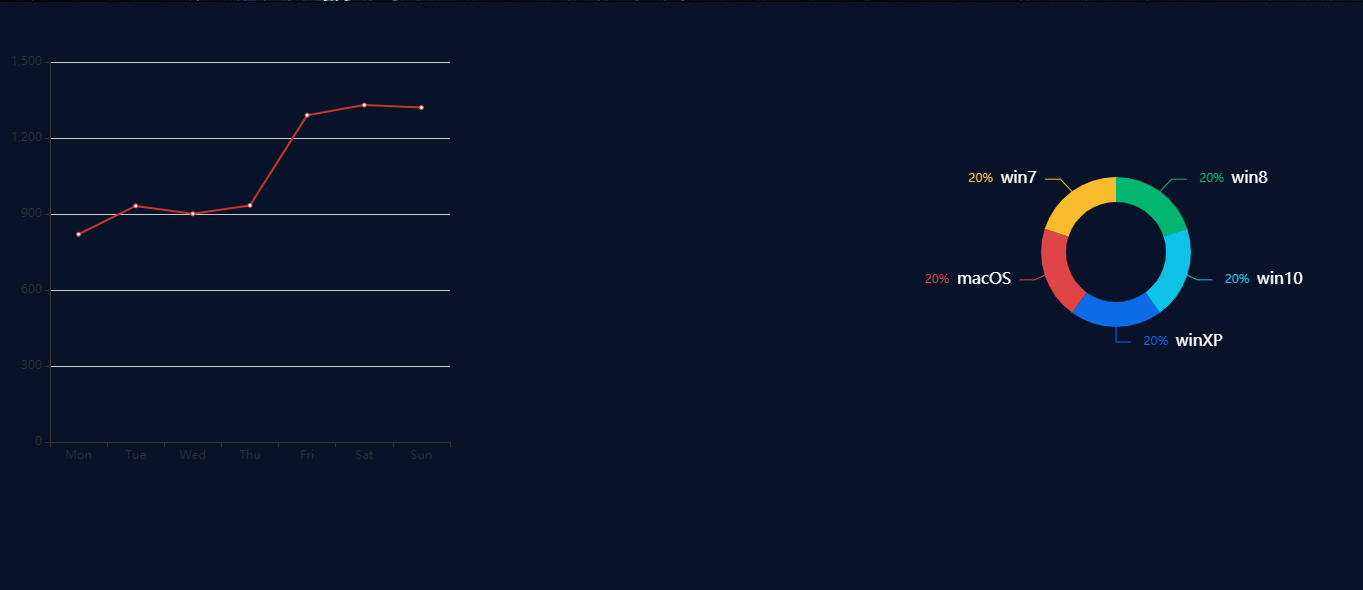
option: {
xAxis: {
type: 'category',
data: ['Mon', 'Tue', 'Wed', 'Thu', 'Fri', 'Sat', 'Sun']
},
yAxis: {
type: 'value'
},
series: [{
data: [820, 932, 901, 934, 1290, 1330, 1320],
type: 'line'
}]
},
dataArr: {
tooltip: {
trigger: "item",
formatter: "{b}: {c} ({d}%)"
},
series: [
{
name: "",
type: "pie",
radius: ["20%", "30%"],
label: {
formatter: " {per|{d}%} {b|{b}} ",
rich: {
b: {
color:"#fff",
fontSize: 16,
lineHeight: 33
},
per: {
padding: [2, 4],
borderRadius: 2
}
}
},
data: [
{
value: 20,
name: "win8",
itemStyle: { normal: { color: "#02B672" } } //设置圆环的颜色
},
{
value: 20,
name: "win10",
itemStyle: { normal: { color: "#0FC2E7" } }
},
{
value: 20,
name: "winXP",
itemStyle: { normal: { color: "#0C6CE8" } }
},
{
value: 20,
name: "macOS",
itemStyle: { normal: { color: "#DF4546" } }
},
{
value: 20,
name: "win7",
itemStyle: { normal: { color: "#F7BB2D" } }
}
]
}
]
}
};
}
};
</script>
<style lang="scss">
.bar {
500px;
height: 500px;
position: absolute;
top: 0;
right: 0;
}
.bar1 {
500px;
height: 500px;
position: absolute;
top: 0;
left: 0;
}
.bar_canvas {
100%;
height: 100%;
}
</style>
这样我们就可以复用了