先获取整个页面
import requests

response_index = requests.get(
    url='https://dig.chouti.com/',
    headers={
        'user-agent': 'Mozilla/5.0 (Windows NT 10.0; Win64; x64) AppleWebKit/537.36 (KHTML, like Gecko) Chrome/67.0.3396.87 Safari/537.36'
    }
)

print(response_index.text)
print输出效果如下:

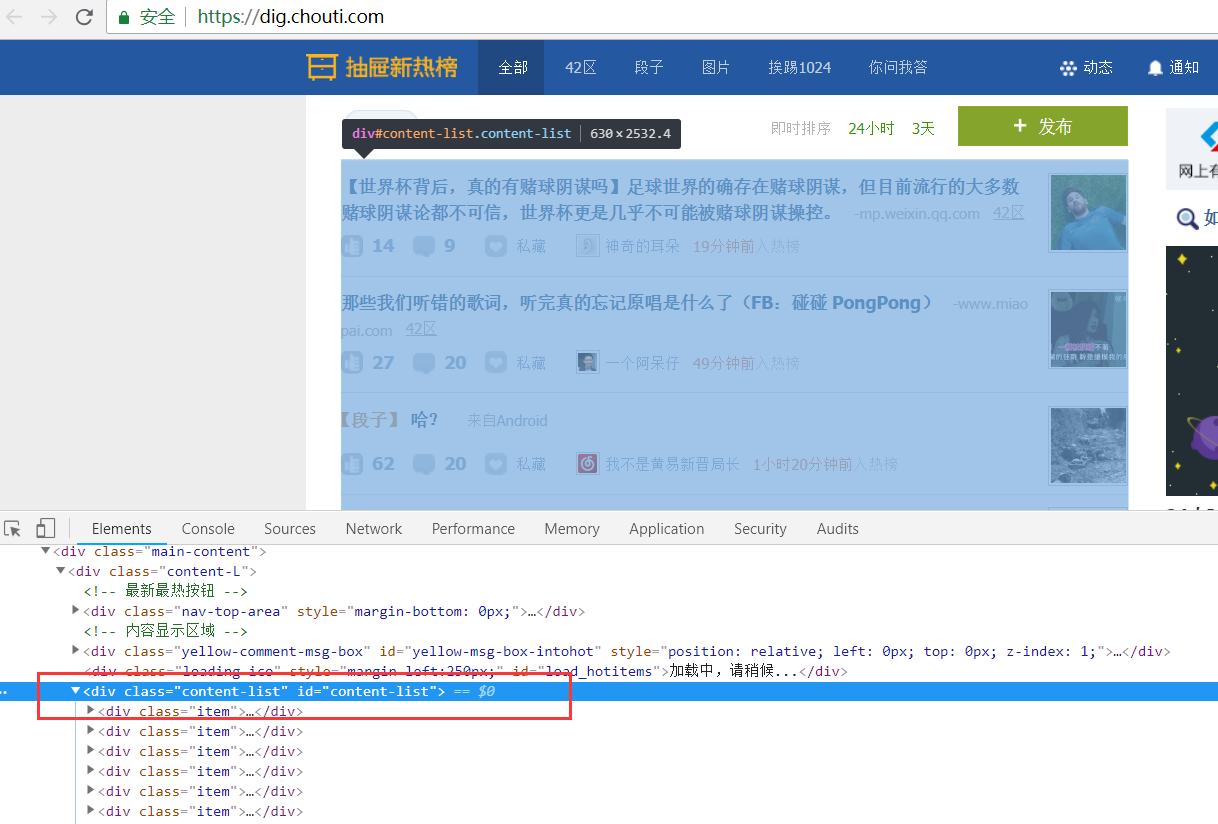
初步分析抽屉热搜标题页面,可以看出所有标题位于id为content-list的div下面

我们先解析出所有li标签的位置
soup = BeautifulSoup(response_index.text, 'html.parser')
div = soup.find(attrs={'id': 'content-list'})
然后再找出所有的li标签
items = div.find_all(attrs={'class': 'item'})
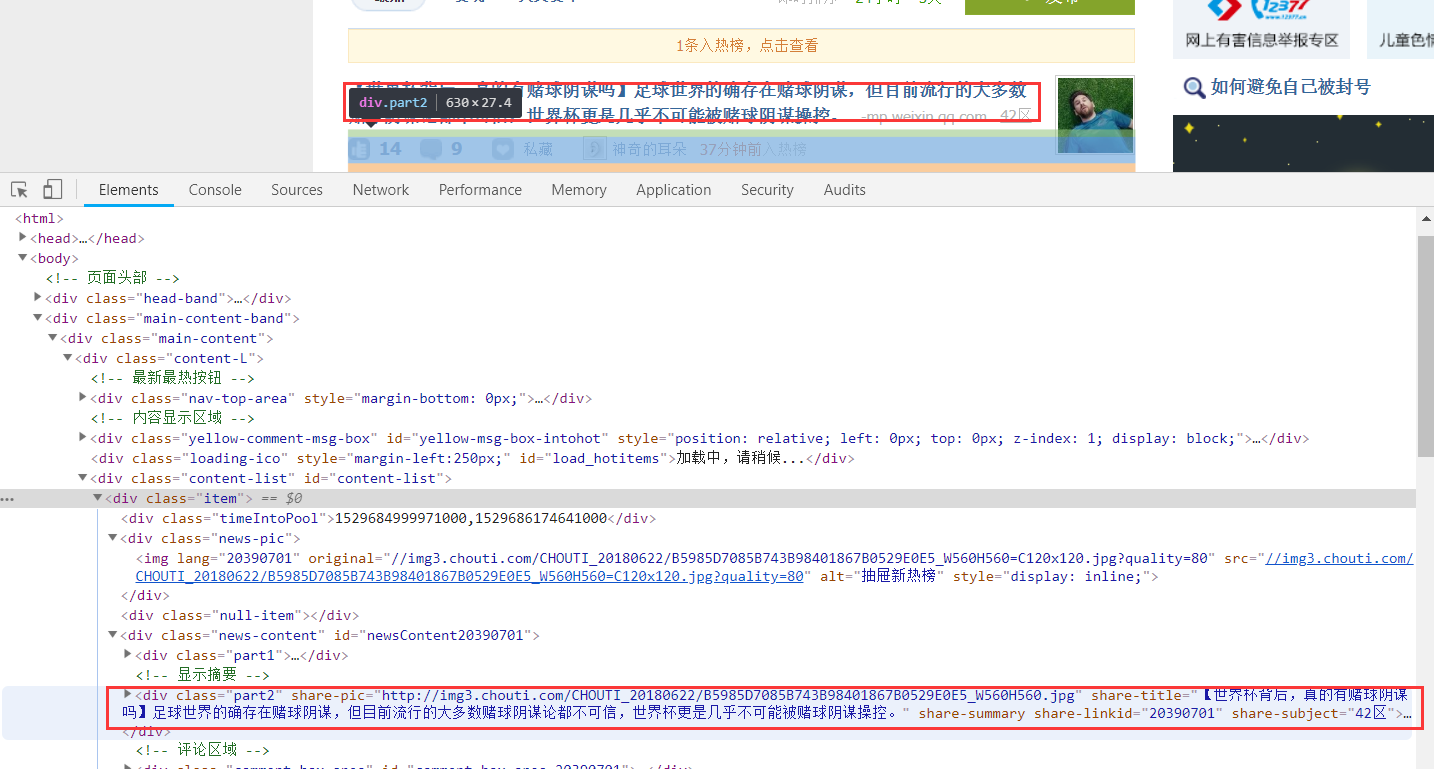
再分析标题所在的位置

打印出每个标题的id
for item in items:
    tag = (item.find(attrs={'class': 'part2'}))
    nid = tag.get('share-linkid')
    print(nid)
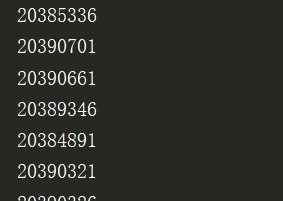
此时,print出所有标题的id

然后对上一篇文章的单个点赞进行for循环就可以了,完整代码如下:
import requests
from bs4 import BeautifulSoup

# 先访问抽屉最热帮,获取cookie(未授权的)
r1 = requests.get(
    url='https://dig.chouti.com/',
    headers={
        'user-agent': 'Mozilla/5.0 (Windows NT 10.0; Win64; x64) AppleWebKit/537.36 (KHTML, like Gecko) Chrome/67.0.3396.87 Safari/537.36'
    }
)
r1_cookie_dict = r1.cookies.get_dict()

# 发送用户名和密码认证 + cookie(未授权)
# 注意:防爬虫策略
response_login = requests.post(
    url='https://dig.chouti.com/login',
    data={
        'phone': '8615921302790',
        'password': 'a12',
        'oneMonth': '1'
    },
    headers={
        'user-agent': 'Mozilla/5.0 (Windows NT 10.0; Win64; x64) AppleWebKit/537.36 (KHTML, like Gecko) Chrome/67.0.3396.87 Safari/537.36'
    },
    cookies=r1_cookie_dict
)


response_index = requests.get(
    url='https://dig.chouti.com/',
    headers={
        'user-agent': 'Mozilla/5.0 (Windows NT 10.0; Win64; x64) AppleWebKit/537.36 (KHTML, like Gecko) Chrome/67.0.3396.87 Safari/537.36'
    }
)


soup = BeautifulSoup(response_index.text, 'html.parser')
div = soup.find(attrs={'id': 'content-list'})
items = div.find_all(attrs={'class': 'item'})
for item in items:
    tag = (item.find(attrs={'class': 'part2'}))
    nid = tag.get('share-linkid')
    print(nid)


    # 根据每个新闻id进行点赞
    r1 = requests.post(
        url='https://dig.chouti.com/link/vote?linksId=%s' % nid,
        headers={
            'user-agent': 'Mozilla/5.0 (Windows NT 10.0; Win64; x64) AppleWebKit/537.36 (KHTML, like Gecko) Chrome/67.0.3396.87 Safari/537.36'
        },
        cookies=r1_cookie_dict
    )
    print(r1.text)
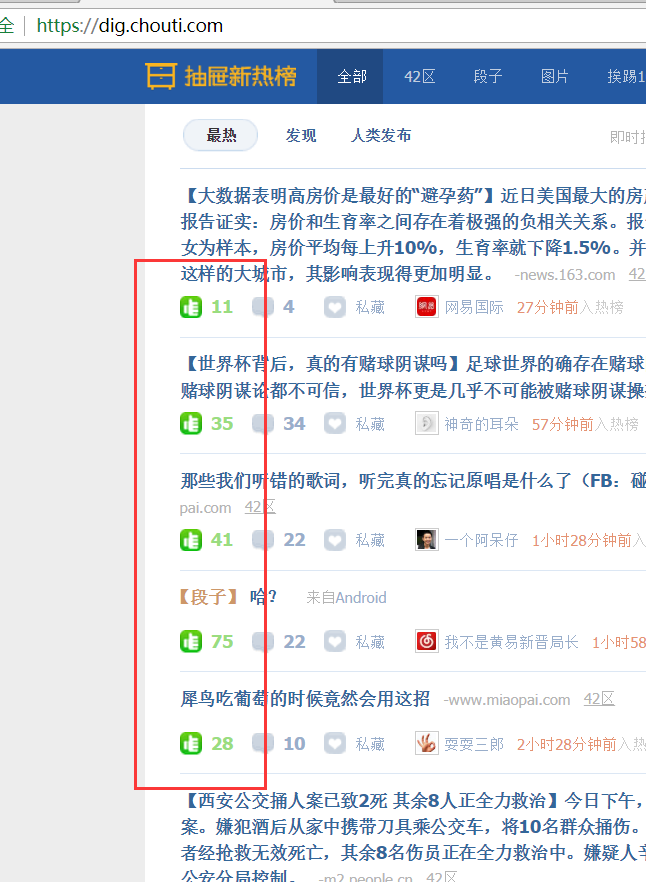
登录上抽屉,查看页面,可以发现已经自动完成单页点赞了

咱们再来看下翻页。


发现了么?一般网站都有这种显眼的规律,而我们再次返回第一页时,发现网址变为https://dig.chouti.com/all/hot/recent/1,所以我们请求主页可以改为它
for page_num in range(1,3):     # 对第1到第3页进行点赞
    response_index = requests.get(
        url='https://dig.chouti.com/all/hot/recent/%s' % page_num,
        headers={
            'user-agent': 'Mozilla/5.0 (Windows NT 10.0; Win64; x64) AppleWebKit/537.36 (KHTML, like Gecko) Chrome/67.0.3396.87 Safari/537.36'
        }
    )


    soup = BeautifulSoup(response_index.text, 'html.parser')
    div = soup.find(attrs={'id': 'content-list'})
    items = div.find_all(attrs={'class': 'item'})
    for item in items:
        tag = (item.find(attrs={'class': 'part2'}))
        nid = tag.get('share-linkid')
        print(nid)


        # 根据每个新闻id进行点赞
        r1 = requests.post(
            url='https://dig.chouti.com/link/vote?linksId=%s' % nid,
            headers={
                'user-agent': 'Mozilla/5.0 (Windows NT 10.0; Win64; x64) AppleWebKit/537.36 (KHTML, like Gecko) Chrome/67.0.3396.87 Safari/537.36'
            },
            cookies=r1_cookie_dict
        )
        print(r1.text)
效果如下

这个代码有很多可以改善的地方,这里不多讲述。