环境: Intellij IDEA 2018.3.3 +Mysql5.7
1、new project,选中下图选项。点next-->输入项目名称-->点击Finish 完成创建

2、在lib文件夹下导入MySQL驱动包。在src下创建如下文件
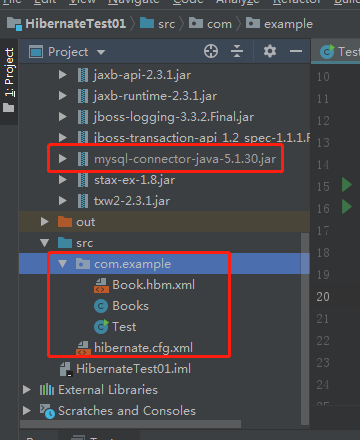
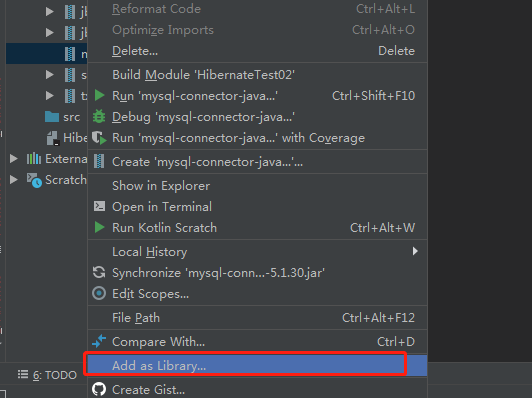
3、导入驱动包,右击选择Add as Library
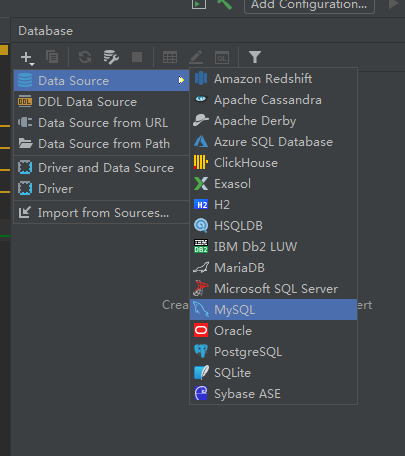
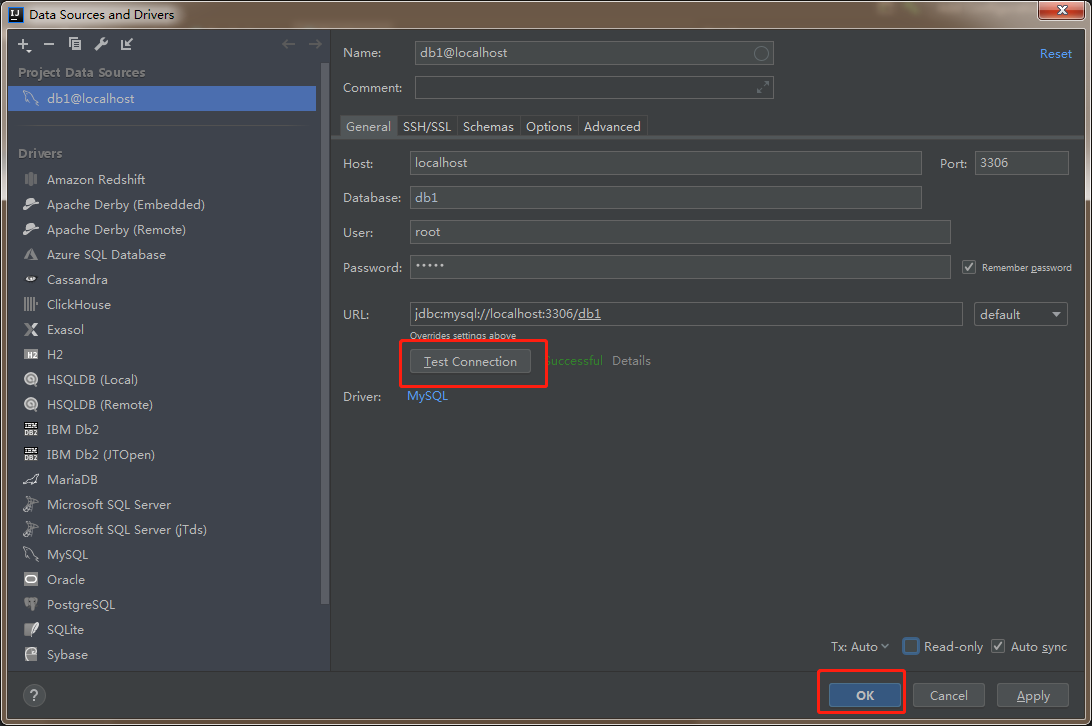
3、连接数据库(在连接数据库之前需准备好数据库。本例中创建了db1库,内含books表) ,点击右侧Database.选择MySQL
4、输入数据库名称、用户名、密码。点击Test Connection,连接成功会提示successful。点击“Apply”,点击OK
,
5、创建持久化类 (Books):持久化类满足JavaBean规范
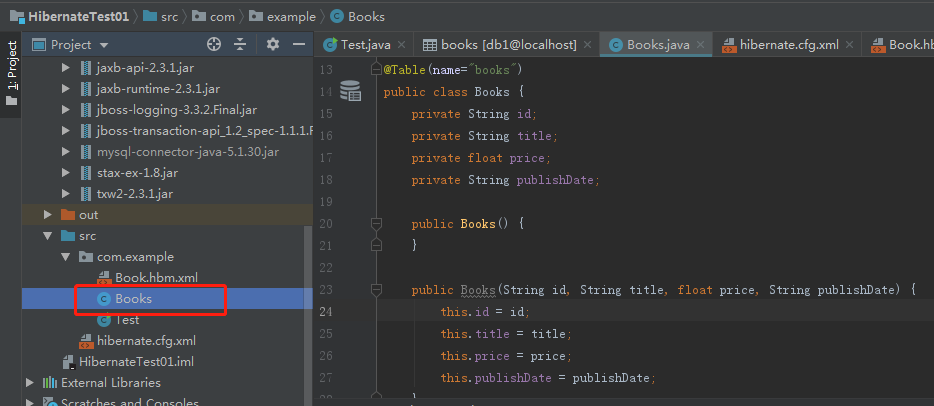

 1 package com.example;
 2
 3 import javax.persistence.Entity;
 4 import javax.persistence.Table;
 5
 6 /**
 7  * @Classname Books
 8  * @Description TODO
 9  * @Date 2019-8-1 18:31
10  * @Created by Administrator
11  */
12 @Entity
13 @Table(name="books")
14 public class Books {
15     private String id;
16     private String title;
17     private float price;
18     private String publishDate;
19
20     public Books() {
21     }
22
23     public Books(String id, String title, float price, String publishDate) {
24         this.id = id;
25         this.title = title;
26         this.price = price;
27         this.publishDate = publishDate;
28     }
29
30     public String getId() {
31         return id;
32     }
33
34     public void setId(String id) {
35         this.id = id;
36     }
37
38     public String getTitle() {
39         return title;
40     }
41
42     public void setTitle(String title) {
43         this.title = title;
44     }
45
46     public float getPrice() {
47         return price;
48     }
49
50     public void setPrice(float price) {
51         this.price = price;
52     }
53
54     public String getPublishDate() {
55         return publishDate;
56     }
57
58     public void setPublishDate(String publishDate) {
59         this.publishDate = publishDate;
60     }
61 }
6、创建持久化类的映射文件 (Book.hbm.xml)
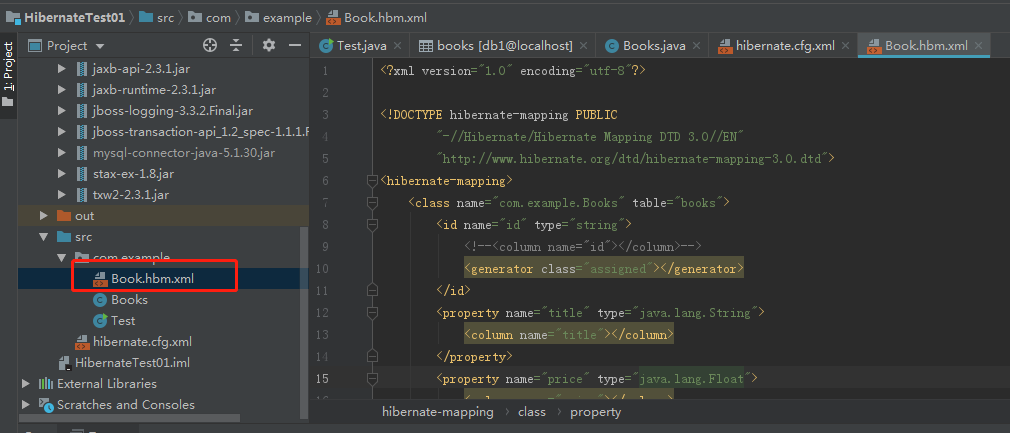

 1 <?xml version="1.0" encoding="utf-8"?>
 2
 3 <!DOCTYPE hibernate-mapping PUBLIC
 4         "-//Hibernate/Hibernate Mapping DTD 3.0//EN"
 5         "http://www.hibernate.org/dtd/hibernate-mapping-3.0.dtd">
 6 <hibernate-mapping>
 7     <class name="com.example.Books" table="books">
 8         <id name="id" type="string">
 9             <!--<column name="id"></column>-->
10             <generator class="assigned"></generator>
11         </id>
12         <property name="title" type="java.lang.String">
13             <column name="title"></column>
14         </property>
15         <property name="price" type="java.lang.Float">
16             <column name="price"></column>
17         </property>
18         <property name="publishDate" type="java.lang.String">
19             <column name="publishDate"></column>
20         </property>
21     </class>
22 </hibernate-mapping>
注:映射文件中的type用string或java.lang.String否则会报错

7、创建hibernate配置文件


 1 <?xml version='1.0' encoding='utf-8'?>
 2 <!DOCTYPE hibernate-configuration PUBLIC
 3         "-//Hibernate/Hibernate Configuration DTD//EN"
 4         "http://www.hibernate.org/dtd/hibernate-configuration-3.0.dtd">
 5 <hibernate-configuration>
 6     <session-factory>
 7
 8         <!-- 指定连接数据库所用的驱动 -->
 9         <property name="connection.driver_class">com.mysql.jdbc.Driver</property>
10         <!-- 指定连接数据库的url,hibernate连接的数据库名 -->
11         <property name="connection.url">jdbc:mysql://localhost:3306/db1</property>
12         <!-- 指定连接数据库的用户名 -->
13         <property name="hibernate.connection.username">root</property>
14         <!-- 数据库的登陆密码 -->
15         <property name="hibernate.connection.password">zheng</property>
16         <!-- 指定连接数据库的编码 -->
17         <property name="connection.characterEncoding">utf8</property>
18         <!-- 指定数据库方言 -->
19         <property name="hibernate.dialect">org.hibernate.dialect.MySQLDialect</property>
20         <!-- 显示Hibernate持久化操作所生成的SQL -->
21         <property name="show_sql">true</property>
22         <!-- 将SQL脚本进行格式化后再输出 -->
23         <property name="format_sql">true</property>
24         <!-- 指定自动生成数据表的策略 -->
25         <property name="hbm2ddl.auto">update</property>
26
27         <!-- 罗列所有的映射文件 -->
28         <mapping resource="/com/example/Book.hbm.xml"/>
29     </session-factory>
30 </hibernate-configuration>
8、创建测试类(Test.java)
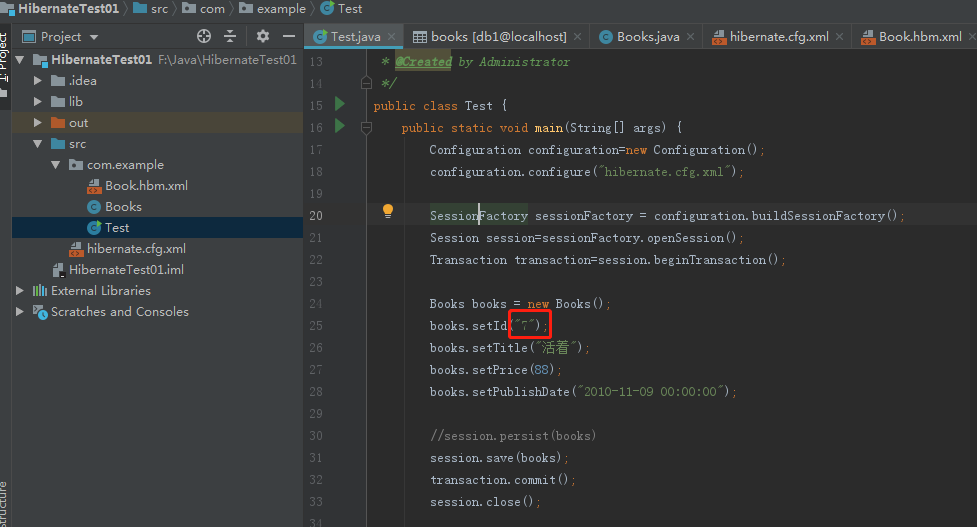

 1 package com.example;
 2
 3
 4 import org.hibernate.Session;
 5 import org.hibernate.SessionFactory;
 6 import org.hibernate.Transaction;
 7 import org.hibernate.cfg.Configuration;
 8
 9 /**
10  * @Classname Test
11  * @Description TODO
12  * @Date 2019-8-2 11:10
13  * @Created by Administrator
14  */
15 public class Test {
16     public static void main(String[] args) {
17         Configuration configuration=new Configuration();
18         configuration.configure("hibernate.cfg.xml");
19
20         SessionFactory sessionFactory = configuration.buildSessionFactory();
21         Session session=sessionFactory.openSession();
22         Transaction transaction=session.beginTransaction();
23
24         Books books = new Books();
25         books.setId("7");
26         books.setTitle("活着");
27         books.setPrice(88);
28         books.setPublishDate("2010-11-09 00:00:00");
29
30         //session.persist(books)
31         session.save(books);
32         transaction.commit();
33         session.close();
34
35         System.out.println("Successful saved.");
36
37     }
38 }
注:所添加的数据不能与数据库中主键的数据重复(本例中主键为id),否则会报Duplicate entry '0' for key 'PRIMARY'的错误
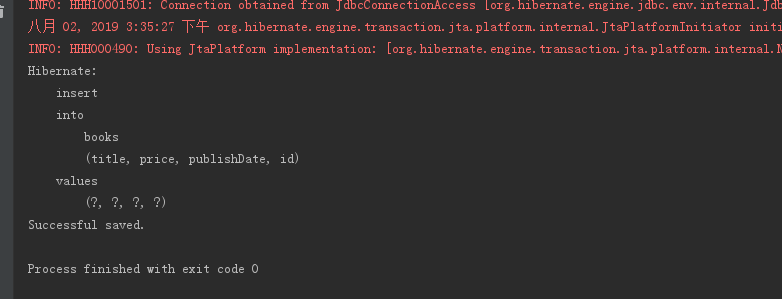
9、运行
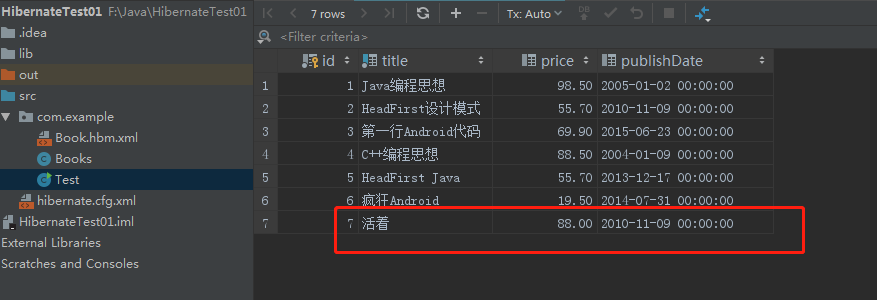
10、查看数据是否添加到数据库中
