参考:Gaos的BLOG
1 下载源码:
https://github.com/BradLarson/GPUImage
2编译;打开iOS的项目文件;build真机


成果物是一个静态库;注意github上还提供了很多example;
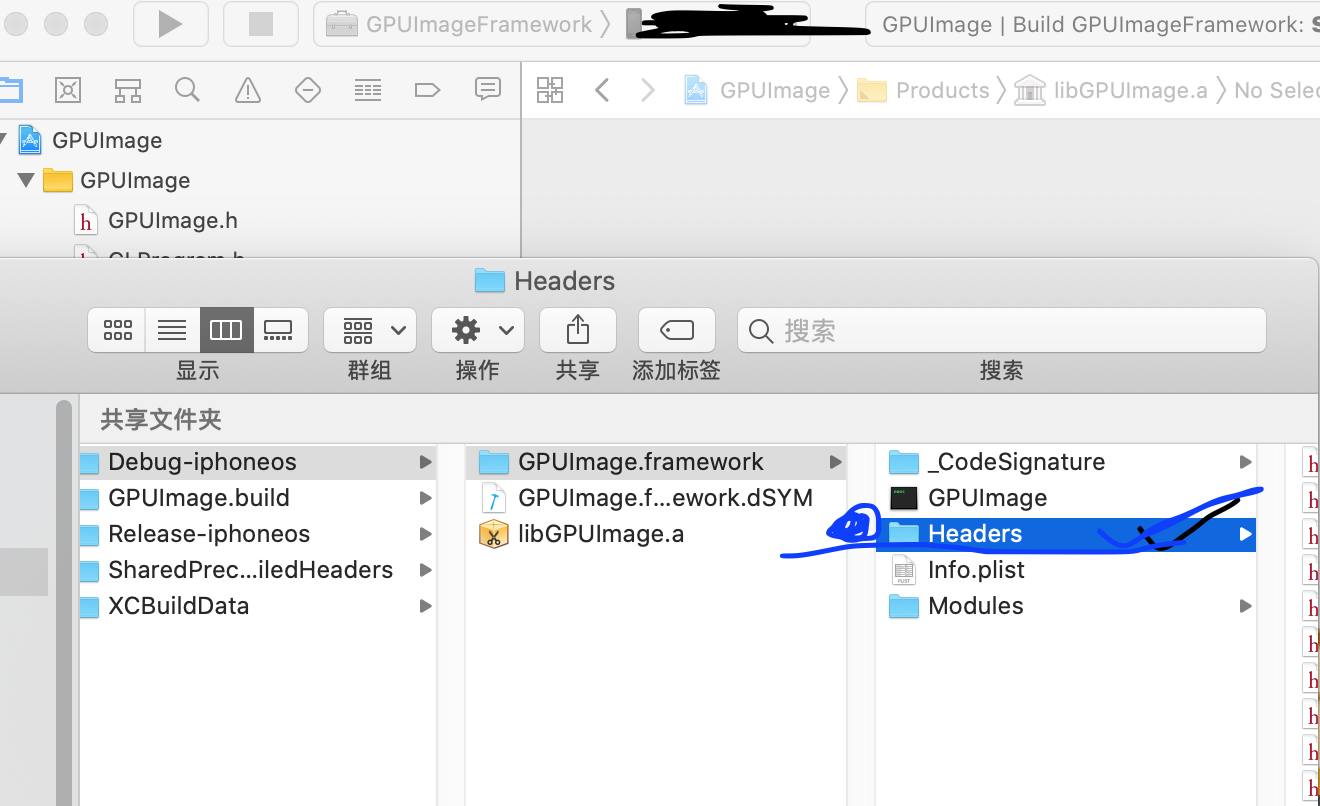
在这里并没有生成头文件usr(头文件,demo中要用的一个集合)文件夹,我们可以编译的时候选择编译framework,他会生成一个头文件夹,里边头文件基本是全的【这样就不用你一个个的收集头文件放到demo里了,他给你放在一起了】(你在demo中需要引入的头文件);
然后把静态库和头文件放到你的demo里;
demo-build setting ---search paths --library search paths 加上静态库和头文件的路径;
demo中引入:
#import "GPUImage.h";使用如下;下边是一个使用亮度滤镜的demo;你可以自己决定使用哪个过滤器;里边就是一个滤镜链条处理
  UIImage * orangeimage = [UIImage imageNamed:@"tupian.PNG"];

    GPUImageBrightnessFilter* shineFilter = [[GPUImageBrightnessFilter alloc]init];

    shineFilter.brightness = -0.7f;

    [shineFilter forceProcessingAtSize:orangeimage.size];

    [shineFilter useNextFrameForImageCapture];//没有这句话显示不了

    GPUImagePicture* pic = [[GPUImagePicture alloc]initWithImage:orangeimage];

    [pic addTarget:shineFilter];

    [pic processImage];

    UIImage * afterPic = [shineFilter imageFromCurrentFramebuffer];

    UIImageView* subview = [[UIImageView alloc]initWithImage:afterPic];
    subview.frame = CGRectMake(0, 0, _FilterView.bounds.size.width, _FilterView.bounds.size.height);
    [_FilterView addSubview:subview];
例1:
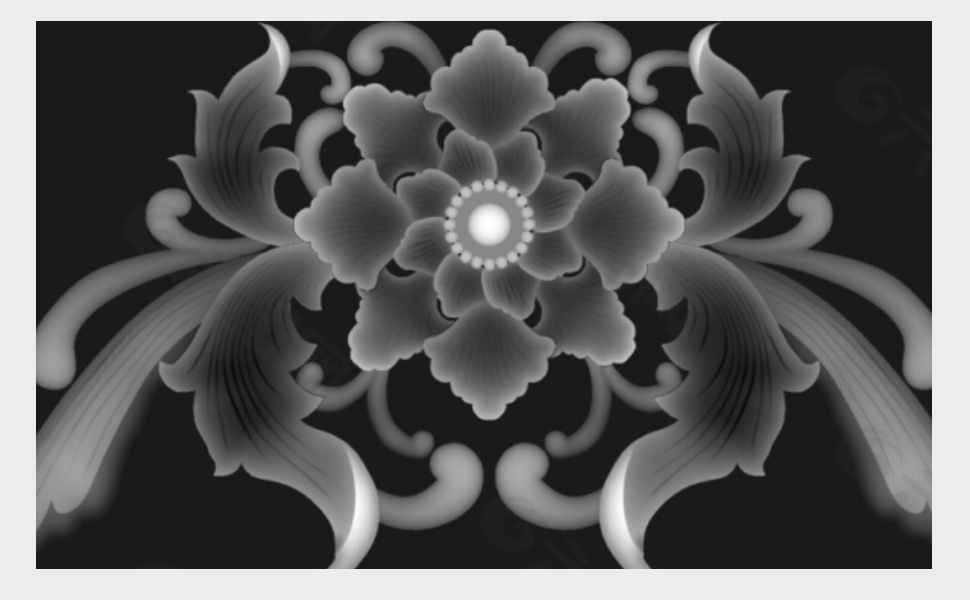
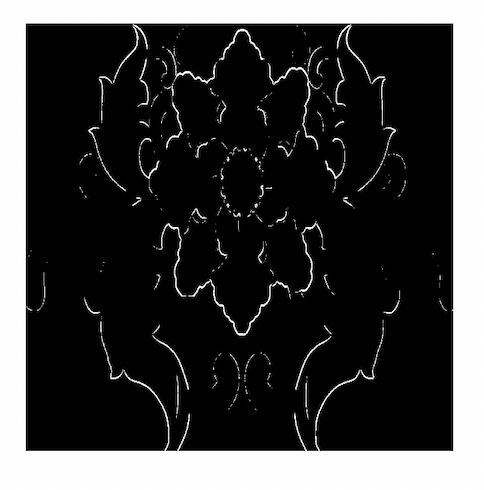
//基于阈值的边缘检测,适用于灰度图

 UIImage * orangeimage = [UIImage imageNamed:@"lian.png"];

    GPUImageThresholdEdgeDetectionFilter* shineFilter = [[GPUImageThresholdEdgeDetectionFilter alloc]init];

    shineFilter.threshold = 0.2;
边缘检测结果:(受显示窗口影响,图像有一点形变;左原图,右边缘检测)
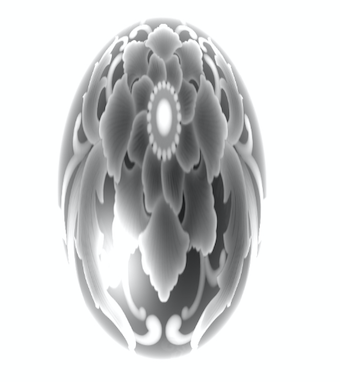
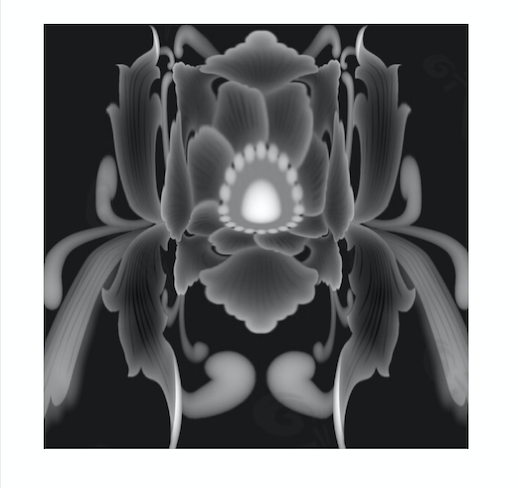
例2:水晶球,设置个球心
UIImage * orangeimage = [UIImage imageNamed:@"lian.png"];

    GPUImageGlassSphereFilter* shineFilter = [[GPUImageGlassSphereFilter alloc]init];

    shineFilter.center = CGPointMake(0.5f, 0.5f);
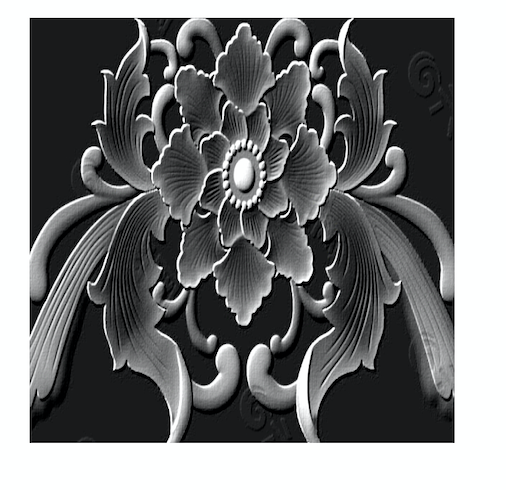
例三:浮雕
UIImage * orangeimage = [UIImage imageNamed:@"lian.png"];

    GPUImageEmbossFilter* shineFilter = [[GPUImageEmbossFilter alloc]init];

    shineFilter.intensity = 2.0;//强度
例4:哈哈镜:
 UIImage * orangeimage = [UIImage imageNamed:@"lian.png"];

    GPUImageStretchDistortionFilter* shineFilter = [[GPUImageStretchDistortionFilter alloc]init];

    shineFilter.center =CGPointMake(0.5, 0.3);
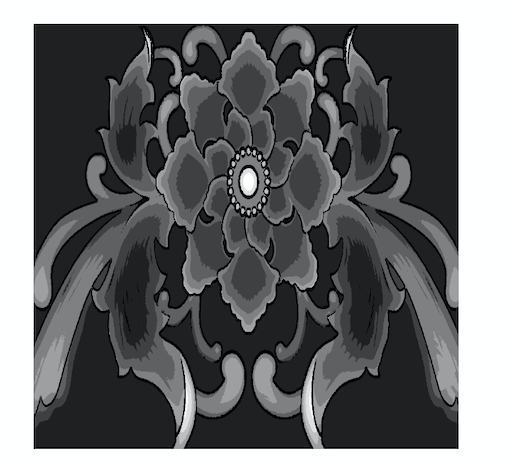
例5:卡通;
 UIImage * orangeimage = [UIImage imageNamed:@"lian.png"];

    GPUImageToonFilter* shineFilter = [[GPUImageToonFilter alloc]init];

    shineFilter.quantizationLevels = 8.0;//量化等级
    shineFilter.threshold = 0.3;
还有很多效果,可以使用。。。。。。。。